


Make your own Lighted Holiday Sign from scrap wood with little to no carpentry skills.
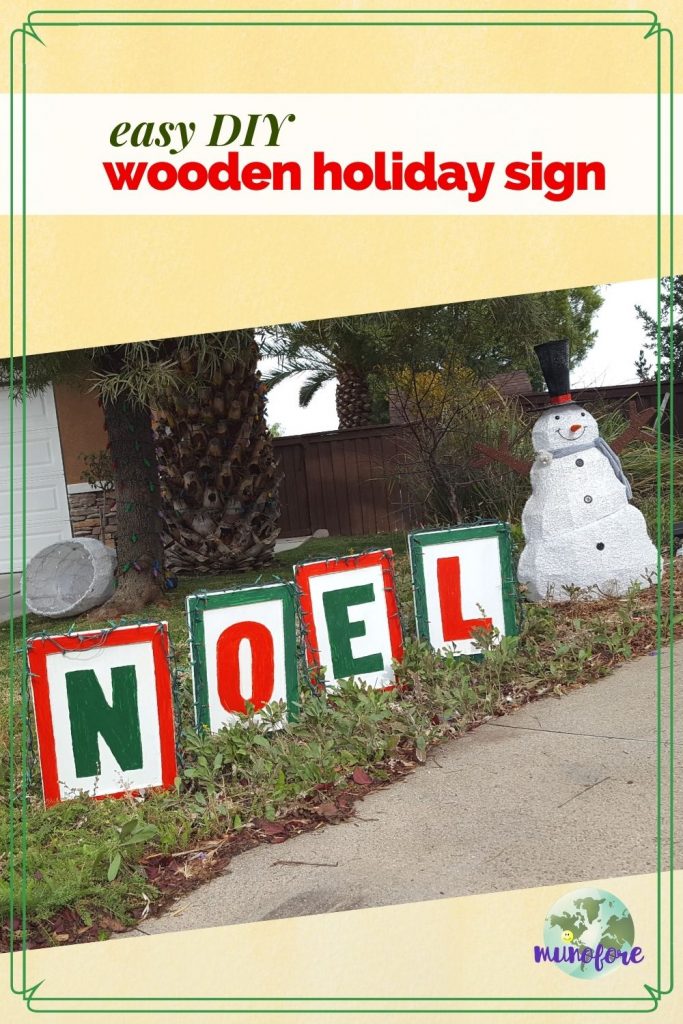
Obviously I made these for Christmas, but you can easily use the idea for any occasion. The project was simple, but there was a bit of waiting for the paint and shellac to dry.
You can probably make it in a day, depending on the weather. It was hot and dry when I made it so the things dried quickly.
Supplies
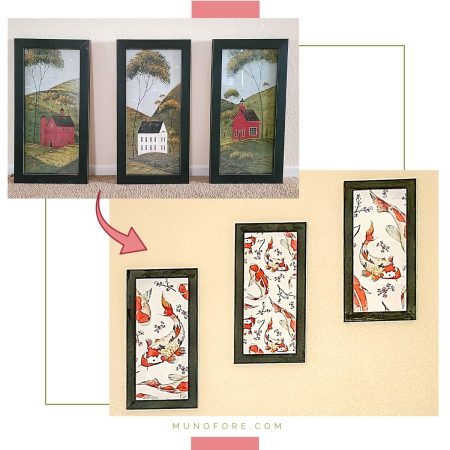
I upcycled four cabinet doors I salvaged from my kitchen remodel, but you can use just about any flat piece of wood that can get wet. No particle board! If you aren't sure, test a scrap of the wood by soaking it in water before going to the trouble to make it.
- wood for sign
- sand paper
- sander (optional)
- wood filler (optional)
- paint
- paint brushes
- polyurethane
- 2-3 strings of mini lights
- drill (optional)
- staple gun
- small hinges
- yard stakes
Prep the wood
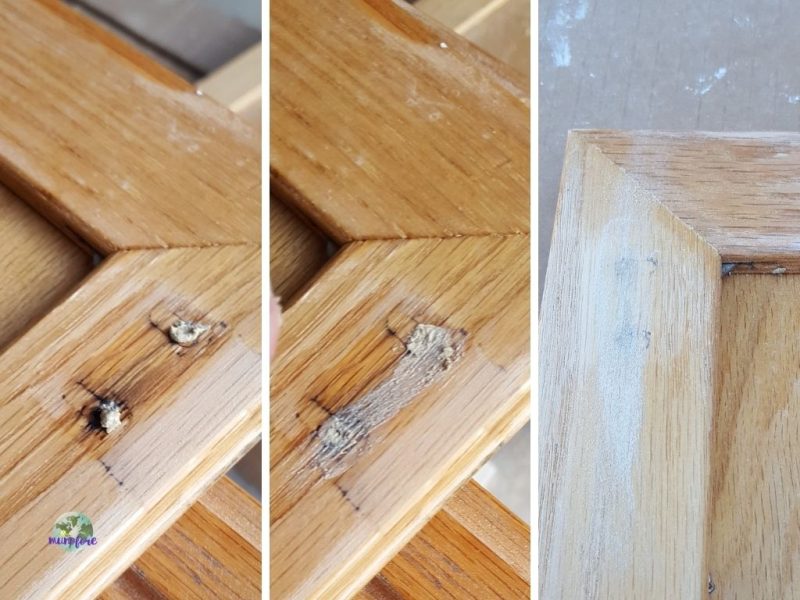
Repair any holes with the wood filler. Directions are on the package, but basically you dab it in the holes, smear it flat (ish), let dry then sand.
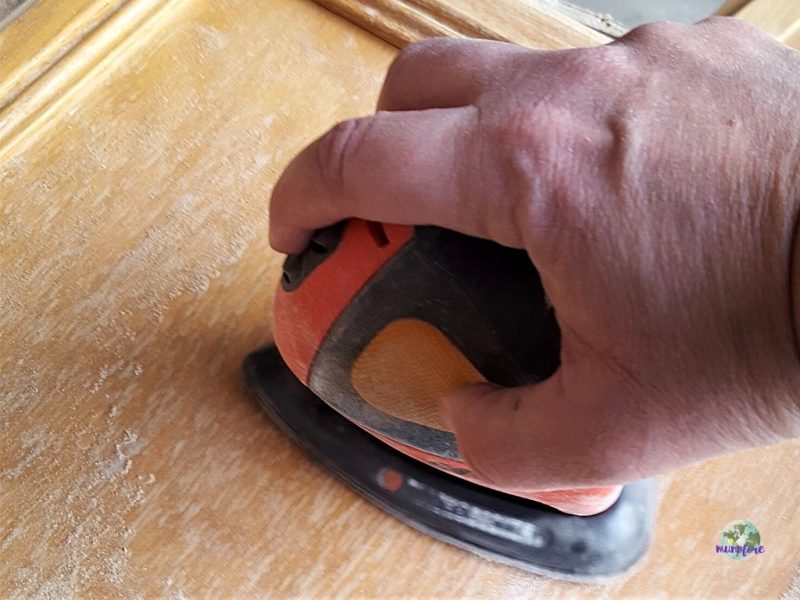
Since I used upcycled wood I needed to sand it first, especially with the peeling glossy finish that was on my cabinets.
Paint the sign
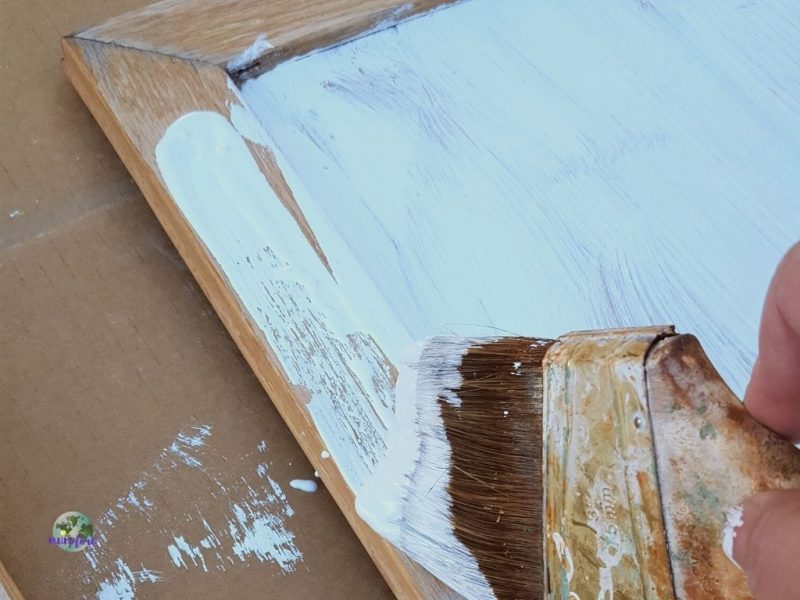
I used two coats of leftover white high gloss interior house paint (door and trim paint). I knew I was going to cover it with several coats of shellac, and knew it would hold up to our mild winters.
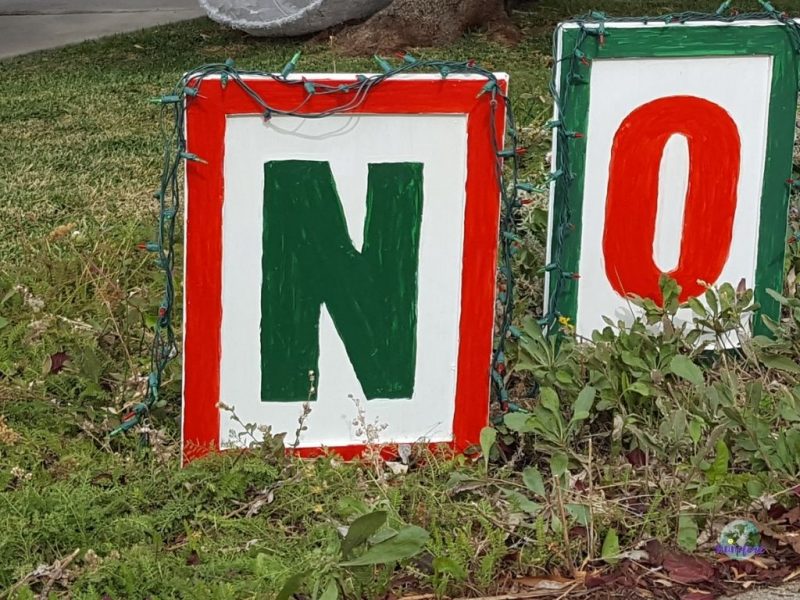
I made stencils for the letters in Word and painted them on with red and green acrylic paint.
Finally I sprayed several coats of glossy polyurethane, letting each coat dry completely.
Add the Lights
I went the easy route and stapled the lights to the top of the signs with plenty of extra lights between each letter to drape down the sides.
Another option is to drill holes into the sign the size of your mini lights and then push the lights into the holes from the back. I might do that next year to spice them up a bit more.
Stake the Sign
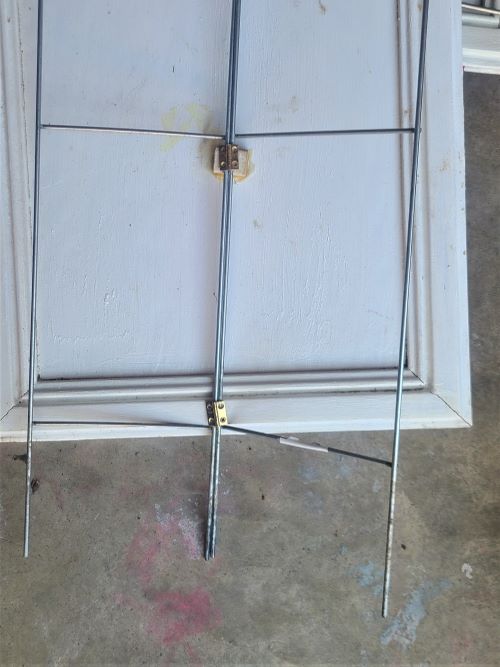
The cabinet doors were light so I used mini hinges to clamp down two inexpensive metal yard sign stakes in the middle. This allows me to move the stakes to different angles to brace the signs.
Another option would be to attach wooden stakes to the back with wood screws or nails.
Put it Out, Light it Up, Enjoy!
These sat out for a month last Christmas and held up just fine. No signs of fading or wear from the rain/sprinklers.
They are out again this year. And hope I won't have to touch them up for a few years.


Leave a Reply