


Transform your front porch into a summer oasis with this charming DIY Summer Beach Hat Wreath. In just an hour, you can craft this vibrant piece using items you already have at home or pick up at a thrift shop.
Use this step by step tutorial as inspiration to add a fun pop of color to your home.

My Summer Fun Beach Towel Wreath was looking a bit faded, so I decided it was time for a new summer wreath. While I was rummaging around my craft supply closet I stepped on my old beach hat and inspiration struck.
So I gathered a few more things and ordered a few (anyone need 33 silk hibiscus?) and then got crafting.
Summer Sun Hat Wreath Supplies
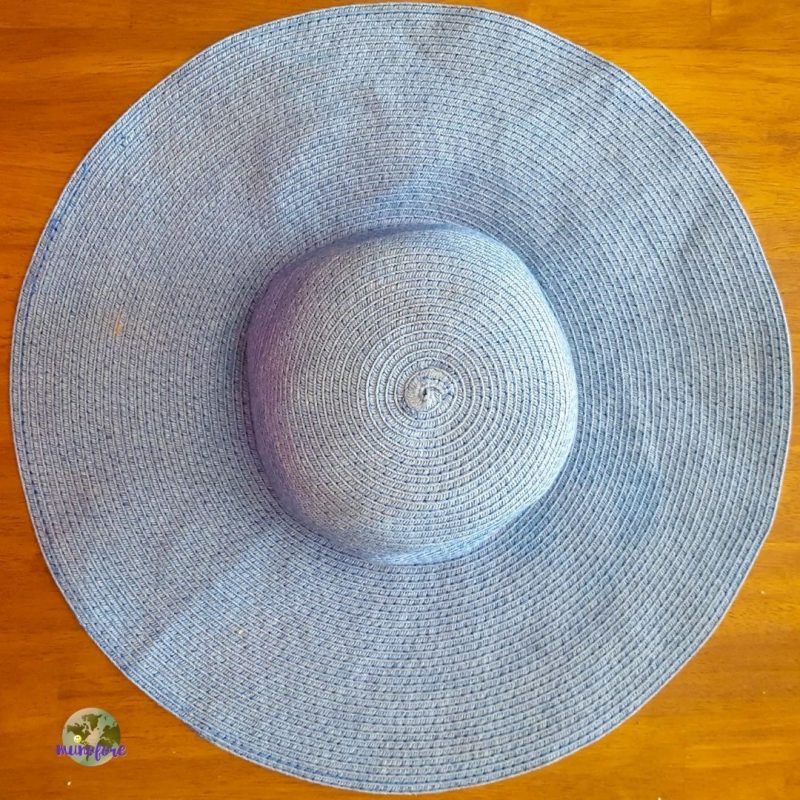
- wide brimmed beach hat
- low tack vinyl stencil masking film (or card stock)
- acrylic paint
- paint brush
- 14" flat wire wreath form
- needle and thread
- 3" foam piece (or batting)
- hot glue gun and glue sticks
- silk flowers
Instructions
Thanks to my trusty Silhouette Portrait, creating stencils has never been easier. I used two free fonts called Beach Resort and Unconditionally then cut them out on the masking film. The sun I created in Silhouette Studio using an arc and some triangles.
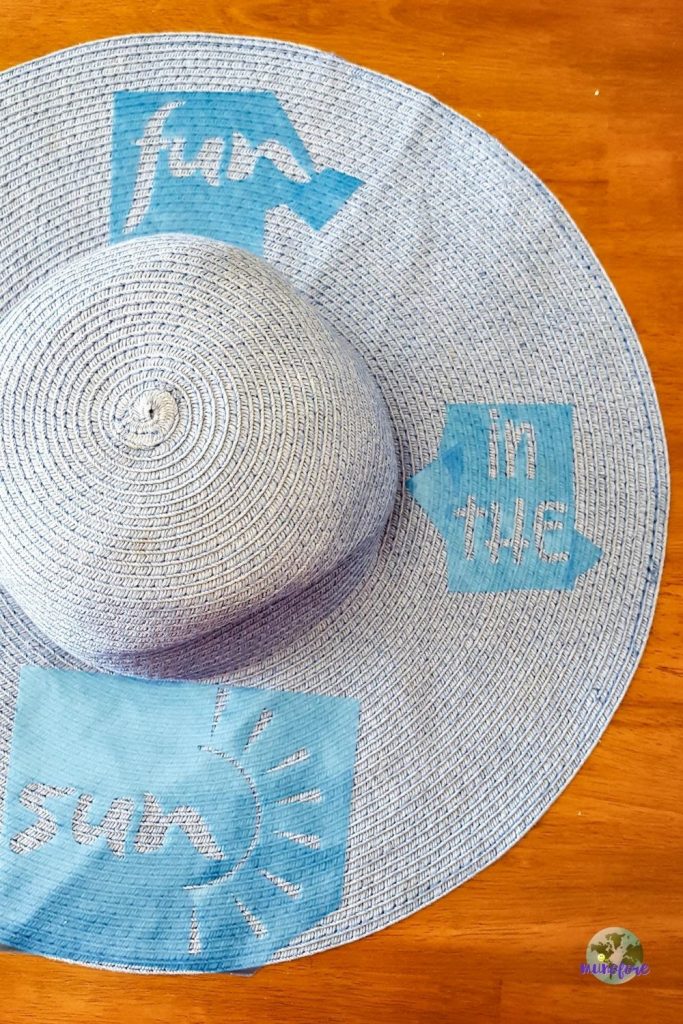
Alternatively you can use card stock and either tape it down or use repositionable adhesive spray (sometimes called temporary adhesive or basting adhesive).
Then I dabbed on the paint to prevent it from bleeding through under the stencil.
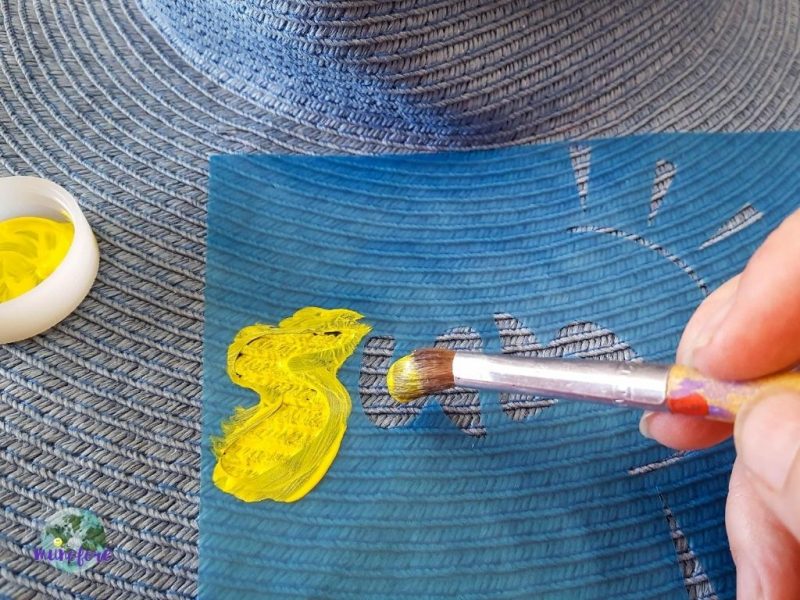
Of course, you may want to spin the hat around to paint instead of reaching over the previously painted area.
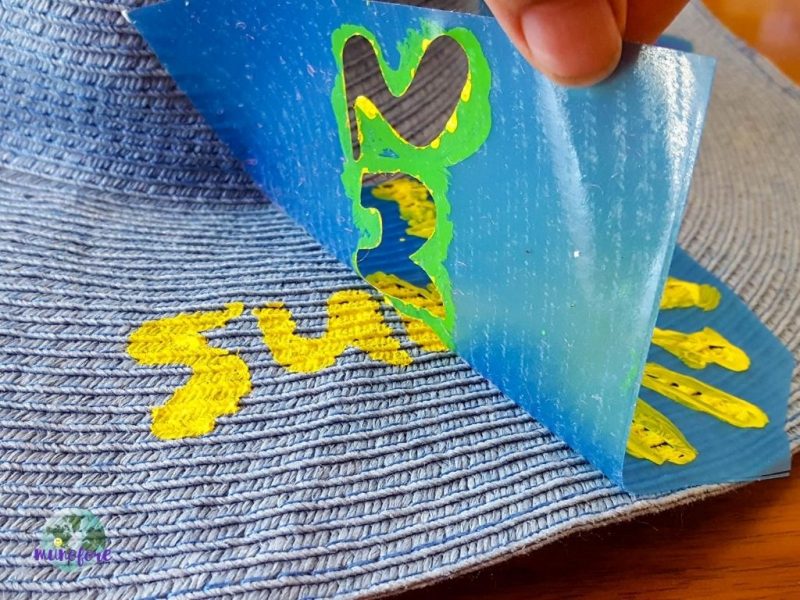
Once the paint was dry, I removed the stencil.
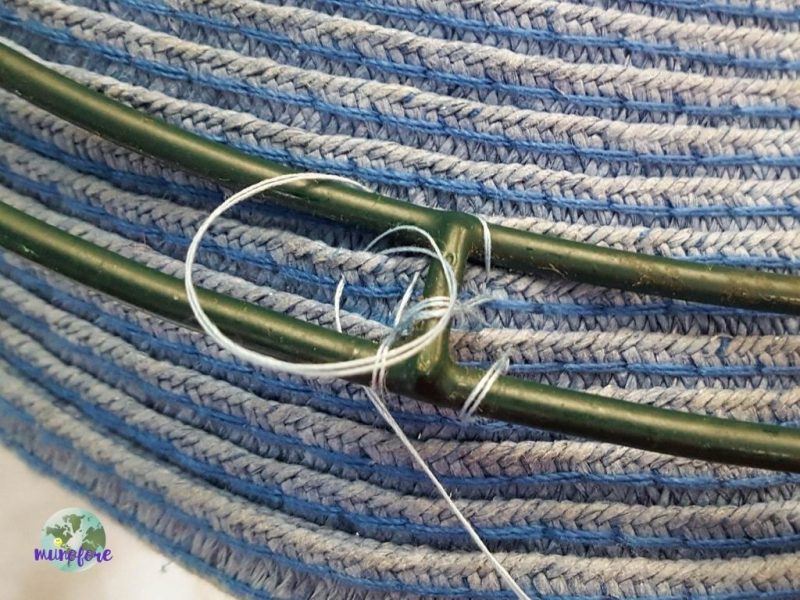
To add structure to the back side, I sewed on a wire wreath frame.
And I stuffed the head portion with some leftover upholstery foam. Use batting, an old t-shirt, whatever you have lying around that will help it keep it's shape.

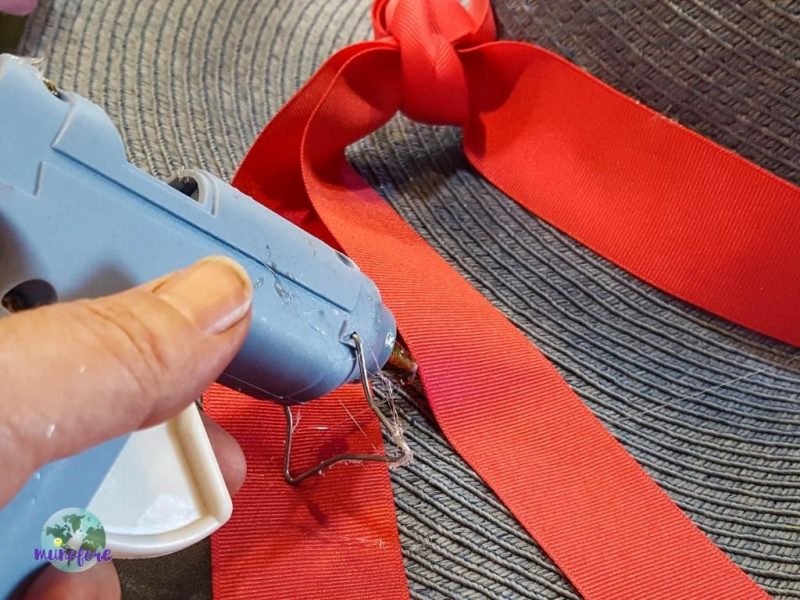
Then on to the fun part, decorating! I tied on a ribbon with a simple overhand loop.

Then I glued the two ends higher up on the left side so they would drape nicely instead of falling straight down.
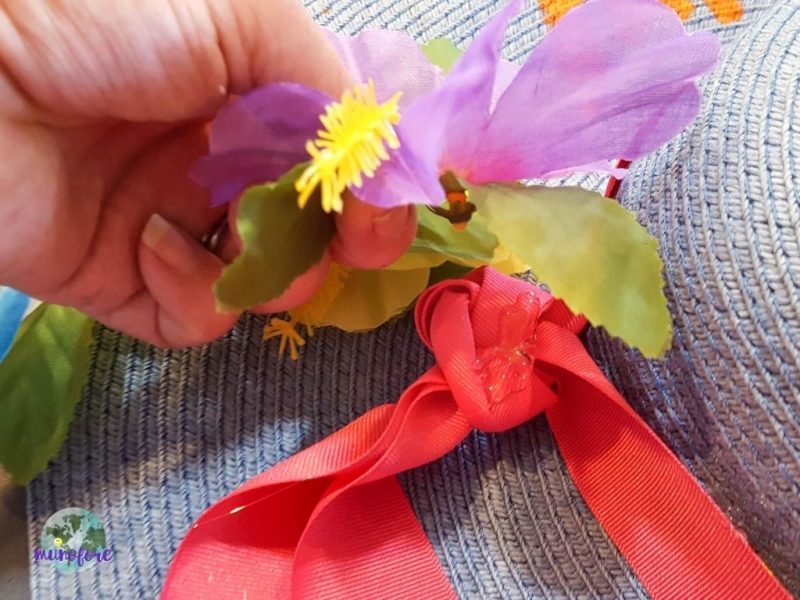
And then I glued on some silk flowers to complete the look.
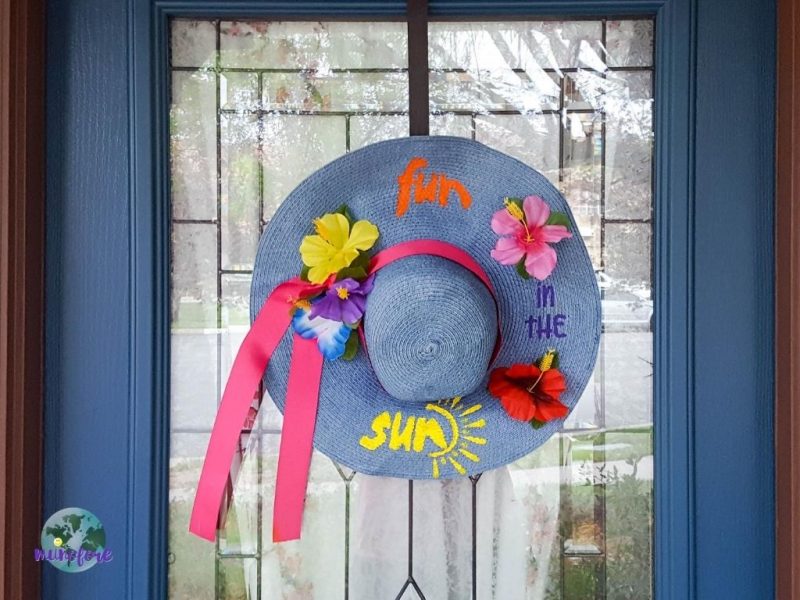
I didn't even bother to add any wire to the back for a hanger and just hung it straight off of the wreath frame in back on my front door. You may want to hang it on a wall inside.
Cost for Summer Beach Hat Wreath
The most expensive piece of this project is the hat, especially if you buy it new, Check thrift stores or yard sales to find one in good condition for a few dollars. I had everything except the flowers ($5) and the wide ribbon ($2), and I still have plenty of flowers for my next project or luau.
I love the final product and think it makes a cheerful welcoming addition to my front porch until it is time to bring on the Autumn decor.


Connie Woodings says
Did you paint the hat? What kind of paint did you use? I love it!
Audrey says
No, the hat is its originally color.