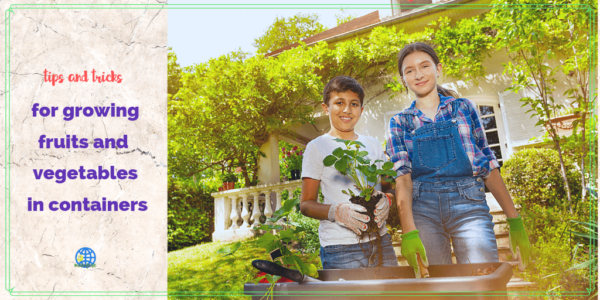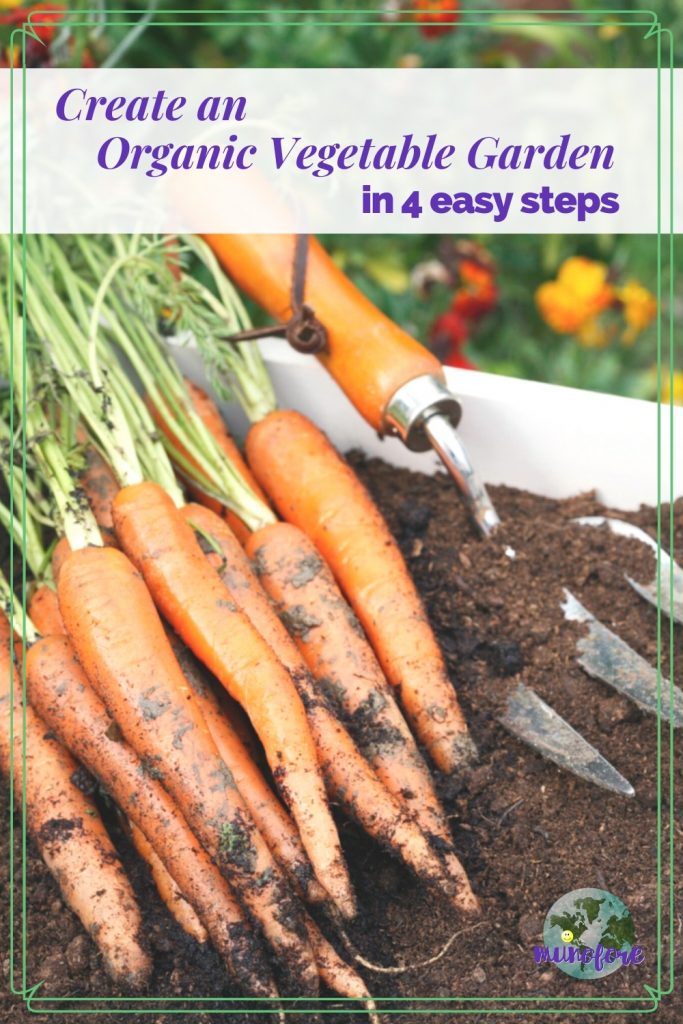
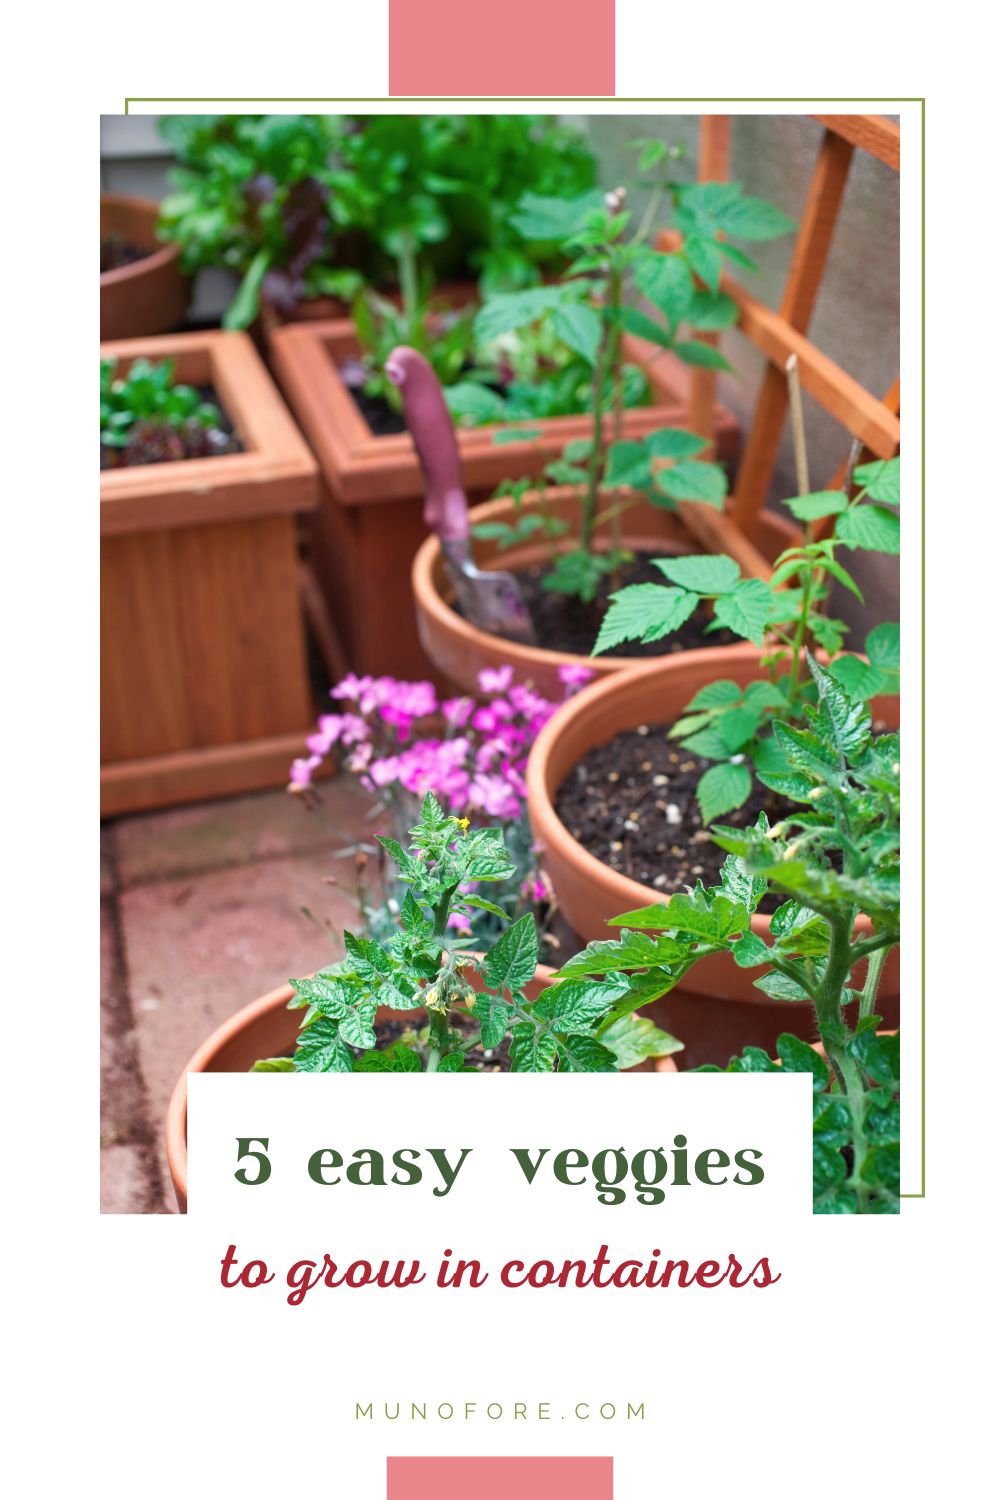
Are you looking to start a garden but don't have a lot of space? Or maybe you're new to gardening and want to start small. No matter your situation, growing vegetables in containers is a great way to get your hands dirty and reap the rewards of homegrown produce.
In this article, we'll introduce you to five easy-to-grow vegetables that are perfect for container gardening. So whether you have a patio, balcony, or small backyard, get ready to dig in and start growing your own fresh and delicious veggies!
What type of containers should you use for growing vegetables?
If you can put enough soil in it that can drain, you can probably use it for growing vegetables. You can opt for the tried and true with large plastic or clay pots, but there are plenty of other options.
Some of the links below are affiliate links, I may earn a commission for purchases through the links at no additional cost to you.
A few items I would research before using. The internet and home improvement TV shows use plastic kiddie pools and old car tires. Some consider them safe because they degrade slowly. But, there is no research at this time one way or the other. Do your own research first before making your decision.
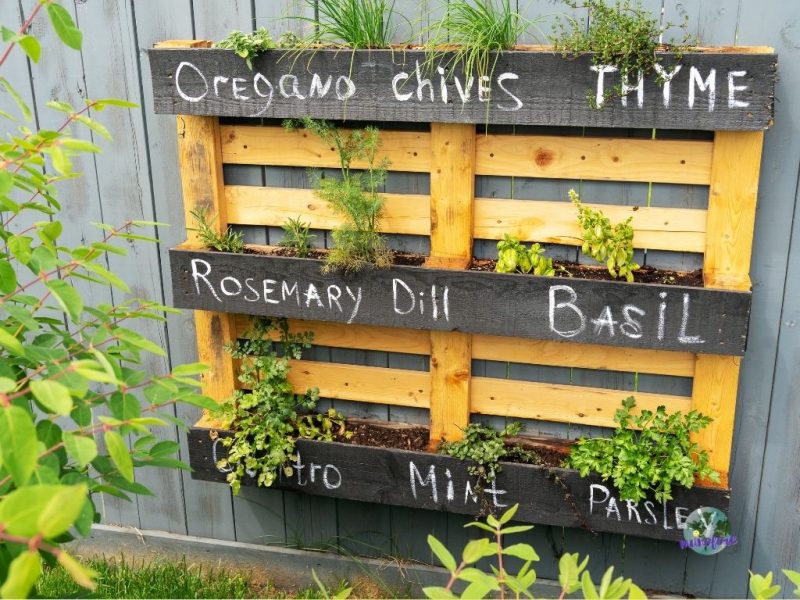
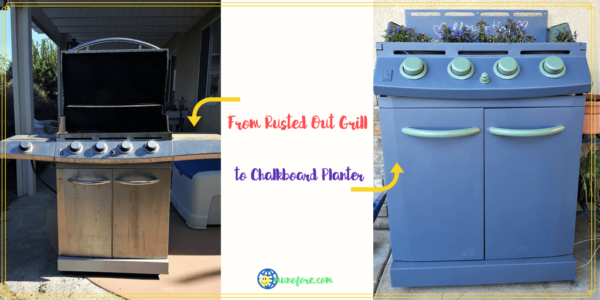
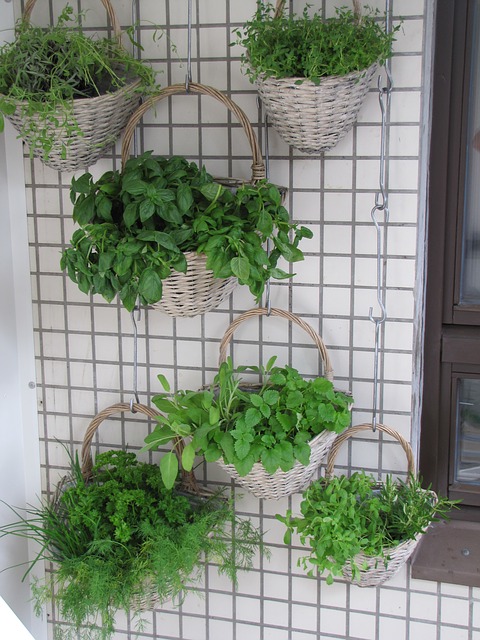
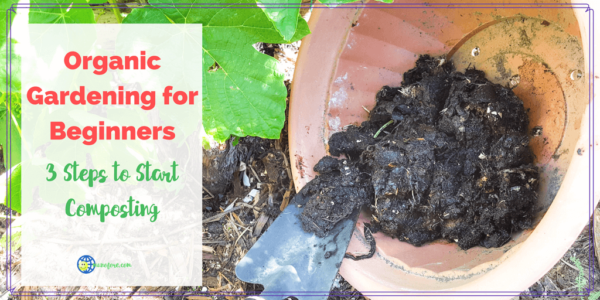
DIY Containers
In the past I have made a few different gardening containers.
DIY Self Watering Planter from Storage Tubs
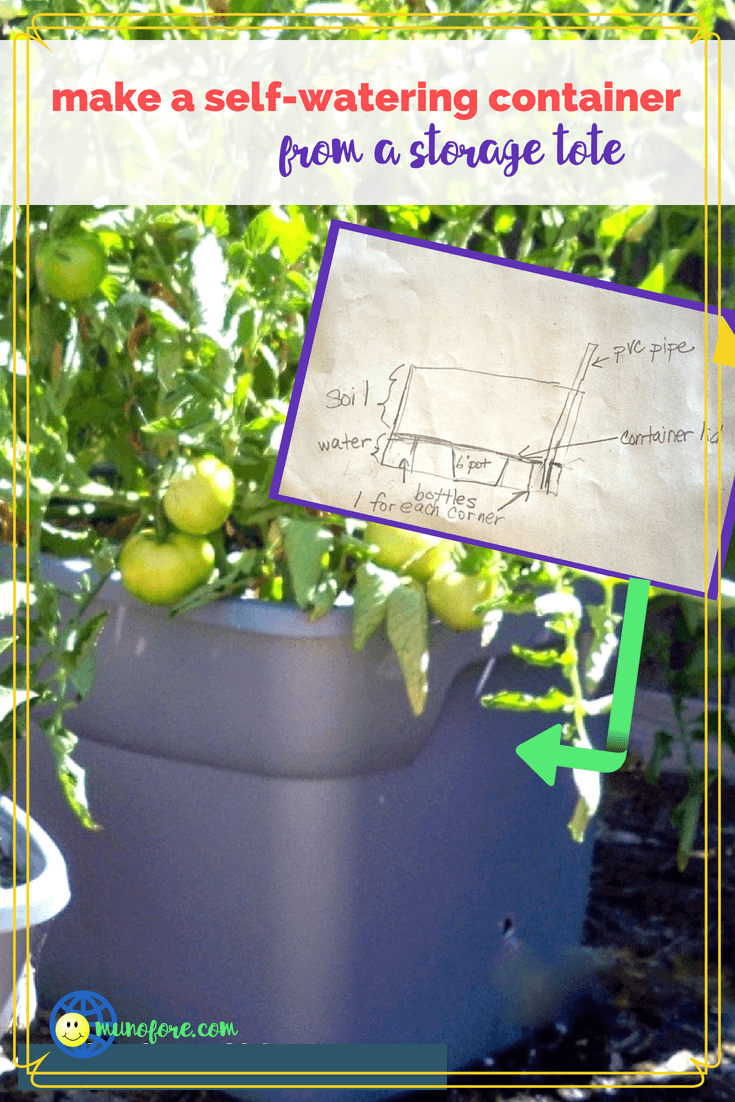
This lasted about 3 seasons and was pretty easy to make. If you get the tubs on sale it is a great deal.
Homemade Grow Bags in File Boxes
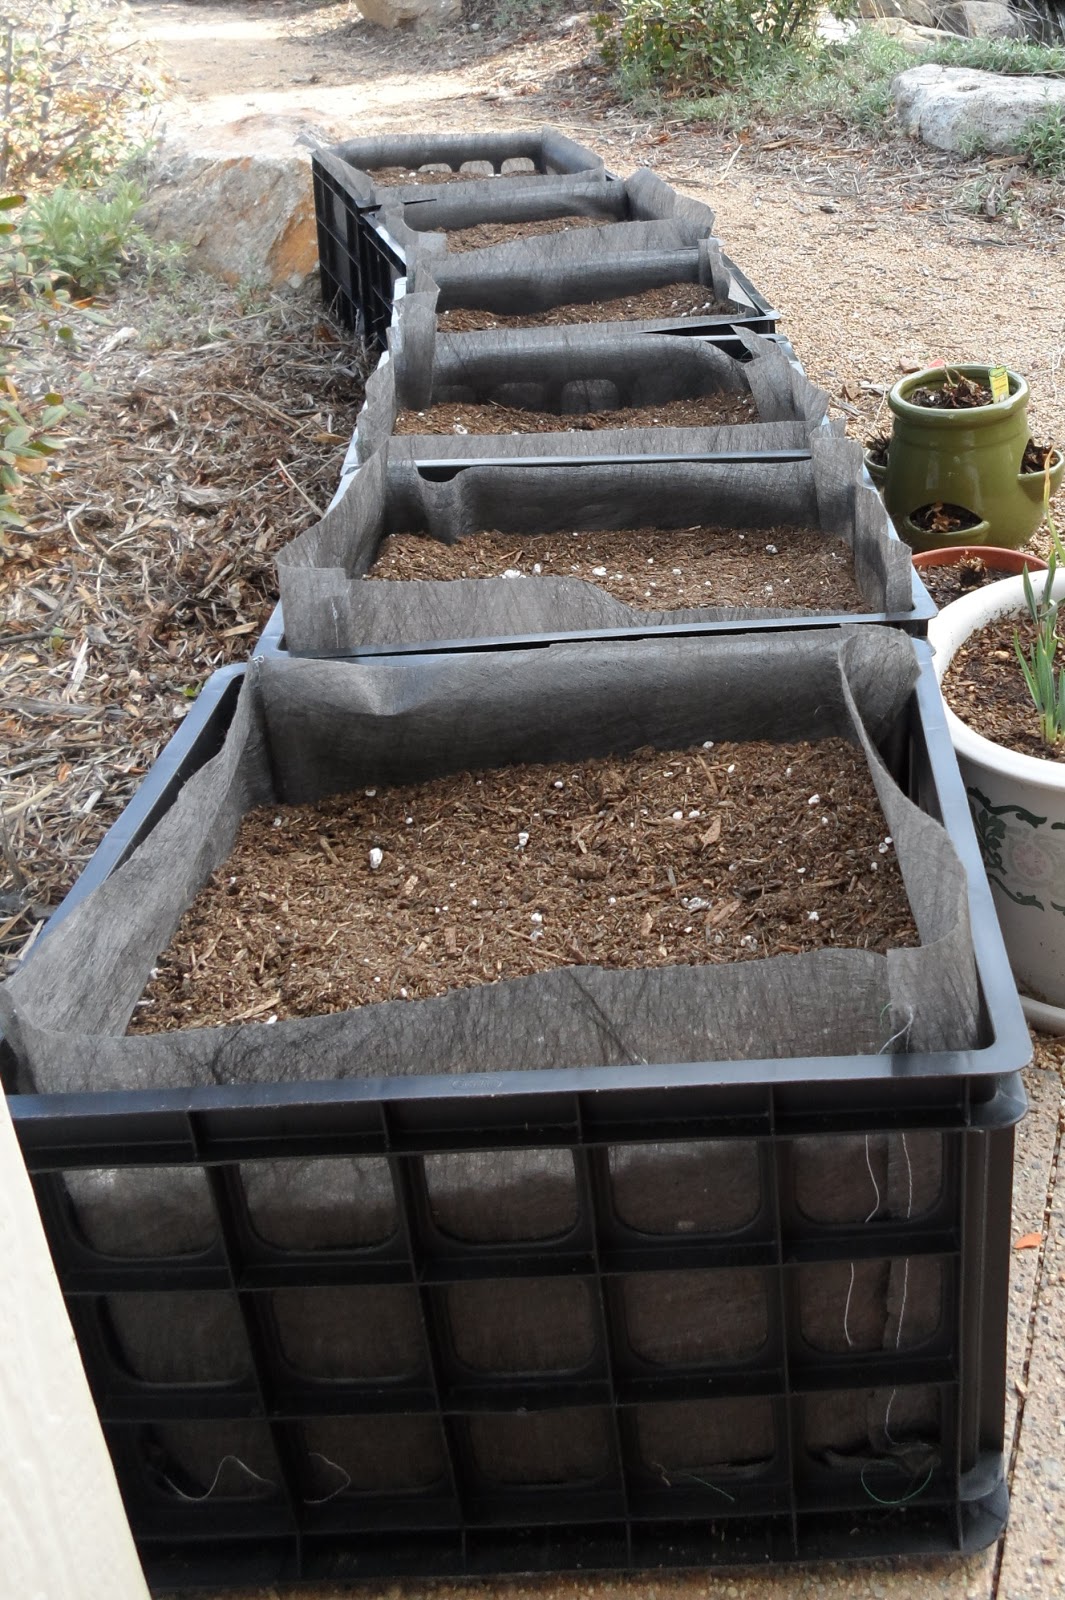
I never made a tutorial for these, but basically I sewed a 5 sided box out of landscape fabric and put them in plastic file boxes. Great if you live where it rains in the summer since the excess water will drain right out. Not so great if you live in an area that is hot and dry in the summer. They dry out way too quickly.
This year, I have some chili peppers in a glazed clay pot, herbs in a large plastic one and tomatoes in this self watering container. I love the self watering one and am planning on getting another.
Other fun ideas are
- grow bags
- galvanized tubs
- old bathtubs
- stackable garden towers
- wheelbarrows
- whiskey barrels
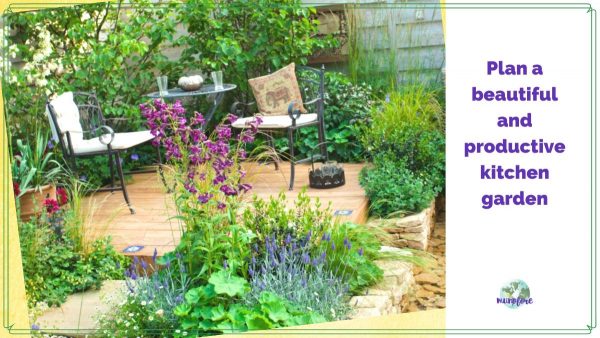
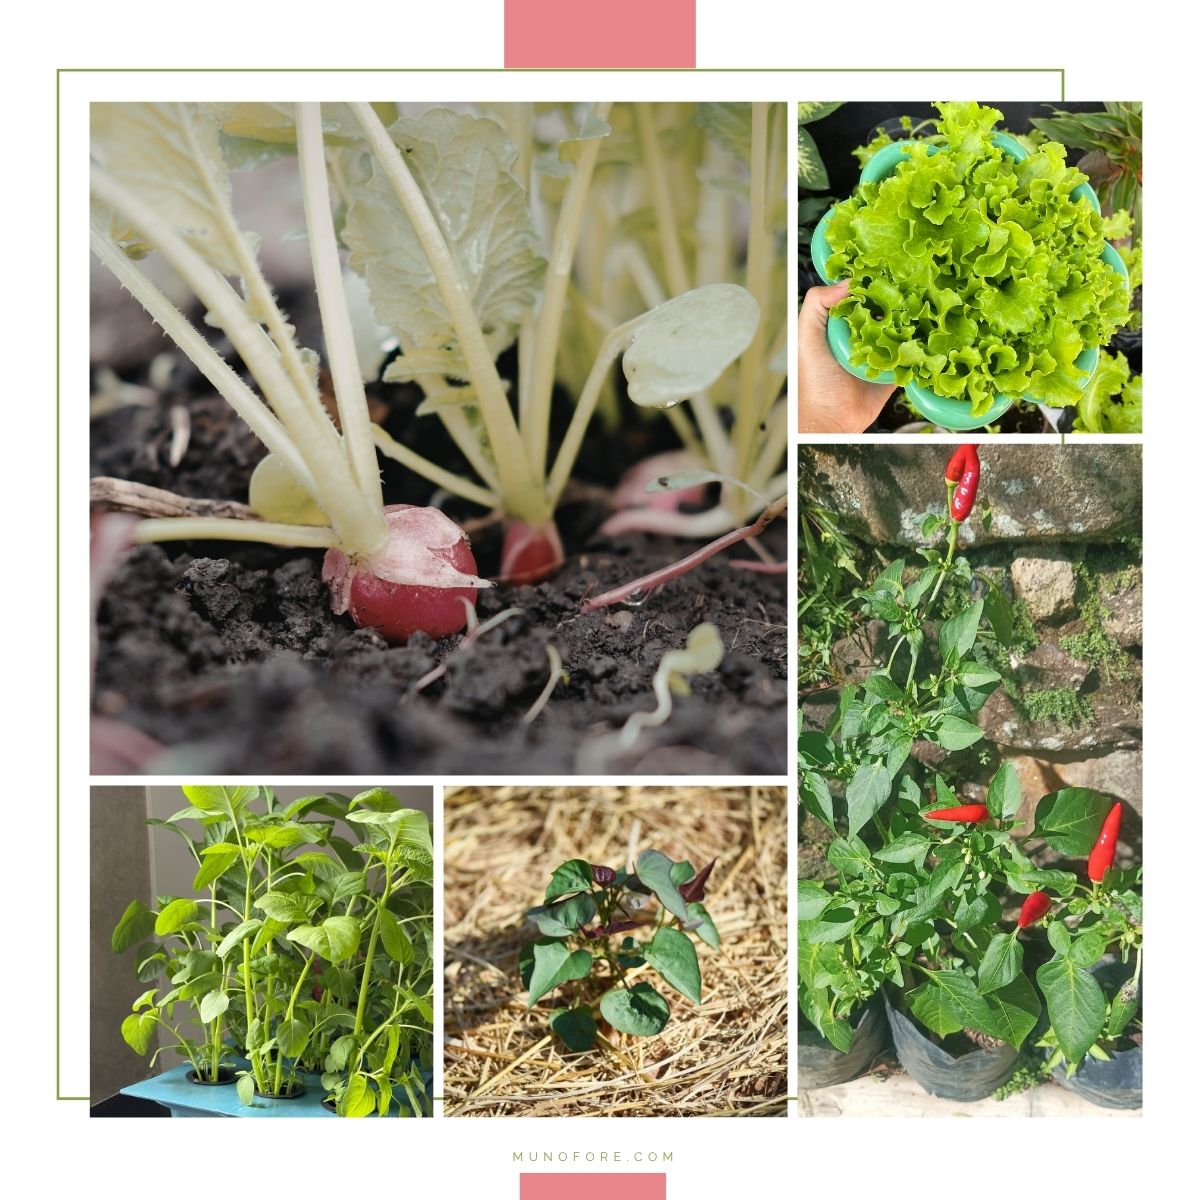
Five Easy to Grow Vegetables
- Radishes
Radishes are often one of the first vegetables for beginning gardeners because they are simple and quick to grow.
Potentially they could be ready to eat in just one month. Sow them in small batches throughout the growing season for a continuous harvest.
- Chili Peppers
Another great vegetable for beginners is the chili plant. Chilies can be used in a variety of cuisines and can be dried, frozen or canned to preserve your harvest for use throughout the year.
You’ll find that the warmer the weather they are grown in, the spicier they will be.
- Potatoes
You may be surprised to find potatoes on the list, but they can grow surprisingly well in containers provided it is large enough.
Soil depth is by far one of the most important considerations needed for growing potatoes. Other than that, they’re pretty easy to look after.
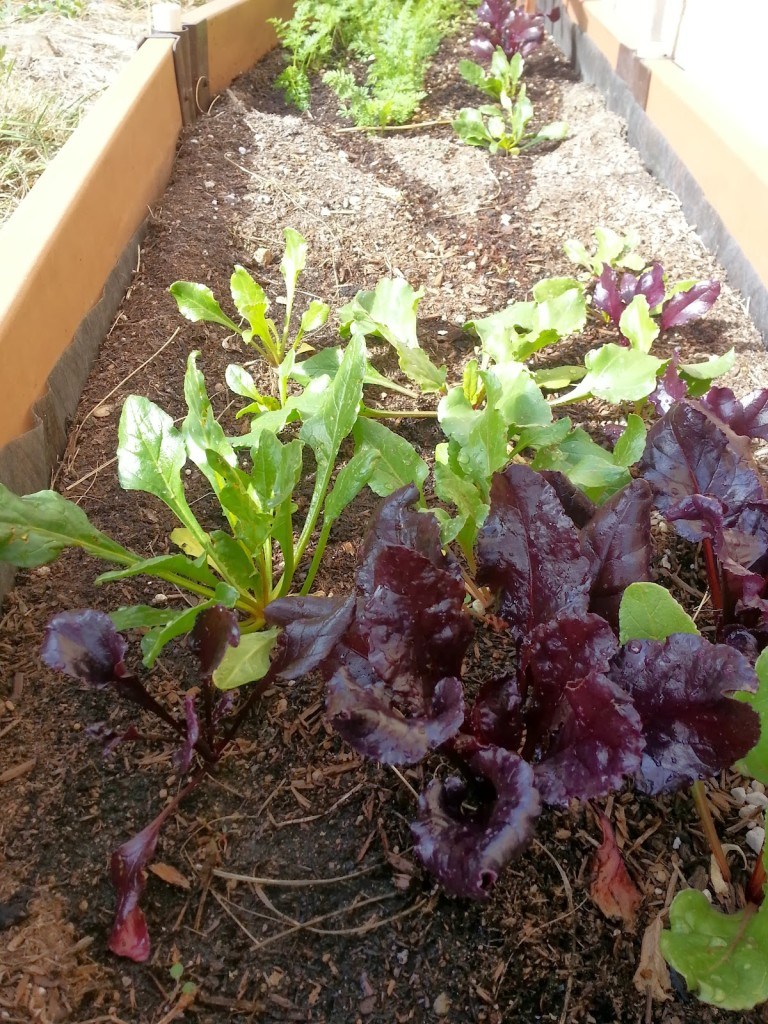
- Spinach
Spinach is considered a super food and it’s easy to grow in containers. Be sure to use rich potting soil.
It is also helpful to place the container in an area with light shade, rather than direct sunlight. In drier weather, water it frequently.
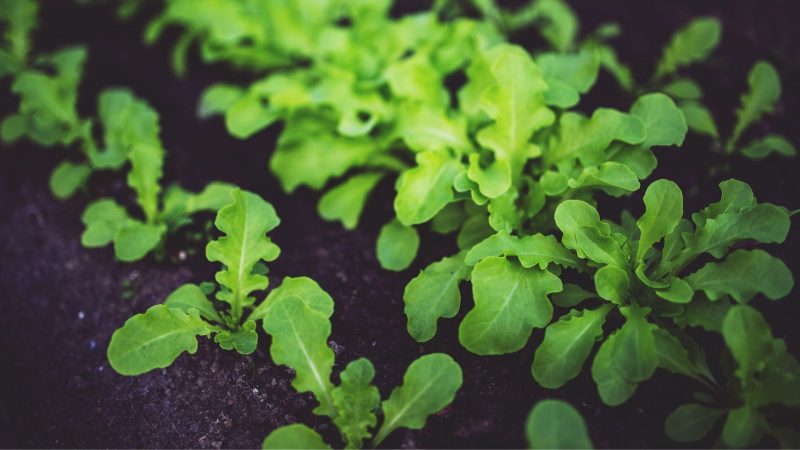
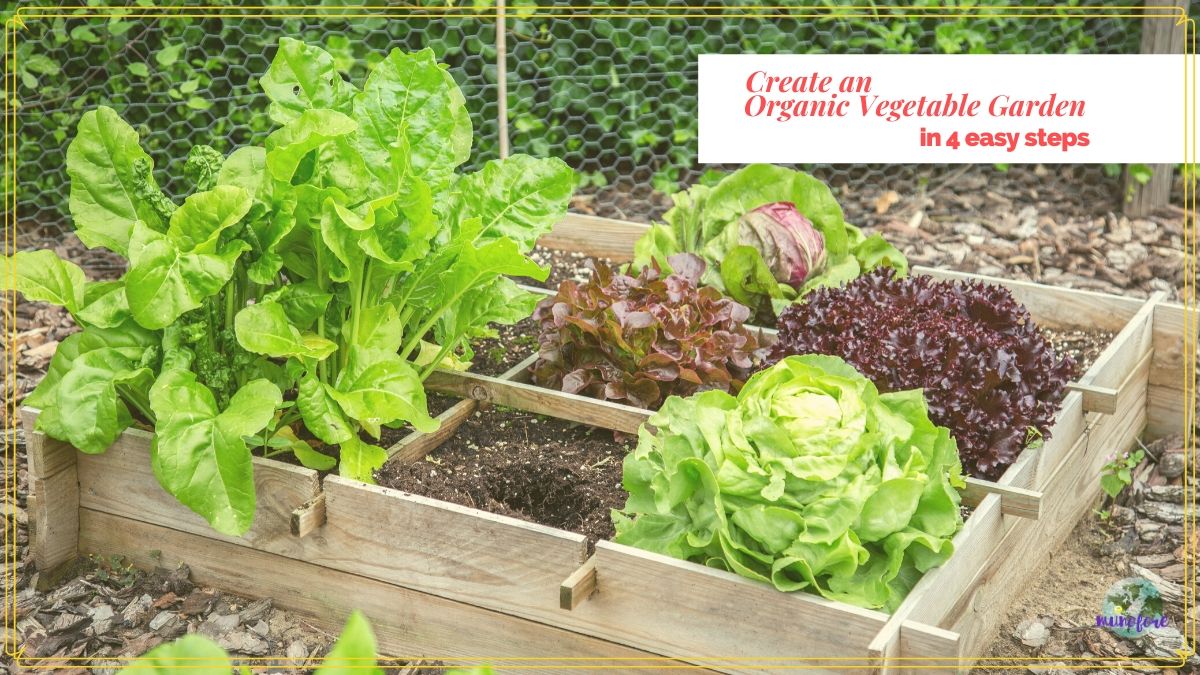
- Lettuce (including arugula and kale)
Enjoy super-fresh salads and grow your own lettuce plants. Like the radishes, sow them in intervals so they mature at separate times. As with spinach, the soil used will need to be rich and also kept continuously moist.
Overall, there are many different types of vegetables that you can grow in a container. However, some require a lot more maintenance than others. The five above are especially well-suited to beginners and those looking for the easiest types of veggies to grow. For more tips on container gardening, check out this post.