


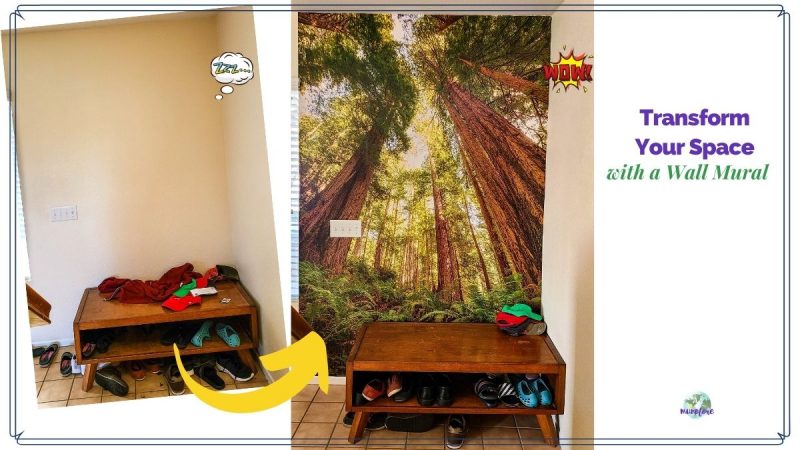
When it comes to home decor, the saying 'less is more' is often thrown around. But what if you could find a way to seamlessly blend multiple pieces into one stunning display? That's where triptychs come in – a set of three panels that work together to create a cohesive and eye-catching design.
Whether you're trying to add a pop of color to a plain wall or create a focal point in a room, a customized triptych can elevate your space in ways you never thought possible.
In this article, we'll explore the art of creating your own personalized triptych and how it can transform your space into a work of art.
A triptych originated as a religious artwork of three images hinged together (like the Raising of the Cross by Rubens. It is now a term used for a collage of 3 (or sometimes more) pieces of art that are designed to be hung side by side.
Finding one to fit your style can be a challenge and can get expensive. The good news is you can easily make one yourself with a computer and a few other supplies.
Supplies
- 3 identically styled frames
- spray paint (optional)
- a high resolution digital image
- ruler
- scissors
- picture hangers
Instructions
Some of the links below are affiliate links. I may earn a commission for purchase through the links at no cost to you.
Pick your frames
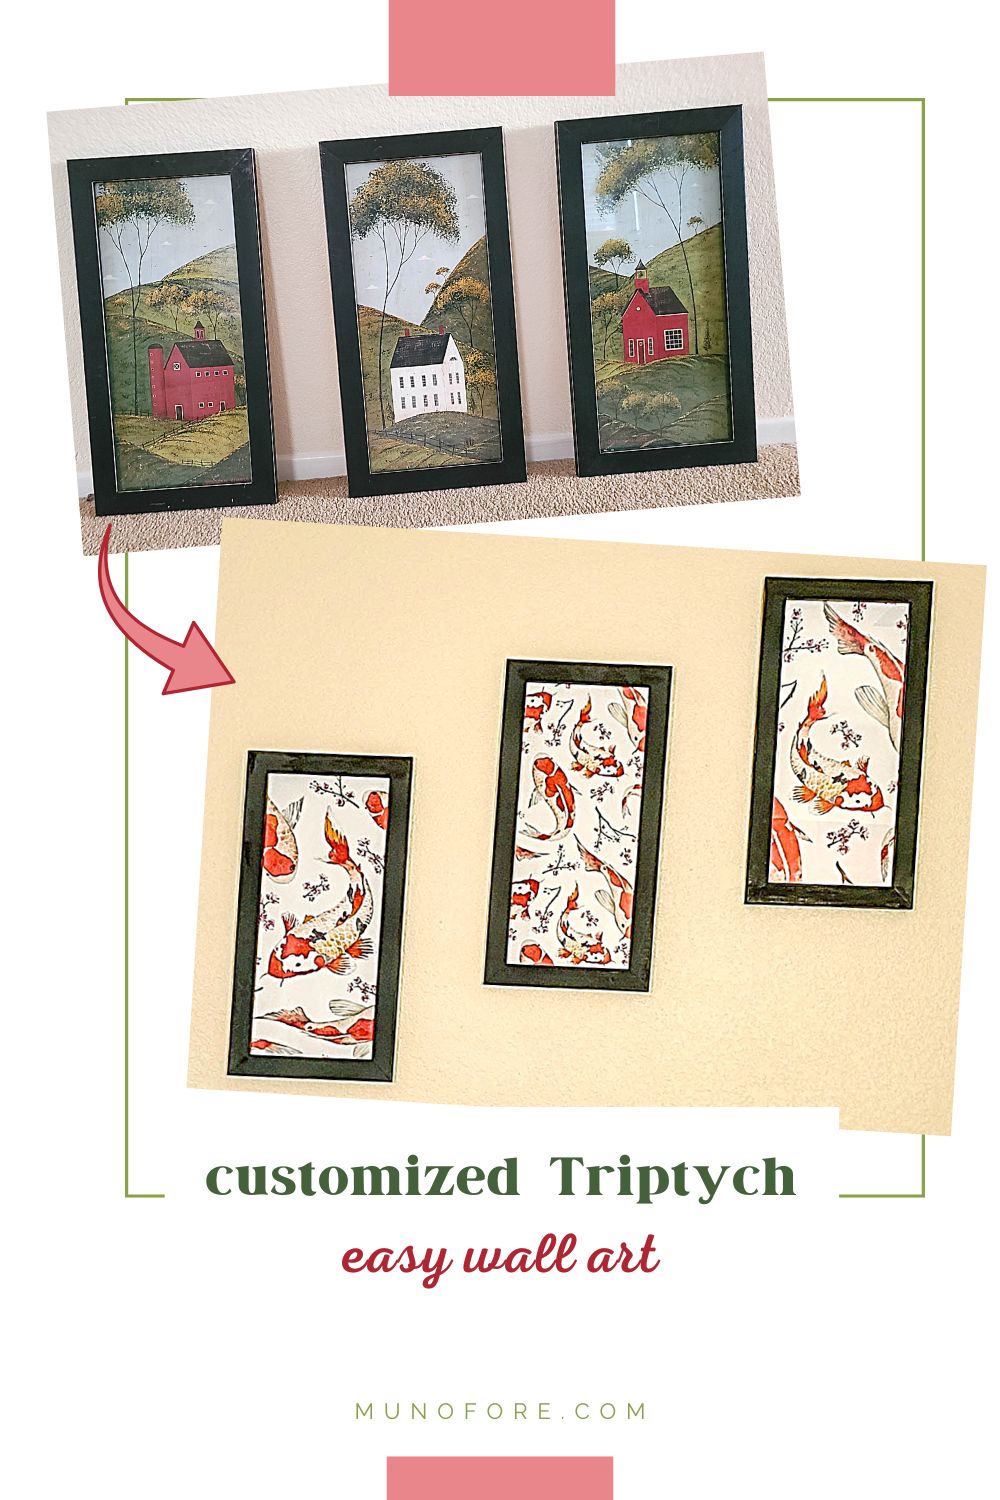
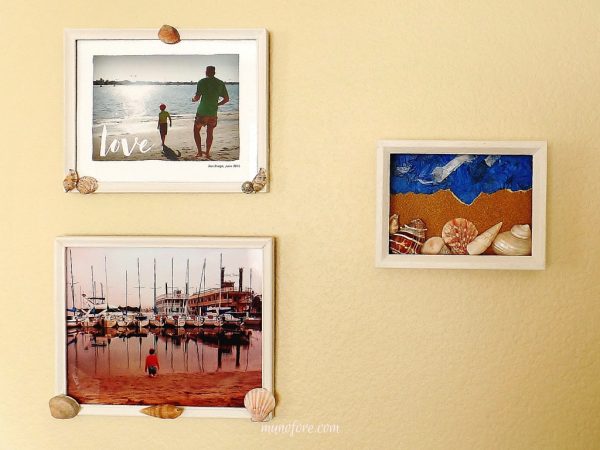
I got the rustic country triptych in the photo above when a neighbor had them on the lawn marked "free". The frames were in great shape, but the image was not my style.
You do not have to buy new frames. Go to thrift stores or yard sales and look for frames with matching (or similar) style and size. Even if they aren't the same color, or a color you like, you can just paint them.
Pick your design
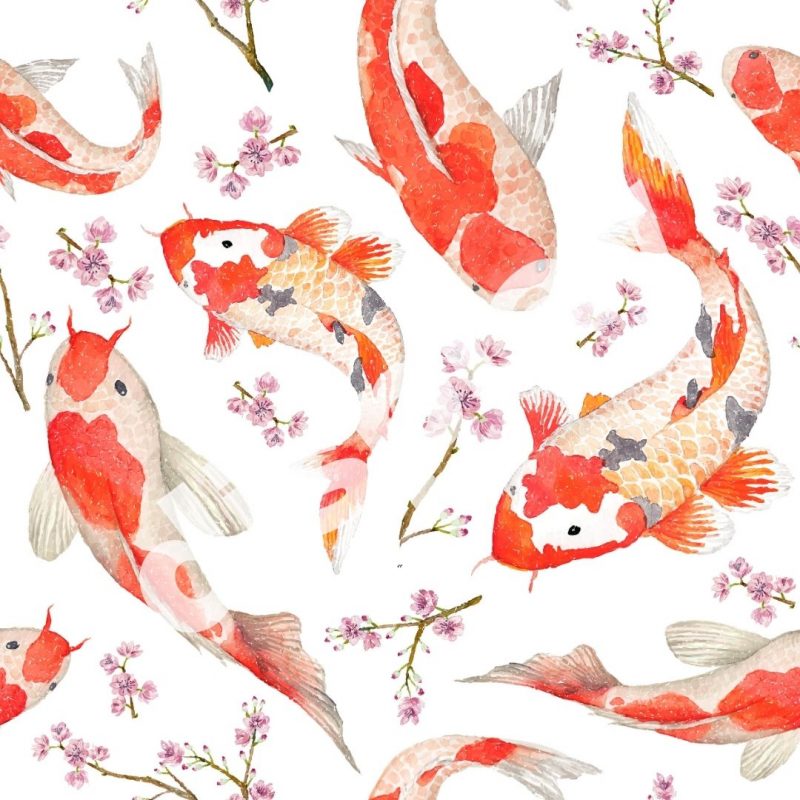
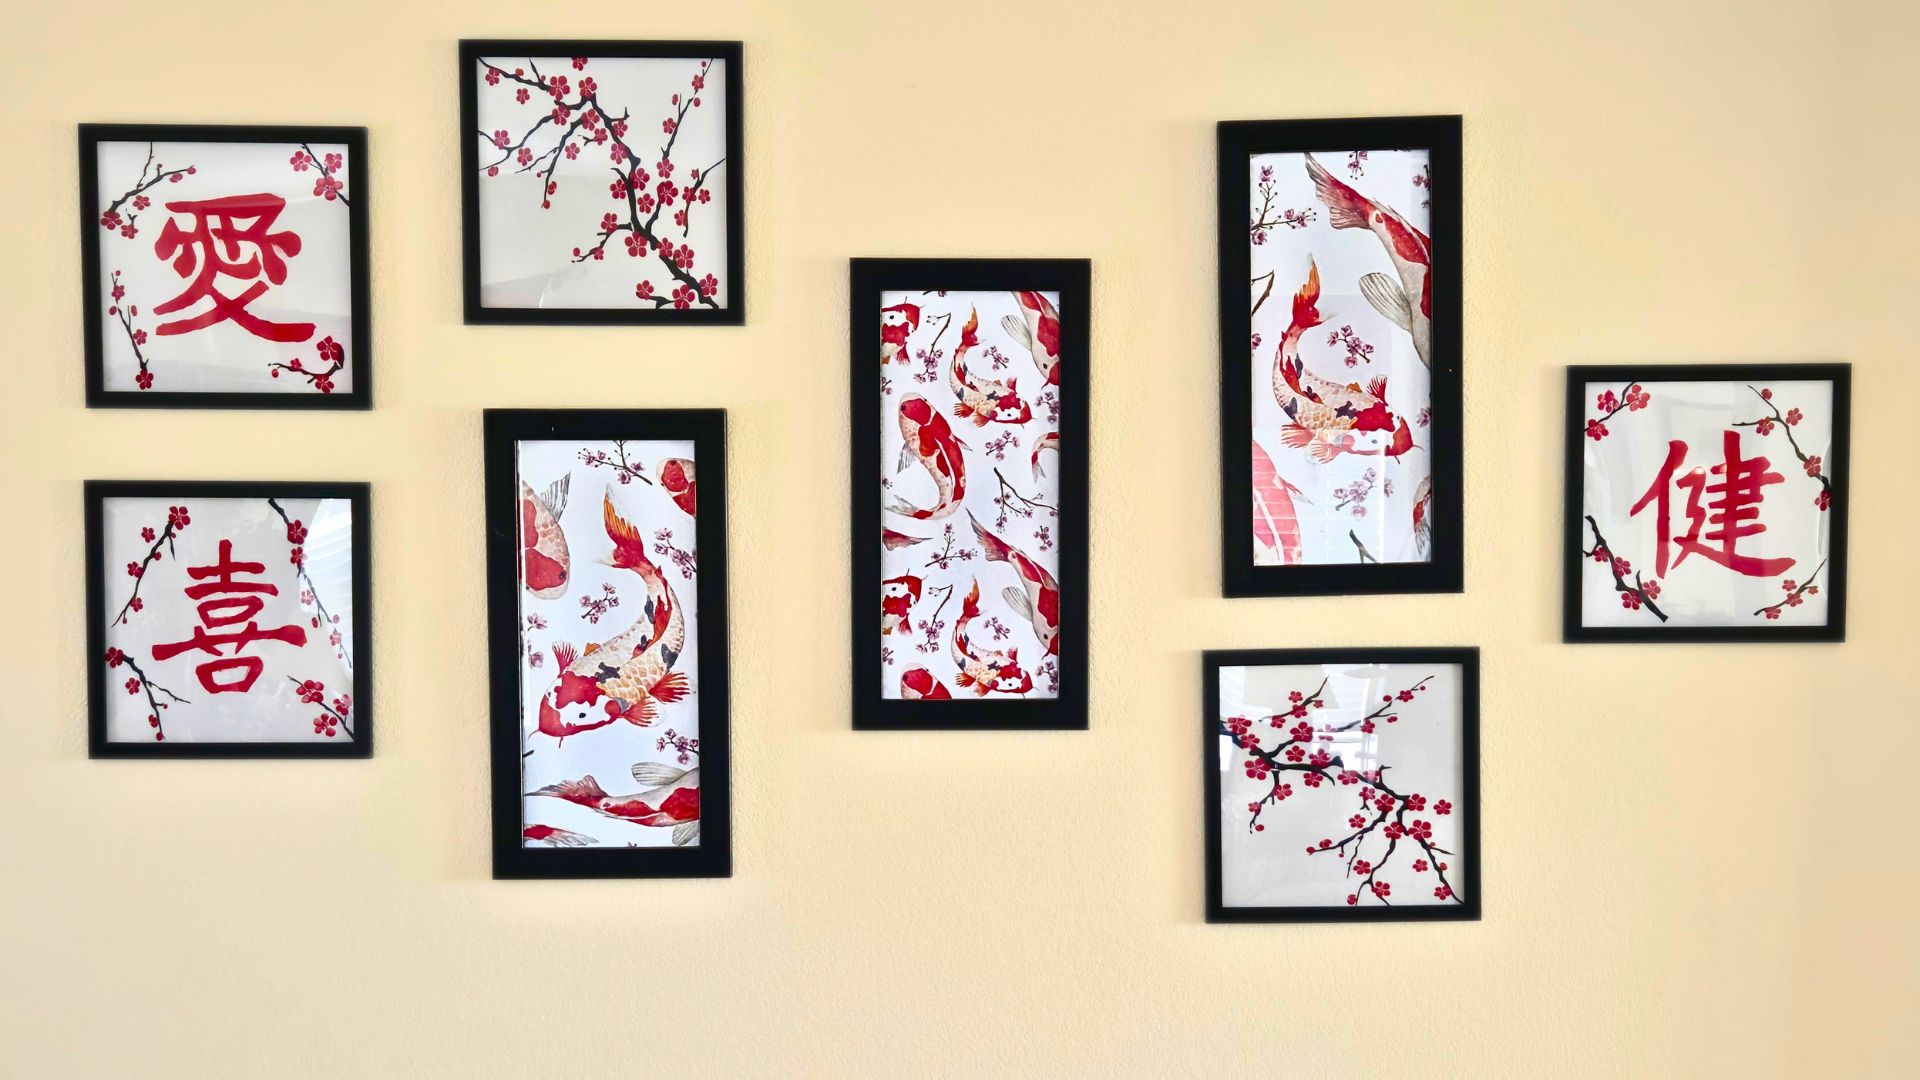
To go in my red and black Asian themed room, I found this koi repeatable pattern on DepositPhotos.
You can use your own photograph or search online for free photos or graphics. A few sites I like for free or low cost stock images:
Measure and Design
Measure the finished size of your design. If you bought new frames, you can skip this step. Otherwise, remove the back of the frame and measure the inside.
Mine were 9 inches wide by 20 inches high. So my total design space was 27 inches by 20 inches.
Next, I headed to my favorite design site, Canva. I have a Pro account because I use it for every image you see on my blogs and on social media. But, you can just use the free account or your favorite design software.
You are probably going to need to create customized dimensions for your project. Then select "grids" and choose the one with three equally sized rectangles. Then you will have 3 correctly sized rectangles to design.
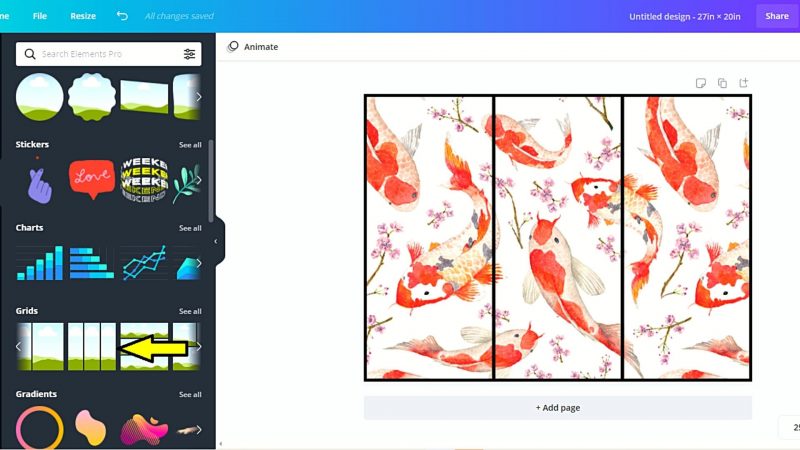
My original design was a square, but since it was a repeatable pattern I could arrange it to be one continuous rectangle with 3 parts. I just placed the image in to each rectangle and moved until it looked like the one above.
OPTIONAL: I shrunk the grid slightly and used a black background so I could see how it would look with my frame. When I was satisfied I made it fit the rectangle again and removed the background.
Print Your Design
I imported my design to create my own customized poster on Zazzle. It was quick and easy to do and they constantly have coupons. For a 20 x 27 semi gloss poster plus shipping and taxes, I paid about $20!
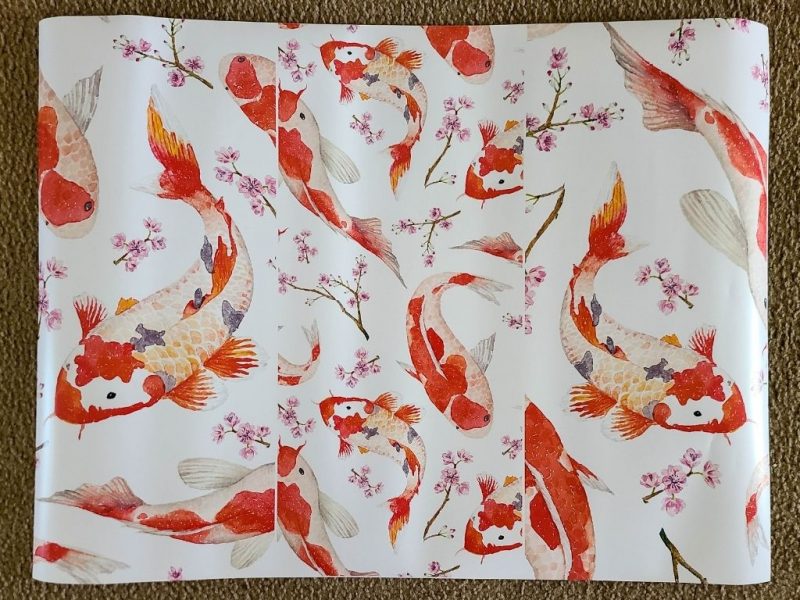
You can also have posters printed at local copiers or photo printing stores, so be sure to shop around. You will probably need to buy a slightly larger standard poster to fit your customized design. Just do not choose any "stretch to fit" type options and it should work with a little extra trimming. When in doubt, ask the company.
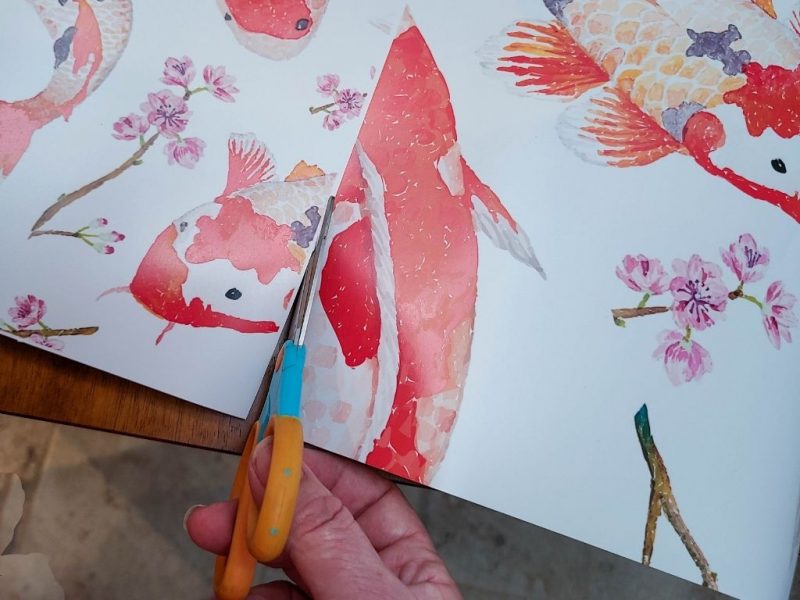
Cut and Hang
Since my poster was custom sized, all I had to do was cut down the center lines. I recommend a straight edge for this... do as I say not as I did.
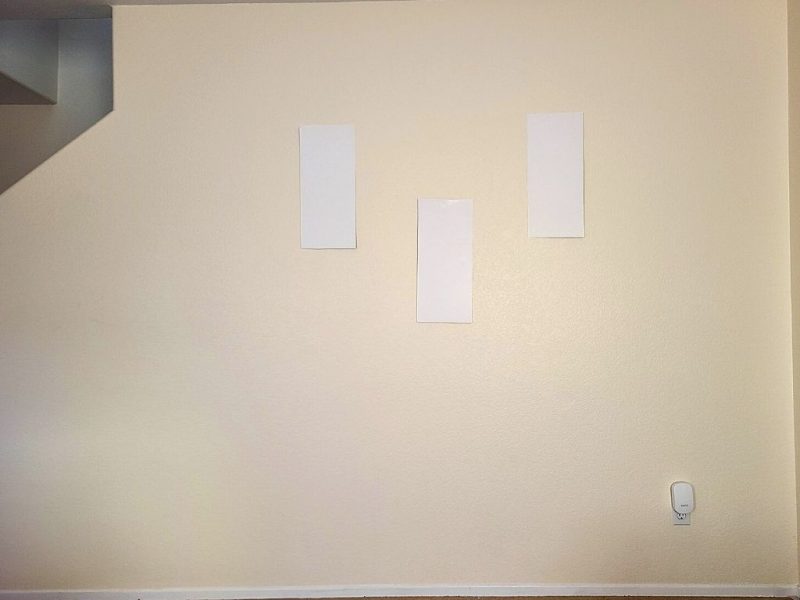
I used paper rectangles the size of my frames to finalize my layout to avoided extra nail holes. I probably changed it 10 times before finally deciding where I wanted them.
Enjoy your new look
Eventually, I decided to mimic the angle of the stair wall on the left, and I added the DIY Mixed Media Art which I framed for a more complete gallery look.


Leave a Reply