


Do you have a green thumb but limited outdoor space? Are you looking for a creative and cost-effective solution to beautify your home or garden? Look no further than pallet planters.
These versatile and sustainable gardening containers have become increasingly popular in recent years, offering a unique way to repurpose old wooden pallets while adding a touch of nature to any space.
So, grab your gardening gloves and get ready to be inspired by these easy pallet planters.
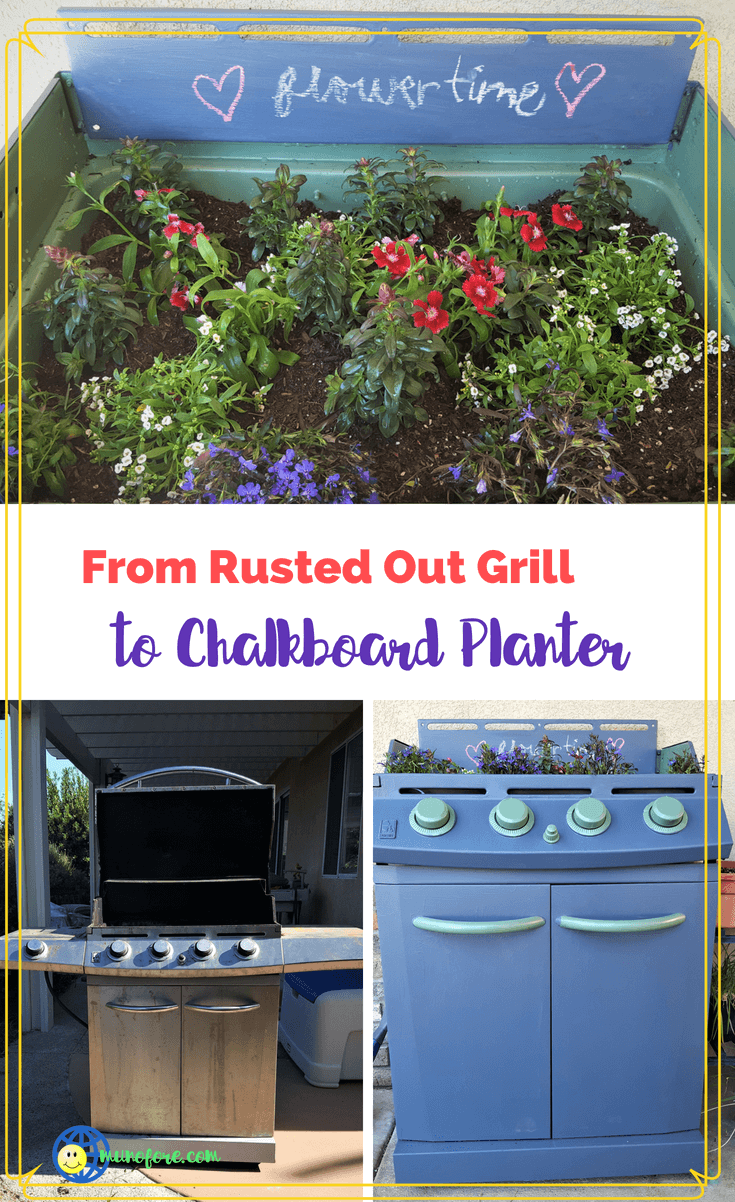
When we redid our flooring the boxes came on pallets. Being a hoarder uh crafter I saved them for projects to be named later. Like these planters
There are a few ways you can go about turning a shipping pallet into a feature piece in your garden, luckily both are easy to make without power tools. Though a drill makes life easier for hanging.
Are pallets safe for planting?
Having worked in shipping, I can tell you pallets take quite a beating and some are not built to last more than a use or two. But, even the single use pallets can be used to make a planter though you may need to repair or remove some broken boards.
Pallets not only take a lot of abuse in shipping, they can be treated with some nasty chemicals to prevent bugs, fungi and other critters. Check the pallet for markings, and avoid anything marked MB. You can read more about on Fix.com.
Also, depending on what they were used to ship, different chemicals could be spilled on them, particularly those that are painted already.
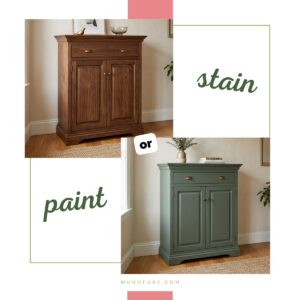
If I am using them for edibles, I prefer to sand it and paint (or stain) and add a coat or two of polyurethane as a barrier.
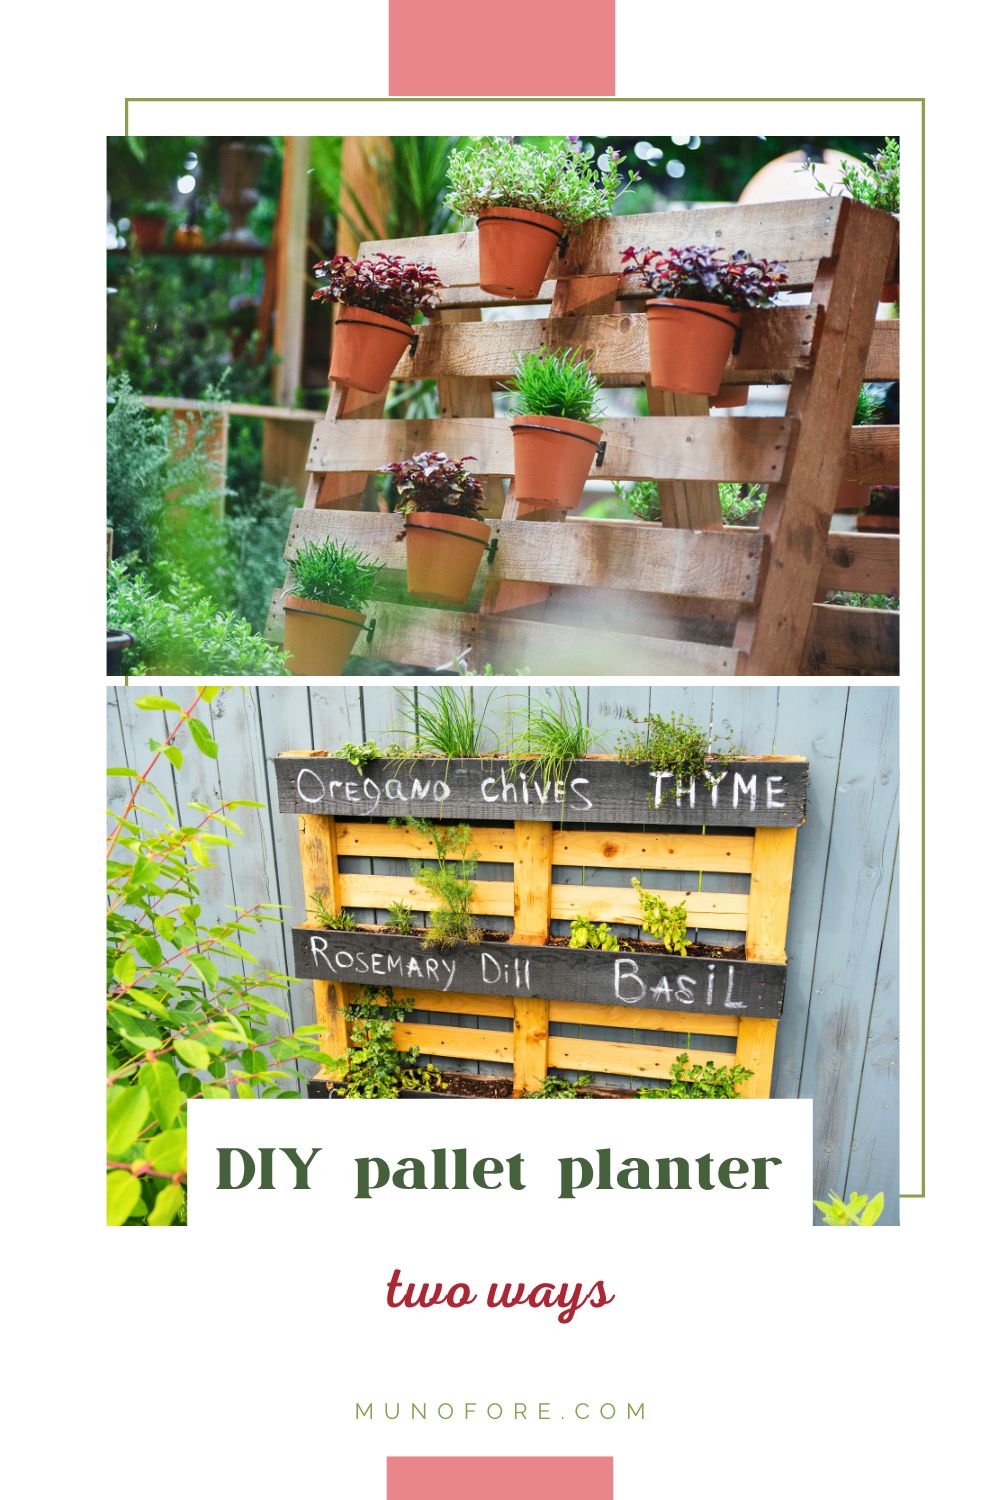
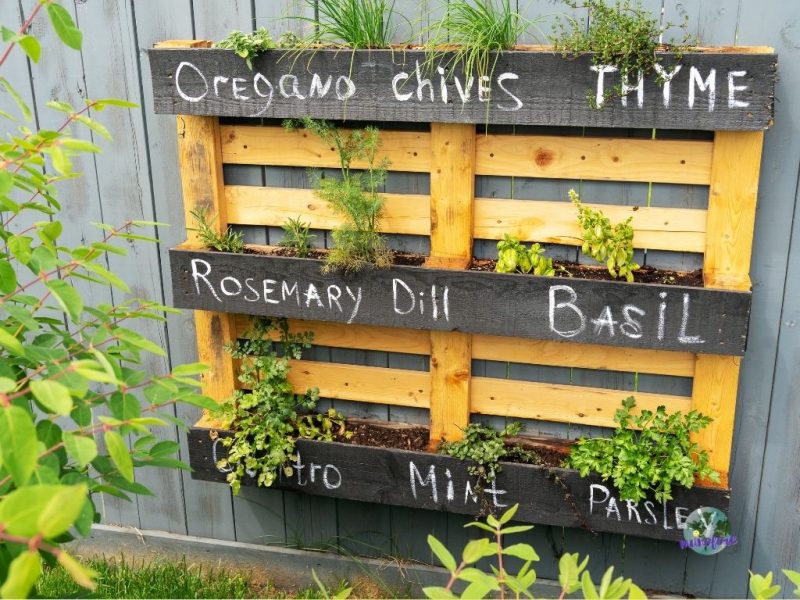
DIY Pallet Planter #1
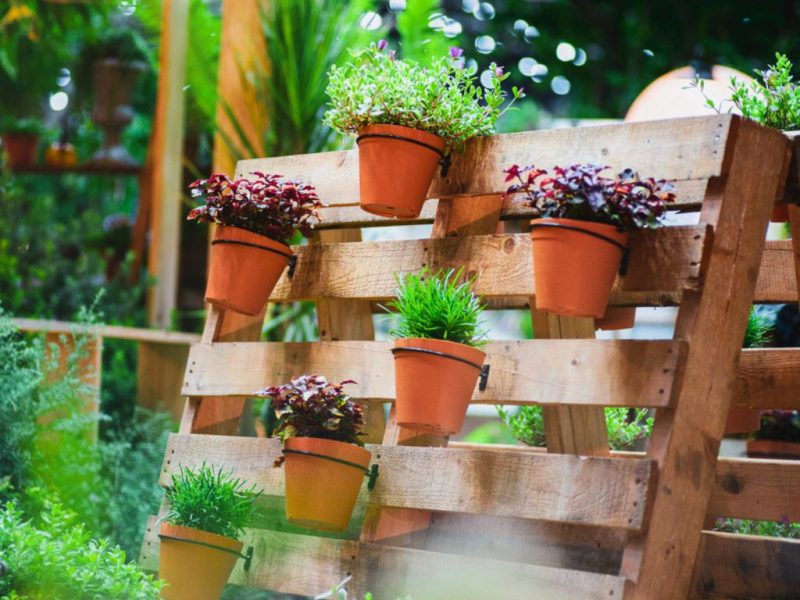
This method can be used with just about any style of pallet. You can hang it on a wall or fence, or use two pallets attached with hinges to set on the ground.
supplies needed
- pallet
- paint or stain plus brushes
- metal plant holder rings and screws
- cordless drill driver
- pots, potting soil and plants
- hanging hardware (see below)
instructions
Paint or stain your pallet as desired.
Attach metal plant holder rings to pallet with wood screws, leaving space between them for the plants to grow. You may need to drill a pilot hole before attempting to attach the screw.
Attach hanging hardware to pallet, then hang pallet.
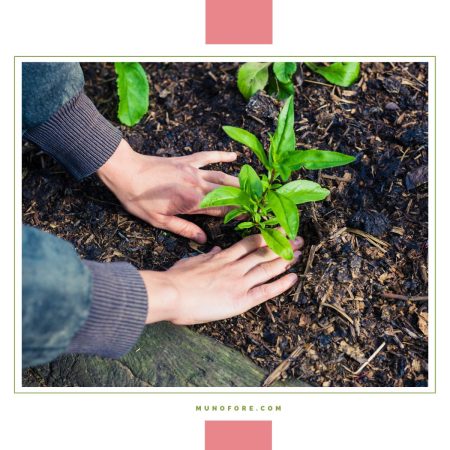
Add plants to pots and arrange in the plant holder rings.
Pallet Planter #2
This design is easiest to make with pallets that have only three boards on the bottom. Removing boards from a pallet requires a saw since the nails are specially designed to stay put. A reciprocating saw works best.
- pallet
- paint or stain plus brushes
- ¼-inch chicken wire
- landscape fabric
- staple gun
- cordless drill driver
- potting soil and plants
- hanging hardware (see below)
Paint or stain your pallet as desired.
Cut the chicken wire to make a base on the bottom of the planter "shelves" and along the back, if needed. Secure with staples.
Line the interior of the planting pockets with one or two layers of landscape fabric and staple in place.
Attach the hanging hardware and hang from wall or fence.
Fill pockets with potting soil and plants.
How to Hang Your Pallet Planter
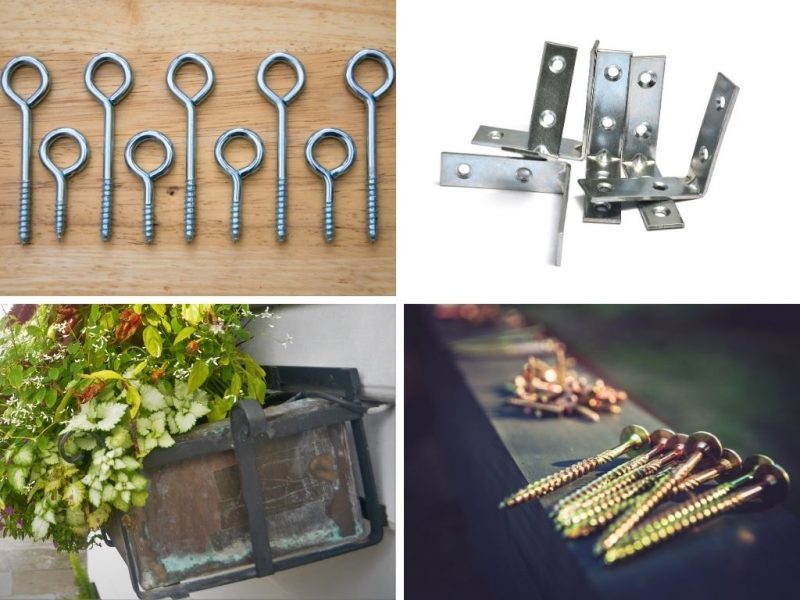
There are several ways you can hang your finished planter:
- eye bolts and chains, hooks or wire
- L or J brackets
- window box brackets
- wood screws
Whatever you use, it will need to be able hold the weight of the pallet (30-50 pounds), plus the plants, soil, pots and water.
You will also need to consider what you are hanging it on (wood fence versus concrete wall, for example).
Once your planter is hung and planted take the time to enjoy your work, while you plan your next project.
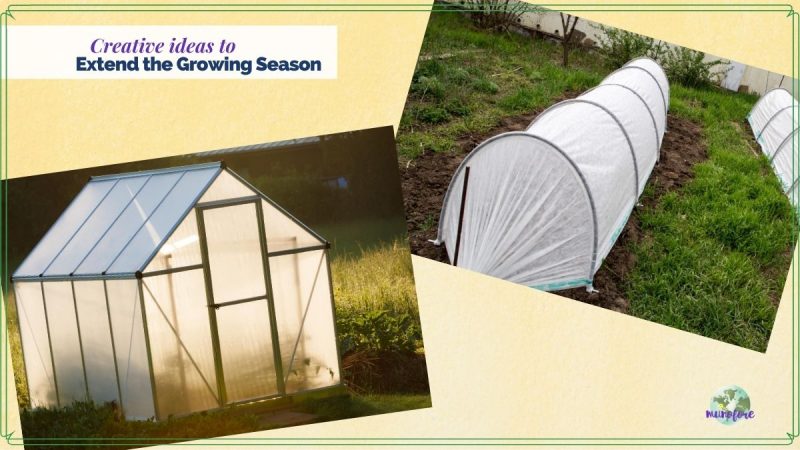
More Garden Projects
Leave a Reply