This easy scrap wood Halloween Sign will get your yard in the "Spirit".
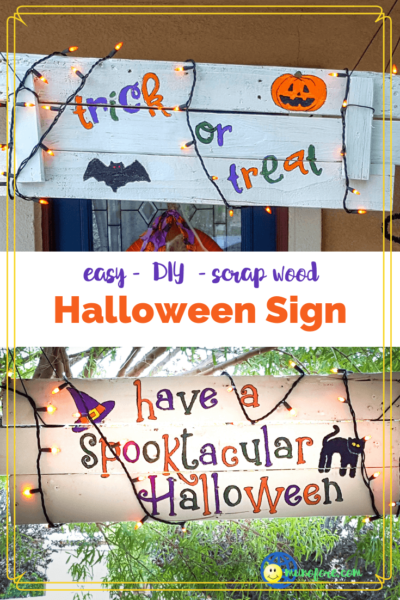
I needed a little something to hang on my front porch for Halloween, so I gathered some pallet scraps and paint and made this fun two sided sign so visitors have a friendly greeting both coming and going. We aren't much for the scary aspect of Halloween around here. But you could just as easily paint a more macabre sentiment if you desire.
I do not own a die cutting machine such as Cricut or Silhouette which would make this a bit faster. But, with an ink jet printer you can create the same effect.
Some of the links below are affiliate links, I may earn a commission from any purchases made through these links at no cost to you.
Scrap Wood Halloween Sign Materials
scrap wood
nails or wood screws
hammer or drill and screw driver
ink jet printer
paper or card stock
white matte paint
outdoor patio paints
paint brushes, large for the white and artist brushes for the details
black paint marker or permanent marker (aka Sharpie)
Scrap Wood Halloween Sign Instructions
Prepare the Board
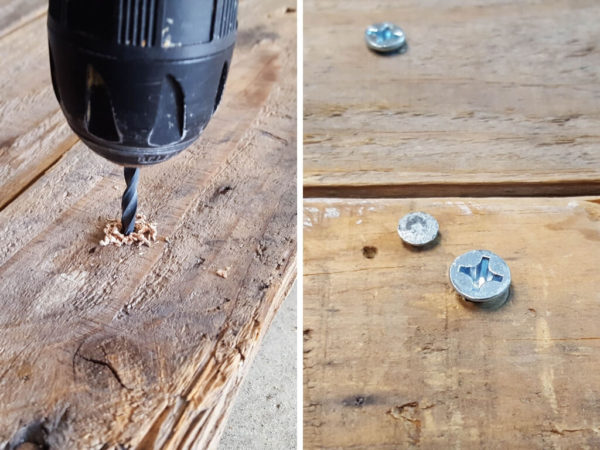
I used three smaller boards leftover from the pallet I used to make photo backdrops. I tried to use wood screws, using a drill for pilot holes to make it more secure. But it wasn't happening. My two cross beams were too hard, and I didn't have the patience. So, I did a few with nails.
Paint the board
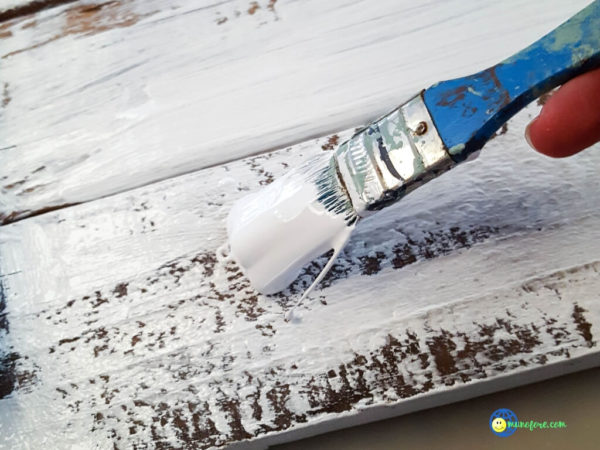
Since I was going for a shabby chic worn look, I slopped on some white paint thinly and unevenly.
Create the design
While the white base was drying I created my design on the computer. If your letters are thick you can print them on card stock and cut them to create a stencil. Just type them in Word and print.
To rub on the design instead, create your text as a Word Art and then flip horizontally (format|rotate|flip horizontally) then print in black on plain printer paper.
You can use whatever fonts and images you have, or check out what I used:
Paint the design
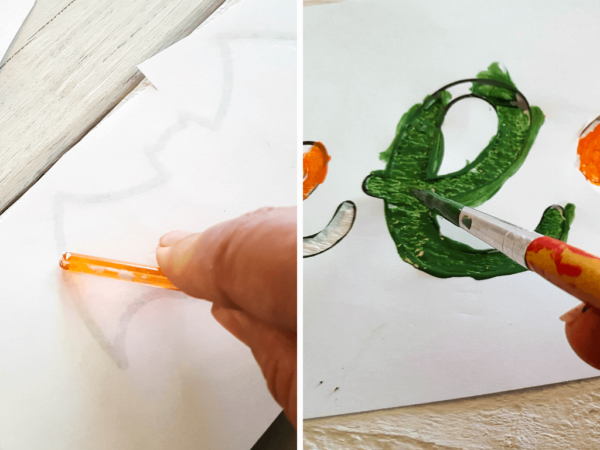
As I said above, you have two options to transfer the design from the paper to the board. If you are using the stencil method just cut and paint.
Otherwise place the design on the board, ink side down. With a pencil or the back of a paint brush rub the design until the ink rubs off on the design. You will need to press fairly hard, but you only need a faint imprint in order to paint over in your desired colors.
Hang and enjoy
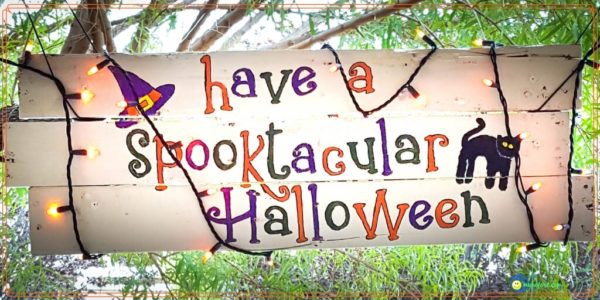
I wrapped mine with a strand of colored lights to make it more visible. Or you could use a spotlight if you want.
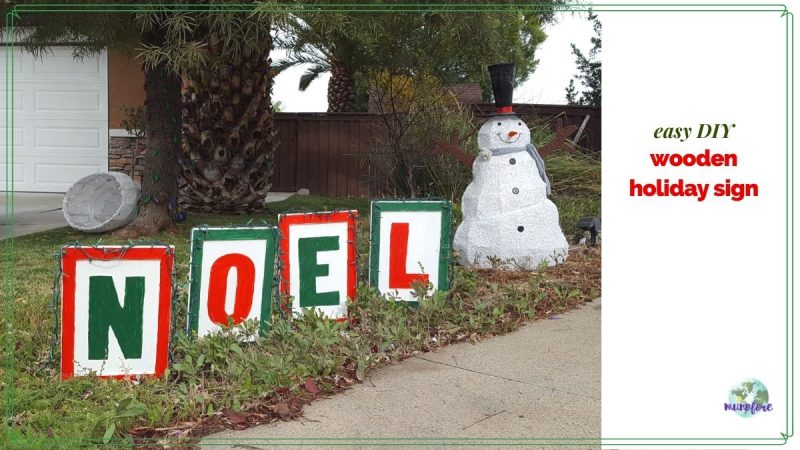
You don't have to save this method for Halloween. I used the same technique on an old skimboard to make this garden sign that hangs on my fence year round.









Anita Holland says
Very pretty!