


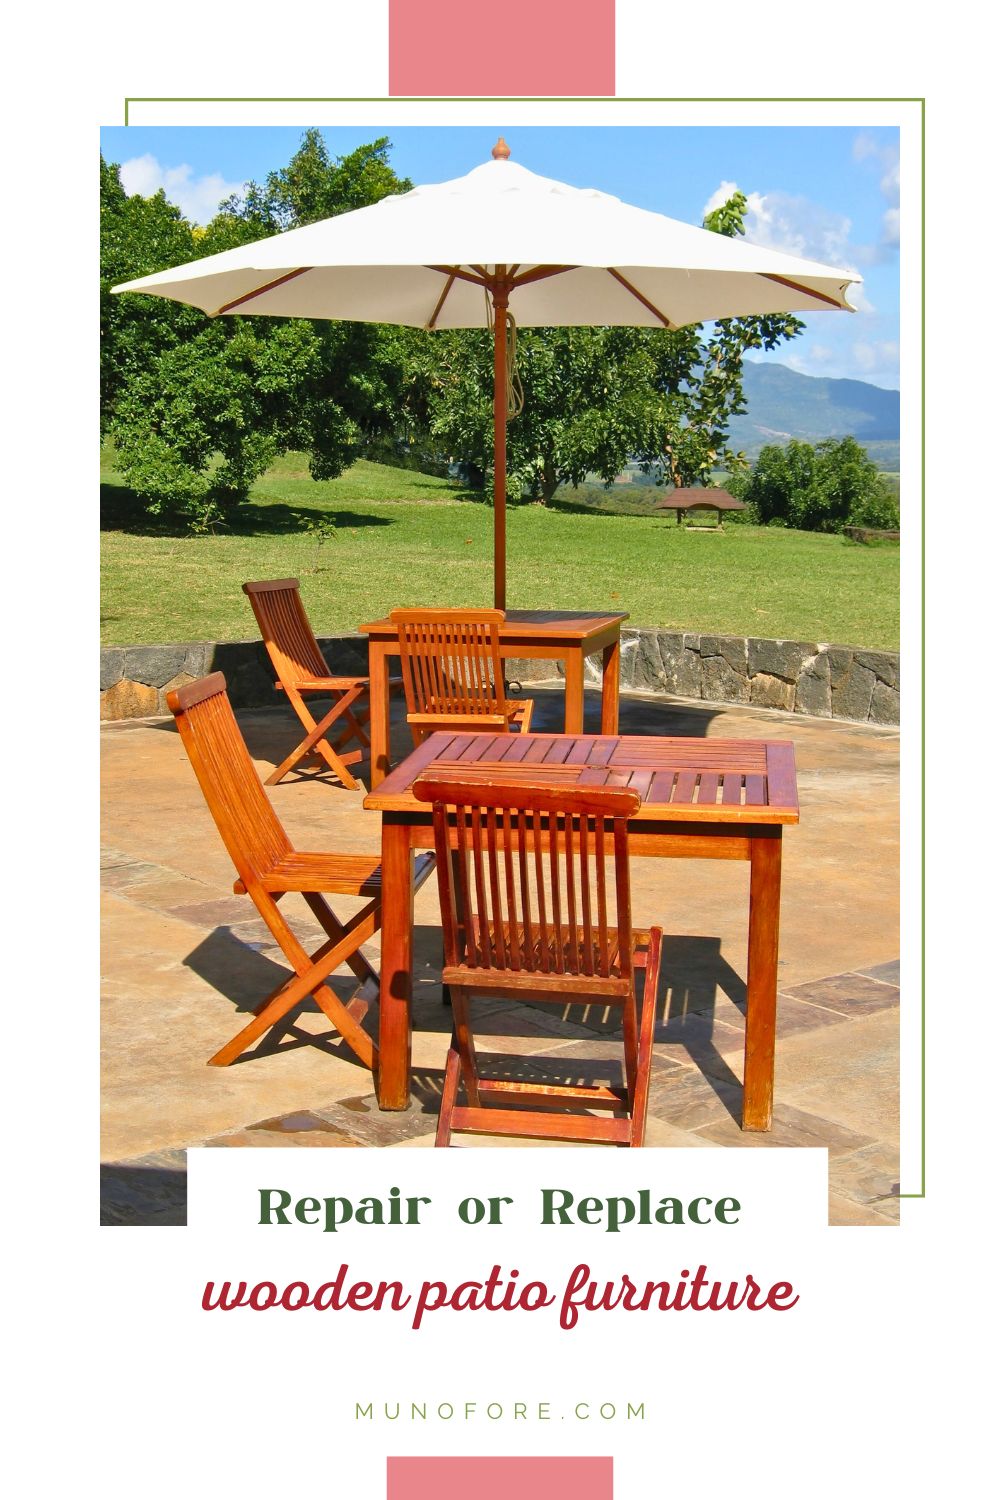
Is your wooden patio furniture looking a little too shabby and not enough chic? Or are you tired of the old look and ready for something new? Should you replace it or can you give it a facelift?
This post will explore how to evaluate wooden patio furniture and walks you through step by step how to make it look like new again. So you can consider if you have the skills and time to tackle this project.
My patio set was looking a little ragged; stain fading, arms rough to the touch, a table with a broken shelf, faded cushions including one that had been shredded by neighbors dog when it broke through the fence and had a party in my yard.
It was time for a refresh.
I am a dangerous DIYer. I have basic power tools (drill, sander and power saw) and I mostly know how to use them. Unfortunately, I often bite off more than I can chew skill wise and I always under estimate how long things will take. The latter was definitely a problem with this project. What I thought would be a weekend job, turned into a weeks long project.
Luckily, the patio furniture is not heirloom quality so if I messed it up we would still be able to sit on it.
If you are considering refreshing your patio furniture, or maybe you saw some on FB Marketplace... or the curb, here are some tips from my experience.
Step One: Critique
Take a hard look at the furniture and yourself. Be realistic about your skill level and available time. This may not be a project to start the weekend before you host an outdoor barbecue for your family and friends.
Are the pieces structurally solid? Are there broken slats? Sit in the chairs, give tables a little shake, etc. If it feels unsafe or something is broken, do you have the skills and tools to fix it?
The bottom shelf of the coffee table was broken on one side. Two wood screws and it was good to go. Some of the pieces felt a little wobbly, but tightening the screws and adding some wood glue took care of that.
Is it moldy or dry an brittle? Depending on where you live mold and mildew can damage the wood, or it can be so dry that it cracks and is no longer stable.
Is the paint or stain chipping off or faded? Does the wood feel rough, especially on the arm pieces?
Painting and staining are pretty easy to do. I have stained these pieces a few times. I don't want to say ANYONE can do it, but... pretty much anyone can do it.
How are the cushions? Are they torn? Is the foam reusable? Can you sew?
I have already re-covered the cushions on the big pieces once and had plenty of material left over to do it again. The foam on the dining chairs was a little thin, so I either had to replace the cushions entirely or buy new foam and cover it.
Step Two: Design
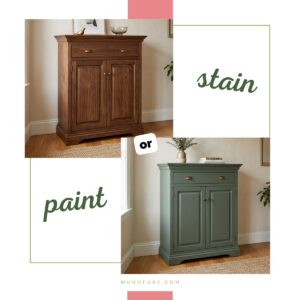
Decide what color you want your new look to be. Do you want it darker, lighter, change stain to paint or paint to stain?
What color or pattern do you want your cushions?
Decide all of this before beginning, because it will effect the next steps.
Step Three: Purchase and Prepare
Staining the wood: If you are going to use the same color stain or darker you can just sand off the rough patches and stain over it. I have done this twice on this set.
Items needed: detail sander (recommended) or sand paper, paint brush, outdoor stain, rags, drop cloth, nitrile gloves, old clothes you don't mind getting stained (TRUST ME!) and elbow grease (that means be prepared for hard work kiddies, its not something you can actually buy).
If you want to go lighter (like I did this time) you need to strip the old stain off first.
Items needed: all of the above plus chemical stripper, scrapper, stripping brush (I used this brush and these pads)
Painting the wood
Similar to the stain, if you are going darker to lighter you may want to consider stripping it first, or you may need multiple coats.
Items needed: All of the above except outdoor paint instead of stain.
Switching between stain and paint
You can paint over stained wood (add an oil based primer to your supply list) but to stain painted wood you will need to strip it down first.
The cushions
Get out the measuring tape and measure the existing cushions. If you are going to buy new ones, try to find something in a similar size.
If you want to recover, I recommend outdoor fabric. Plus you will need thread and a sewing machine. Most patio furniture uses a basic box shaped cushion, which is pretty simple to sew without a pattern.
Step Four: Get Dirty
Strip the old paint or stain (optional). Warning this is going to take longer than you think. Each of the pieces I did, took at least an hour of actual work (not just waiting for the stripper to activate).
Sand all of the pieces and make repairs. Wood glue, wood screws, wood filler putty all recommended.
Stain or paint according to the package directions. Let it dry and do a second coat or make touch ups as needed.
Step Five: The Soft Touch
Some pieces, like Adirondack chairs, are meant to be cushion free. But, most need a nice soft cushion for your back and tush.
Sew new covers or buy existing cushions about the same size as the old ones. An inch or two larger should be okay because you can squish it to fit.
Items needed: new cushions, or outdoor fabric, thread and a sewing machine.
Enjoy your new look
Fire up the grill and pour yourself a glass of your favorite beverage and enjoy your new furniture.


Leave a Reply