Marching Band cupcake topper patterns featuring a customizable shako and color guard props to use with Cricut, Silhouette or other die cutting machines.
Are you searching for cupcake topper patterns for Marching Band and Color Guard? Here are some free patterns you can cut using your band's colors to celebrate the end of the season, or a birthday or any other reason you may have to serve cupcakes.
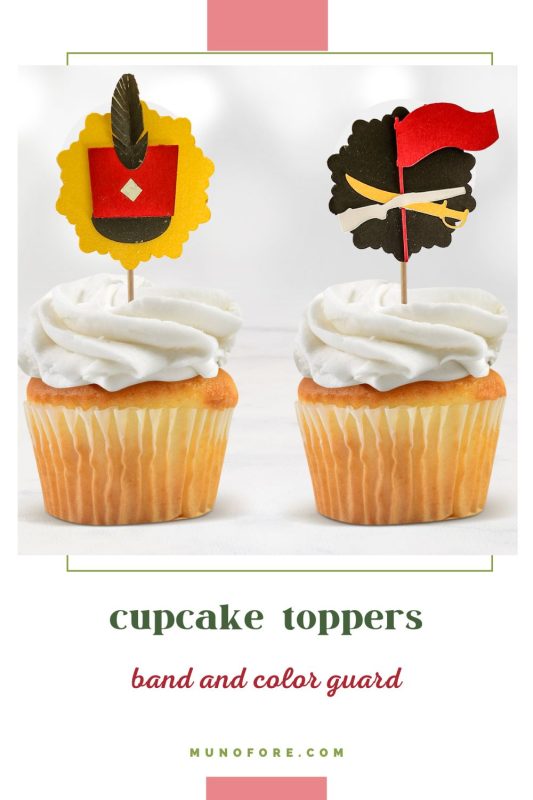
I made these for our post State Championships celebration, and the kids, parents and coaches loved them.
I struggled to find a pattern for marching season. All I could find was music notes or a few instruments.
That didn't say marching band or color guard to me. So, I created my own pattern to use with my Silhouette.
One fellow band mom suggested I sell the pattern, or even offer to make them as a custom order on Etsy.
But, who is going to buy it? Other band moms (or dads, or directors or maybe even a band member or two).
As a member of our band's Booster Board I know first hand how precious every dollar is.
Instead of charging for my cut file, I am offering this file absolutely free with two conditions:
- SHARE this post. I am sure there are other marching band folks out there looking for cupcake topper patterns like this. Pin the post, share it on Facebook, tag me with a photo of your finished product on Instagram, etc.
- Don't sell this file or claim it as your own! If you want to set up a business to make and sell the toppers, I am okay with that. Though it would be nice if you gave me a little shout out saying thanks.
Download the File
The first step is to download the file. It is a PNG file with a transparent background, which should be an easy import to both Cricut and Silhouette software.
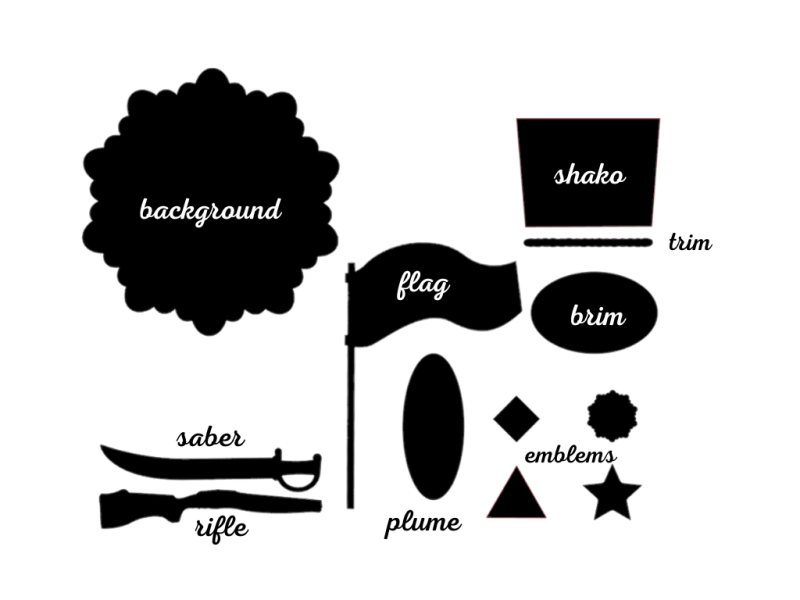
How to Create the Cupcake Toppers
The rest of this post is dedicated to explaining how to use the file to create the cupcake toppers.
If you already know how, then go enjoy the graphics. Thanks for visiting.
Upload and Separate the Graphics
First step, upload the file:
How to upload to Cricut Design Space
How to upload to Silhouette Studio
Then stretch it to your desired size by grapping the little box in the corner. I used 4.25 inches high by 5.325 inches wide, making the scalloped circle about 2.5 inches. A standard cupcake is 2.5 inches across on the top.
After you have resized the design, you need to separate the pieces:
- Silhouette: right click on the design, scroll down and chose "Release Compound Path".
- Cricut: I do not have a Cricut, so I searched and found these instructions. I hope that works.
Cut the pieces
Pick the emblem that looks like the one on your shako. This year we had a mirrored diamond, so I actually hand cut some diamond shapes out of aluminum foil.
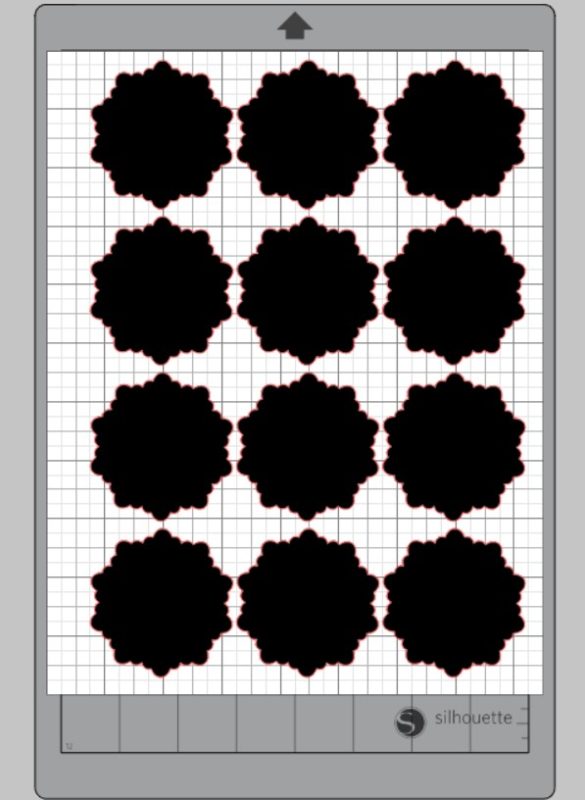
I usually set up different tabs for each color I am going to cut. Then I duplicate the image as many as I can fit on the page.
Here's an example of the scalloped circles, which I cut on gold for the band and black for the guard.
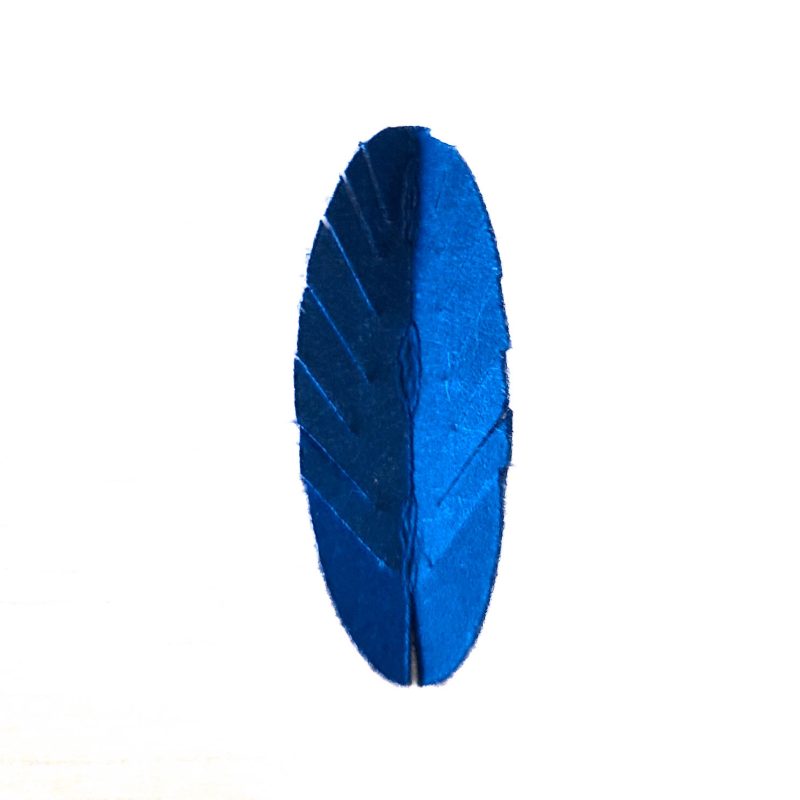
For the plumes, I folded the circles in half and made diagonal slits leaving about ⅛ inch in the middle.
Assemble the Toppers
Once all of the pieces are cut, assembly is pretty quick and easy.
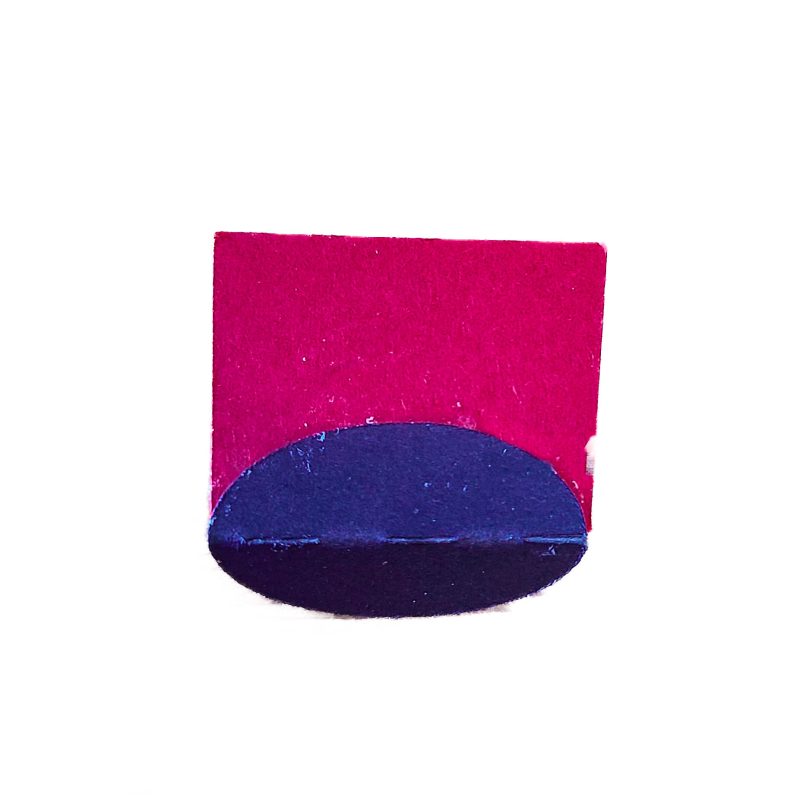
For the shako, glue the brim half way on the back then fold it up toward the front.
You can make them flat, but I added a little depth with these 3D Foam Squares.
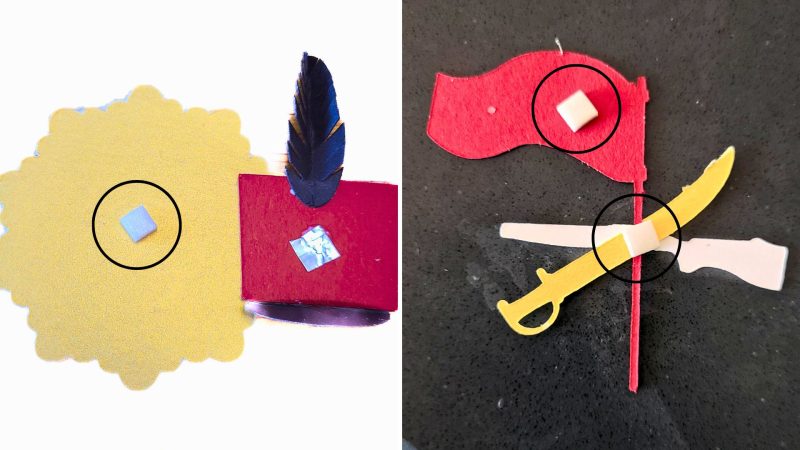
Finally, glue them to a toothpick to stick in the cupcake.
Products I used for the cupcake toppers
Red, Black, White, Silver and Gold cardstock (65 pound is fine, I used 100 for the circles)
White Glue - stick or liquid
Toothpicks (plain will be fine - I used these)
Silhouette Portrait 2
I'd love to see what you make with these, please tag me on Facebook (@munofore) or Instagram (@thatrecipe) with a photo of your finished toppers.







Leave a Reply