• Skip to secondary menu
  • Skip to main content
  • Skip to primary sidebar
  • Skip to footer
  • About Me
  • Legalese
  • Recipes

Munofore

a little spot of happy in a crazy world

  • Latest Posts
  • Crafts
  • Home/DIY
  • Gardening
  • Health and Happiness
  • Other Fun Stuff
    • Blogging and Social Media
    • Family Life
    • Humor
    • Photography
    • Random Thoughts

That Recipe is a participant in the Amazon Services LLC. Associates Program. This site contains affiliate links to various websites, including Amazon.com. Purchases through these links help support this blog at no additional cost to you. read more

Kids Craft Idea: Easy Clay Coil Pots

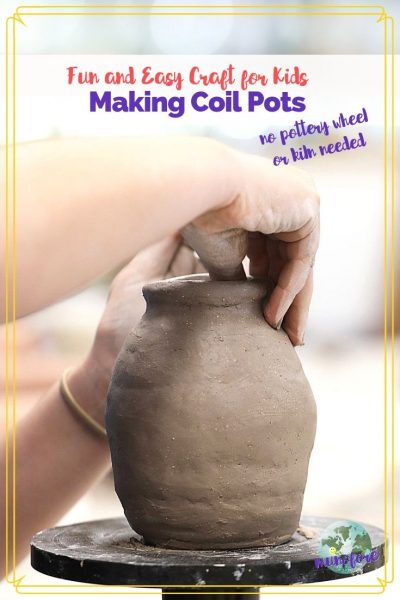
Pottery is a craft that appeals to all ages. A basic coil pot is easy to make yet it is quite versatile. You can easily vary the height and width, narrower it in some places or go with straight sides, smooth the sides or leave the coiled rope effect. These step by step instructions will get you started.

child smoothing out clay pot

Supplies:

  • Clay that can air dry or that can be fired in your oven (see below)
  • Hard, flat surface (one you don’t mind getting messy)
  • Clothes that can get messy (an old men’s dress shirt put on backwards works great as a cover up.
  • acrylic paints, if desired

NOTE: One draw back to air drying or polymer clay is that it cannot hold water like kiln dried clay. So these cannot be used as vases for fresh flowers or as a dish for food or drink.

Step #1 Warm the clay. Knead the clay with your hands for a few minutes to get it warm and pliable. However, take care when folding the clay repeatedly because you can cause air bubbles to form. Air bubbles will weaken your pot’s structure.

Step #2 Roll your clay into a long rope. The diameter of the rope will be the thickness of your pot, so keep the purpose and the size of your pot in mind. It’s important to know that your pot will shrink as it dries. Generally, your final pot will be about 10% smaller than the original.

Step #3 Build your pot’s base. Coil the clay rope, create the base for your pot. Note that the taller your pot is going to be, the larger the base needs to be to support it.

Step #4 Build up the side’s. Once you have your base constructed, begin coiling the clay rope on top of your base. Each new circle of the rope makes the pot taller. Continue with the coiling until your pot is the desired height.

Step #5 If you would rather have a smooth sides pot (as in the photo above), smooth the sides with your fingers. Focus on the outside of the pot because this is what will be visible.

Step #6 Once your pot is smooth and looks the way you want it to look, it’s time to air dry or follow the clay instructions and fire it in your oven.

Step #7: Paint it and glaze it, if you want. Once your pot has dried, it can be used as is. Or you can paint it, glaze it or keep it in its raw form.

Fill your coil pot with some dried or artificial flowers or just put it on display and enjoy your hard work!

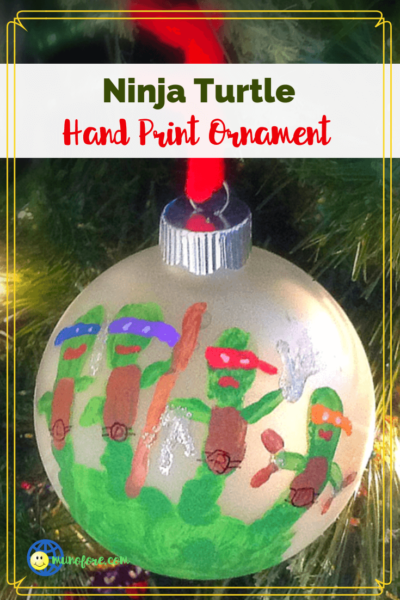
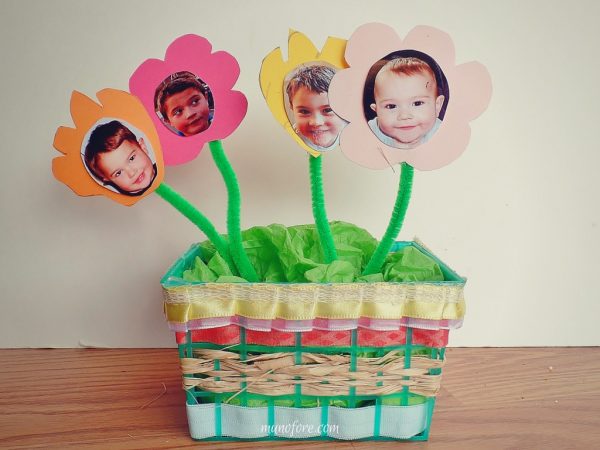
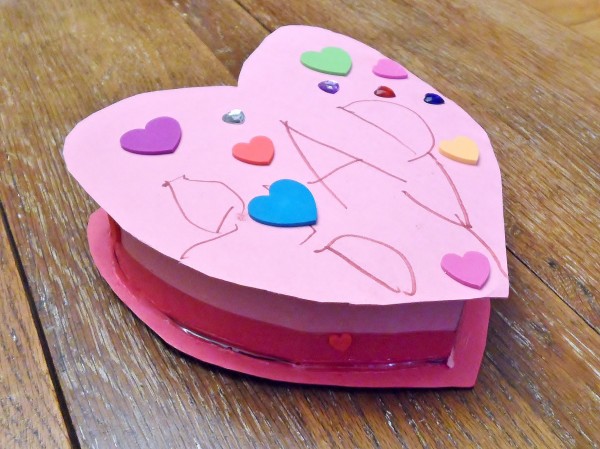
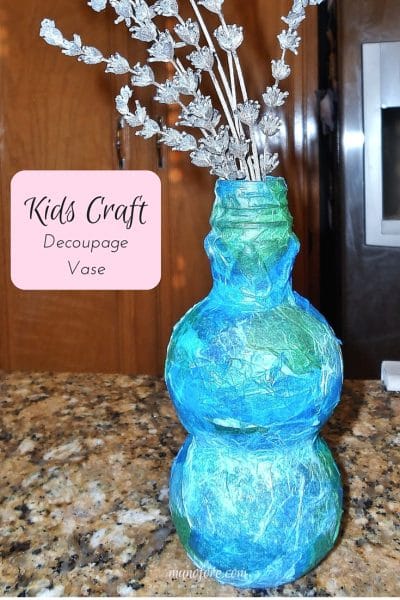
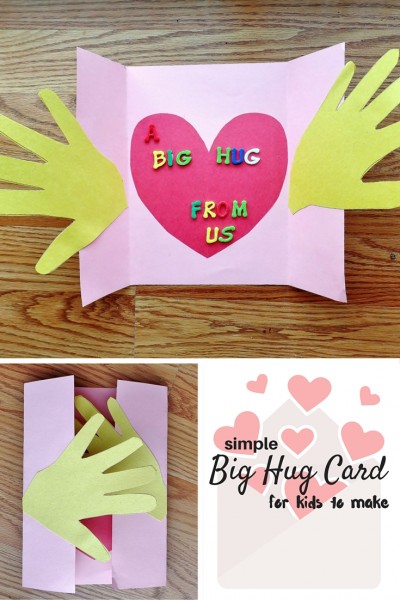
Other Kids Crafts that make great gifts.

  • beads, wire and a beaded bracelet with text overlay "beaded bracelets, anklets and foot jewelry"
  • TMNT Hand print ornament on a tree
  • Kids Craft: Strawberry Basket Craft for Mother's Day and May Day. upcycled craft, recycled craft.
  • Heart Box for Daddy: Make a heart shaped box from a recycled cereal box. Fun project for kids. Valentines for kids.
  • Kid's Craft: Decoupage Vase. A recycled bottle, some tissue paper and glue is all that's needed to make this lovely little vase. Mother's Day craft
  • A Big Hug Card craft for kids

Related

Filed Under: Crafts and Sewing, Creative Tagged With: gifts, gifts for men, homemade gift ideas, kids crafts

Reader Interactions

Trackbacks

  1. Outdoor DIY on Happiness is Homemade - Munofore says:
    July 14, 2019 at 9:46 am

    […] for a fun activity to do with the kids, or just a creative outlet for yourself, this week I shared how to make coil pots without a pottery wheel or […]

    Reply

Leave a Reply Cancel reply

Your email address will not be published. Required fields are marked *

This site uses Akismet to reduce spam. Learn how your comment data is processed.

Primary Sidebar

Welcome to Munofore

I'm Audrey, the CEO of Creativity and Sarcasm. When I’m not creating or blogging, I'm just your typical video game lovin' chocoholic mom livin' the life in the California burbs... without the minivan and over priced coffee. Read More…

Follow the fun

  • Bloglovin
  • Facebook
  • Instagram
  • Pinterest
  • Twitter
  • YouTube

Get the Latest Updates

Subscribe to our newsletter to get a little bit of happy in your inbox.

Legalese
International Bloggers' Association

Categories

Footer

Follow the Fun

  • Bloglovin
  • Facebook
  • Instagram
  • Pinterest
  • Twitter
  • YouTube
Join the International Bloggers' Association - where bloggers go to succeed. We seek to provide an inspirational, friendly, supportive, and engaged setting to allow for the share of knowledge, resources, and support.

Copyright © 2021 · Lifestyle Pro on Genesis Framework · WordPress · Log in

We use cookies to ensure that we give you the best experience on our website. If you continue to use this site we will assume that you are happy with it.SureRead more