


This post is sponsored by Photowall. I have received compensation for this project and post. The thoughts, work and photos are my own.
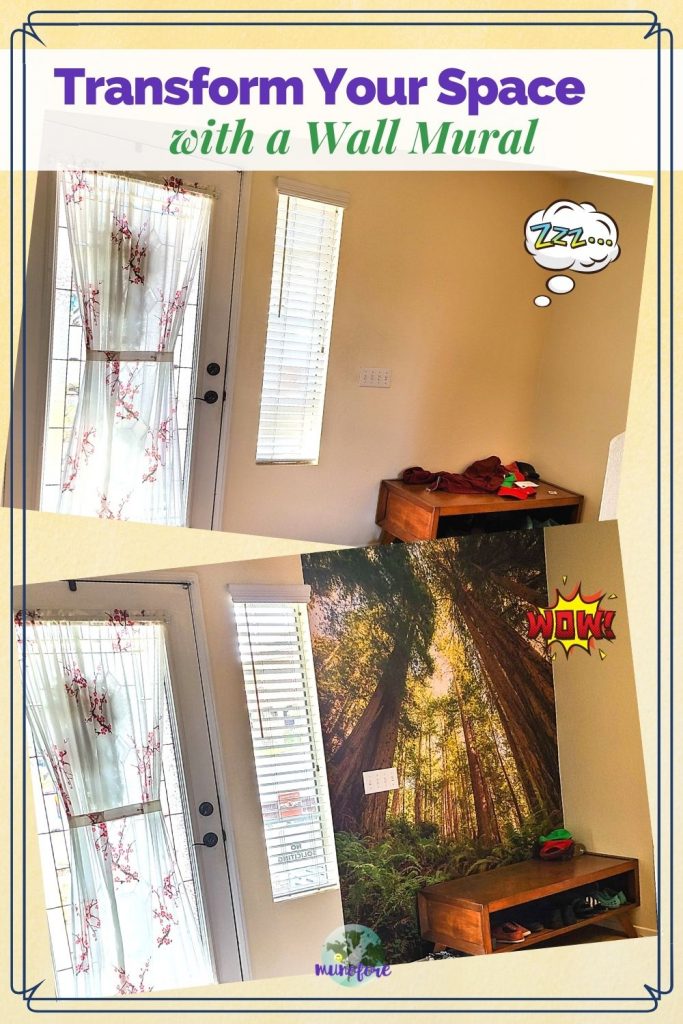
Install a wallpaper mural to easily makeover a room in just a few hours.
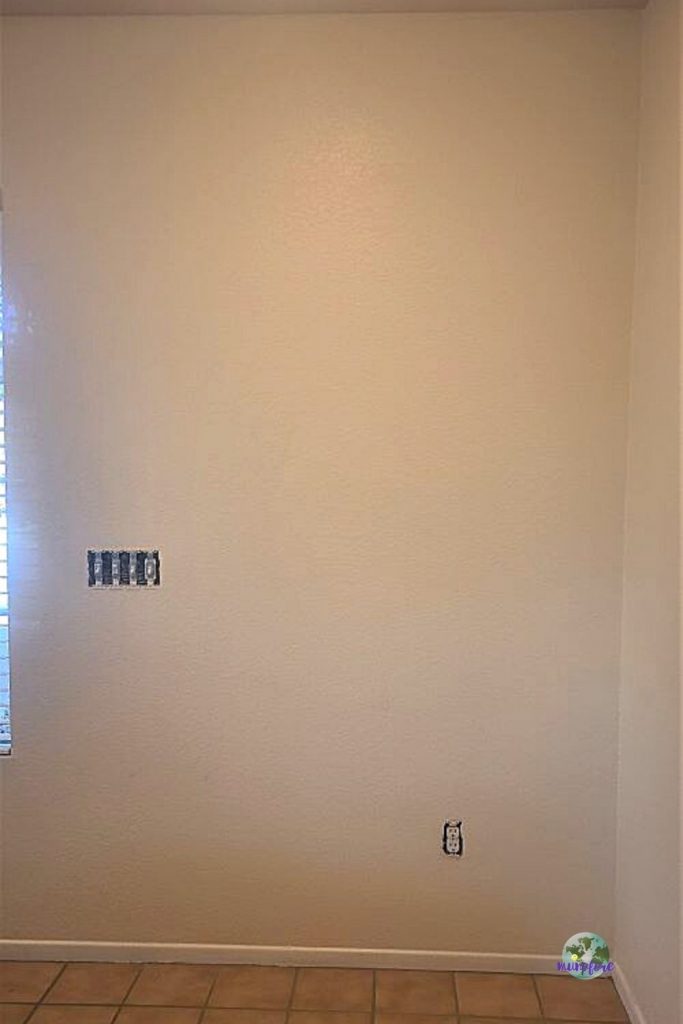
Our entryway is a rather dark and dreary space even with a glass front door and a sidelight. It's always just been there.
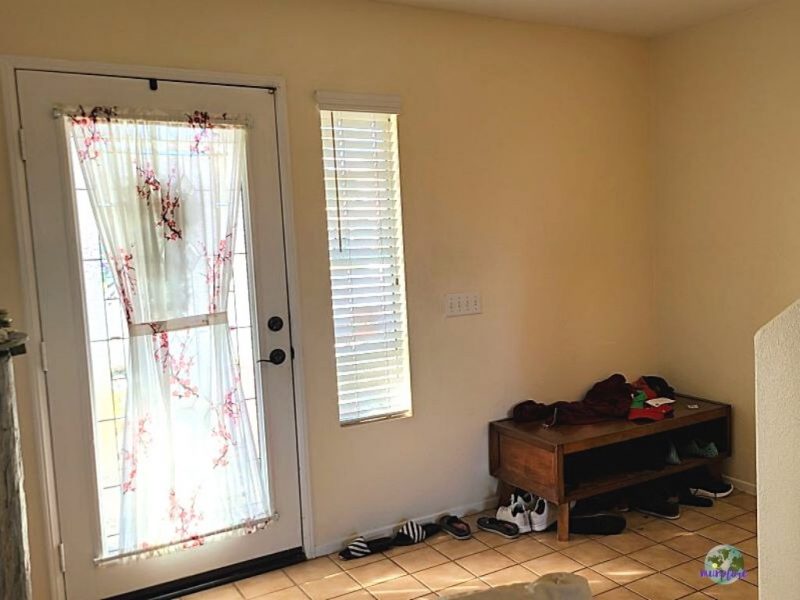
Until I finished the project I didn't realize how many times we passed through here every day. There's a bathroom to the left and the stairs are behind the angled wall on the right.
When Photowall approached me for this post, I decided it was finally time to breath some life into this space.
Get 25% Your Photowall Order
Inspired to add a wall mural, wallpaper or canvas print to your space?
Photowall is offering 25% off your order with coupon code munofore25 (good until January 31, 2021)
Choosing the design
This was the hardest part because Photowall has so many choices! And that's not even including the option to use your own photo.
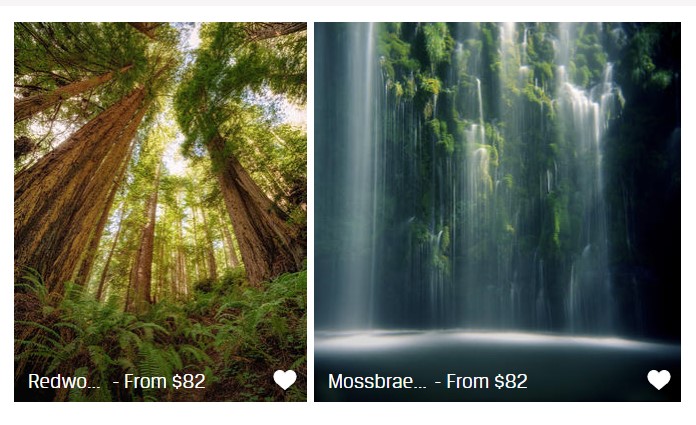
I narrowed it to about a dozen and my husband and I further winnowed it down to these two choices. Then we couldn't chose between them.
Crowdsourcing time!
Our son liked the Redwood Forest. My brother and his wife liked the Mossbrae (a waterfall in northern California). Finally, I asked a friend whose design opinion I trust and she said two things that tipped the scale: the waterfall photo is darker and the energy flows down, while the energy in the redwood flows up.
Measuring and Ordering
Measure the wall in two or three places because walls aren't always square. Add a few inches to the length and width to be safe. Easy peasy.
I plugged my measurements into the order form, cropped the image to fit and made one last design choice.
Since the door and side light are on the left of the mural, I chose "mirror image" to put the light in the image on the left side instead of the original right.
It is a subtle thing for this image, but it does look more natural. Your design choice may not need it, but click the option under "settings" to try it out before deciding.
Add the wallpaper kit if you have never wallpapered before and don't have the tools. Trust me it will make your life so much easier!!! And I am the woman that uses whatever tools I have on hand for 99% of my projects.

I placed the order (during holiday time, no less) and a few days later it was on it's way to me. Speedy delivery, good notification. Double thumbs up.
Installation Day
Let the fun begin!
I blocked off my entire morning to do this because I wasn't sure how long it would take. It looked easy enough from reading the instructions and watching the video online. But, I am notorious for unforeseen disasters and things taking far longer than they should.
Clean the wall and space.
First step, clear out the table, sweep and remove the switch plate covers. Wipe down the walls, fill nail holes, etc.
Prep the mural and gather materials.
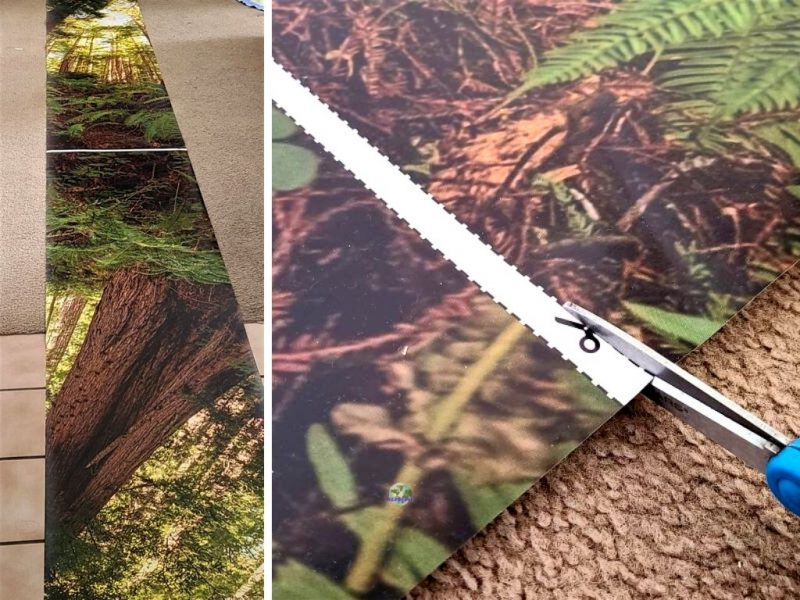
Roll out the mural and cut between the strips where indicated. I left the numbers on top, even though I only had four strips.
I stacked them in order with the first strip on top and within a few moments the curl from being rolled up was not an issue.
Gather everything on the instruction list so you aren't running around trying to find things. Yes, for once, I actually did this and my life was easier.
Measure out the first strip.
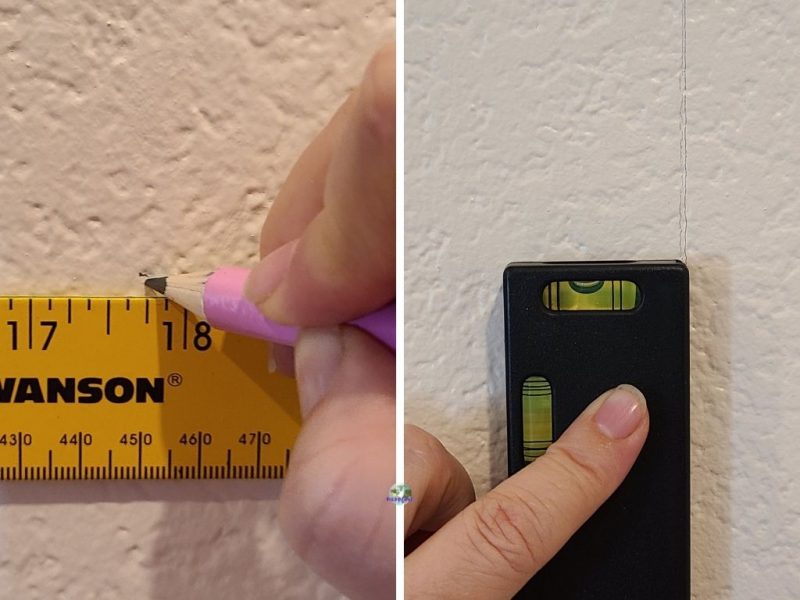
If the first strip is correct, everything else will fall into place. Take your time to get this right and the rest will be easier.
Measure the strip then measure the wall marking the width of the strip in several places. Make a faint line about 1-2 feet long and make sure it is level. When it is PERFECT, make a line the full height of your mural.
Mix up the wallpaper paste.
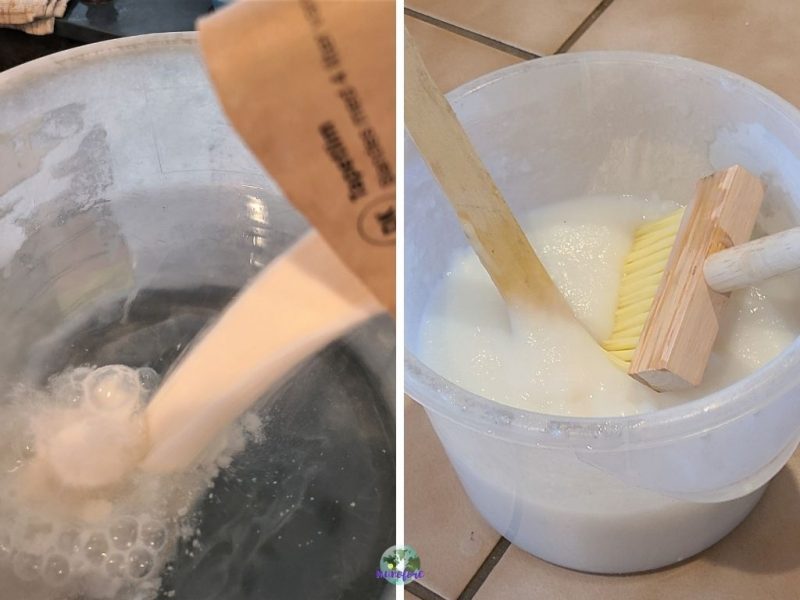
TIP: Do NOT try to take a photo while pouring in the powder with your opposite hand so you can sprinkle it around the water. It all ended up lumped in the middle.
I smashed up the big lumps as best I could. They give you so much paste that a few lumps here and there were not a problem, I just made sure they didn't end up on the wall.
Liberally apply the paste.
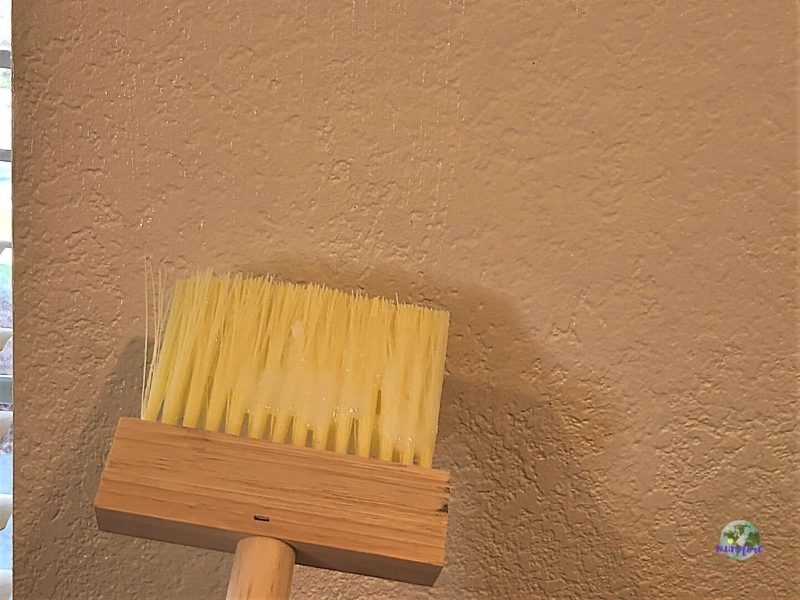
The paste will thicken up a bit after mixing, so wait about 5 minutes. It should resemble cream of wheat (grits, polenta) when it is ready. Food blogger thoughts.
Brush the glue on liberally (there is plenty!). Go about 4 or 5 inches over the line you drew. Look at the wall from different angles to make sure every last little bit of wall has paste on it.
Hang the paper.
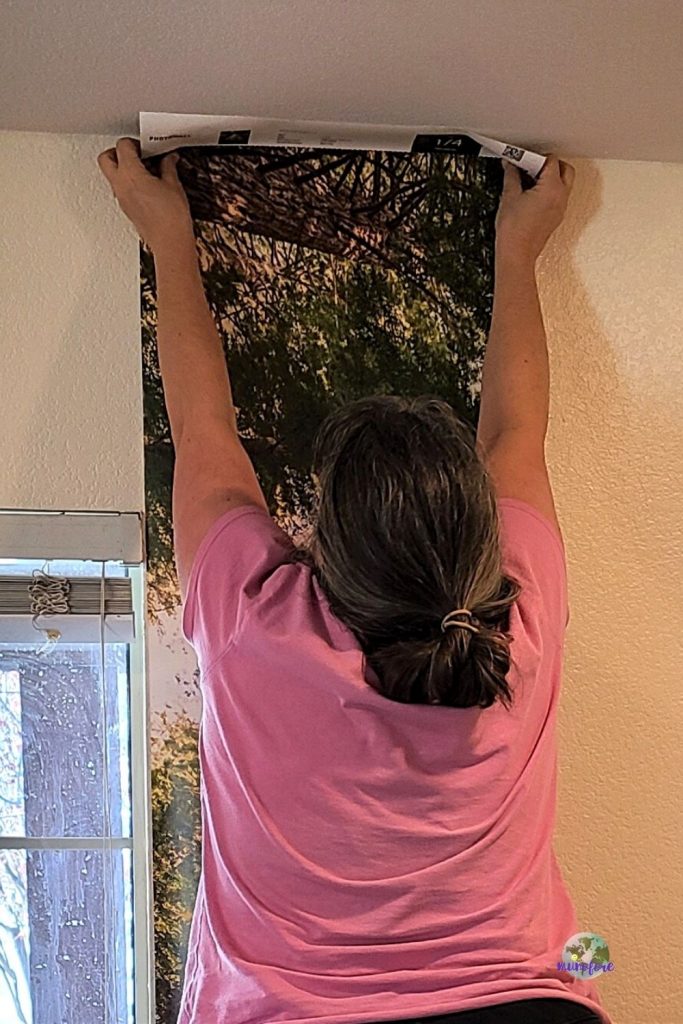
Deep breath. Relax. It is far more forgiving than you might think.
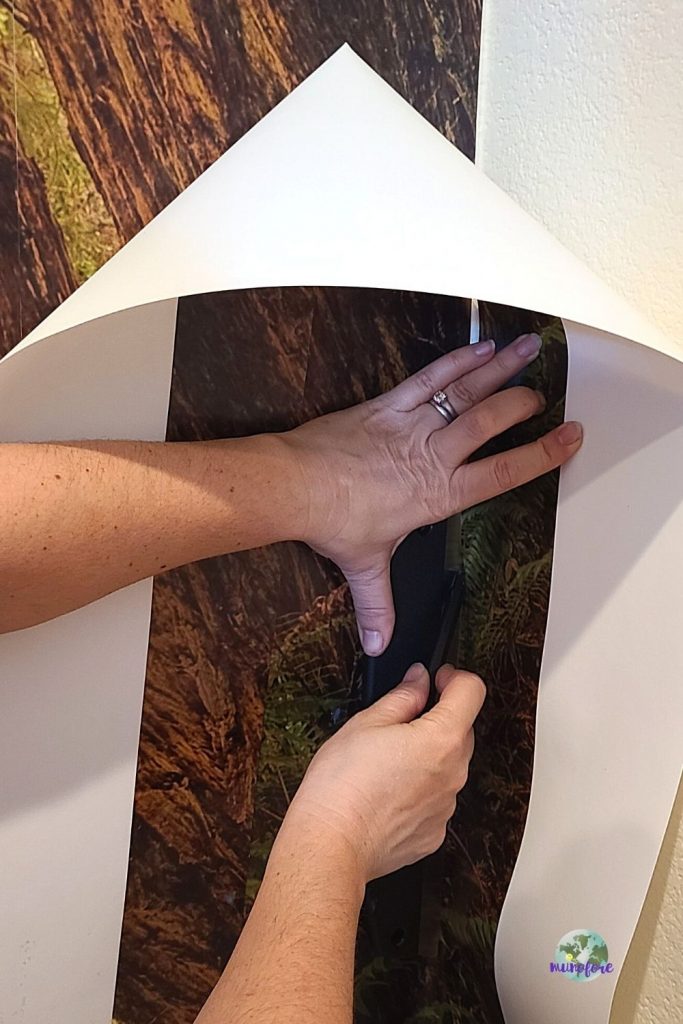
Start at the top and align the paper so that it runs right along your nice level line on the right.
Don't panic if you don't get it exact the first try. You can gently lift it off of the wall and reposition it. You can also wiggle it on the wall by pushing against it and nudging it as needed.
If you have a switch or outlet you will need to carefully cut it out as you go. Use the cutter, and slice around the wall cut out. Make sure the paper is actually cut before tugging away the scrap. Seriously, go slow here or you can cut too far or accidentally rip the paper. Learn from my mistake.
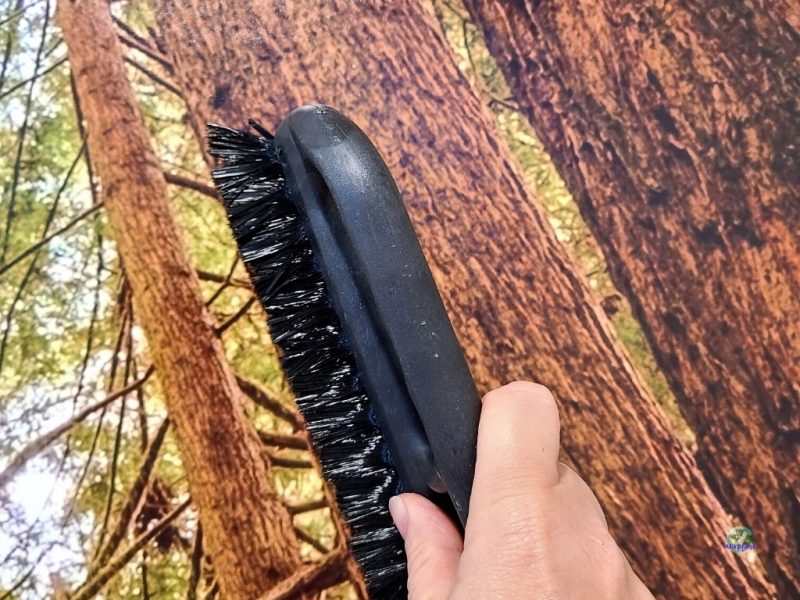
Once the first piece is in place PERFECTLY, press it down with your hands from the middle out. Go over it with the wallpaper brush to remove every single bubble.
Repeat: apply paste to the next section of wall then place the next piece aligning the left edge so that it pushes right up against the previous piece.
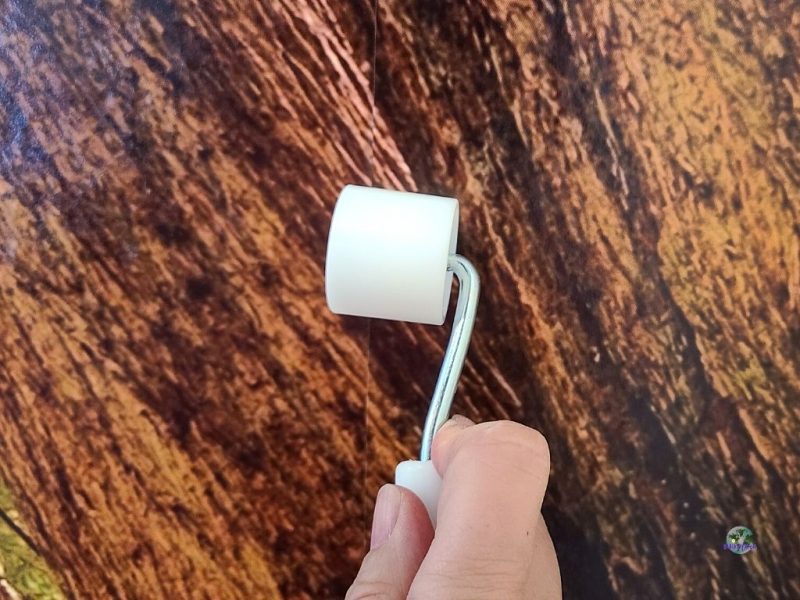
Press it down with your hands, go over it with the brush, then use the seam roller to make sure the seams are flat and snug against each other.
Cut the Excess
Use the straight edge and cutter to slice of the excess from the top, bottom, and right sides. Go both ways with the blade and pull off the extra paper gently to make sure it is cut.
I went back over the edges one more time with my hands and brush to make sure they were firmly in place after cutting.
Finally wipe off any excess paste from the mural. I actually wiped the whole thing down to be safe.
Enjoy your new mural
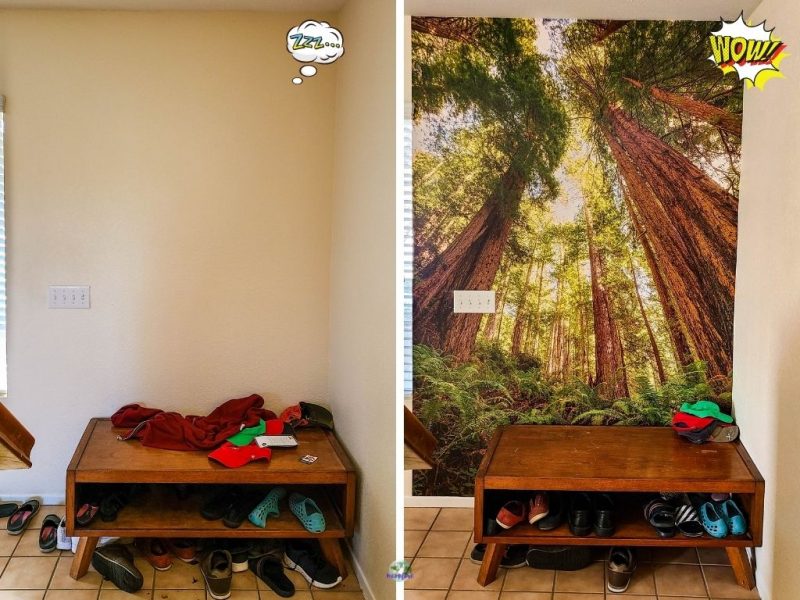
From start to finish it took me 2 hours to do just over 5 feet of wall. This included pauses to wipe my hands and take photos several times.
The wall was dry by the next day, less than 24 hours. But that will vary based on heat and humidity and the amount of paste used.
We see it every time we go to the bathroom or the front door or up and down the stairs. It is visible from both rooms downstairs. And it still makes me smile every time.
Get 25% Your Photowall Order
Inspired to add a wall mural, wallpaper or canvas print to your space?
Photowall is offering 25% off your order with coupon code munofore25 (good until January 31, 2021)
More Home Remodel Posts


Leave a Reply