


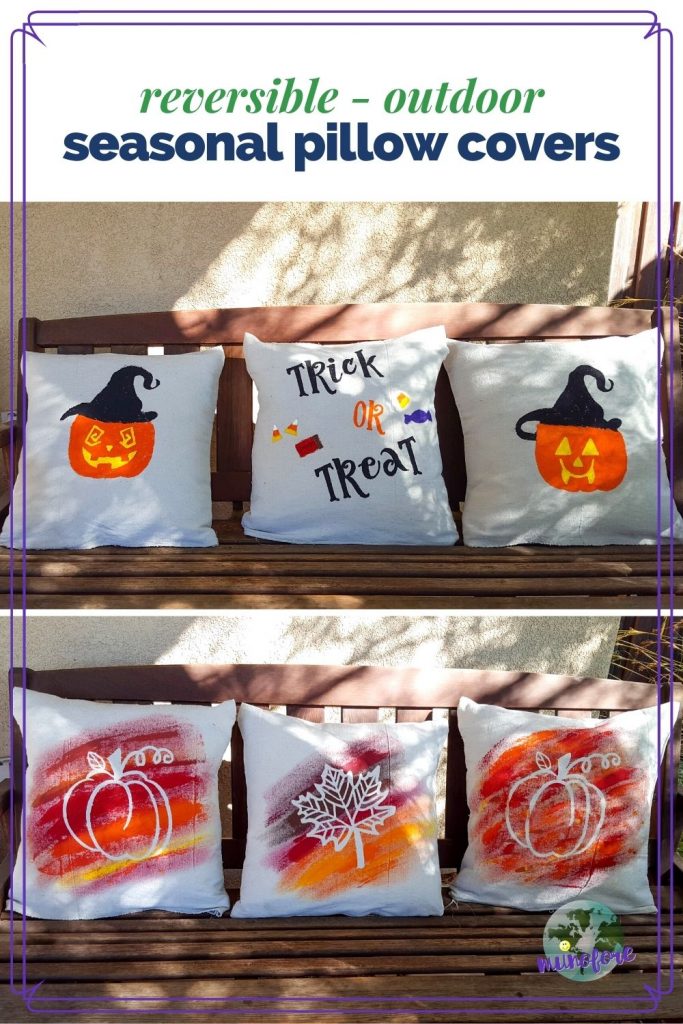
DIY outdoor holiday pillows add some seasonal fun to your outdoor space at a fraction of the cost of store bought pillows.
I like to have seasonal pillows on my front porch bench. But even the cheapest ones I could find in the stores were $10 each. And there is the storage space required for all of the out of season pillows. {Can you hear my husband grumbling "Do we really need all of these ____ pillows?" in the background?}
So, I decided to use the ones I had as a base and make some simple pillow cases for them with different holiday decorations on each side so I just have to flip them around and BOOM! new season, fresh look. And since they are reversible I'd have to sew half as many pillow cases. 😉
Reversible Outdoor Holiday Pillows Materials
I planned on people being able to sit against the pillows so I opted to sew the seams with heavy duty thread, which was probably overkill, but I had it leftover from another project. You can sew them by hand, or use iron on hem adhesive and make this a no sew project.
I used my Silhouette Portrait to make the stencils and iron on designs, but you can easily buy a stencil, create your own with Word and print it on cardstock then cut it out, or free hand it if you are artistically inclined.
Drop cloth is a made from a sturdy neutral material. Since my pillows are on a covered porch I thought it was an inexpensive alternative to outdoor fabric.
- pillow forms, old pillows, etc.
- drop cloth or other material suitable for outdoors
- sewing scissors
- heavy duty thread
- sewing machine (or sewing needle or iron on hem adhesive)
- acrylic paint
- paint brushes
- stencil material (optional)
- heat transfer vinyl (optional)
- die cutting machine such as Cricut or Silhouette (optional)
Step 1: cut the drop cloth
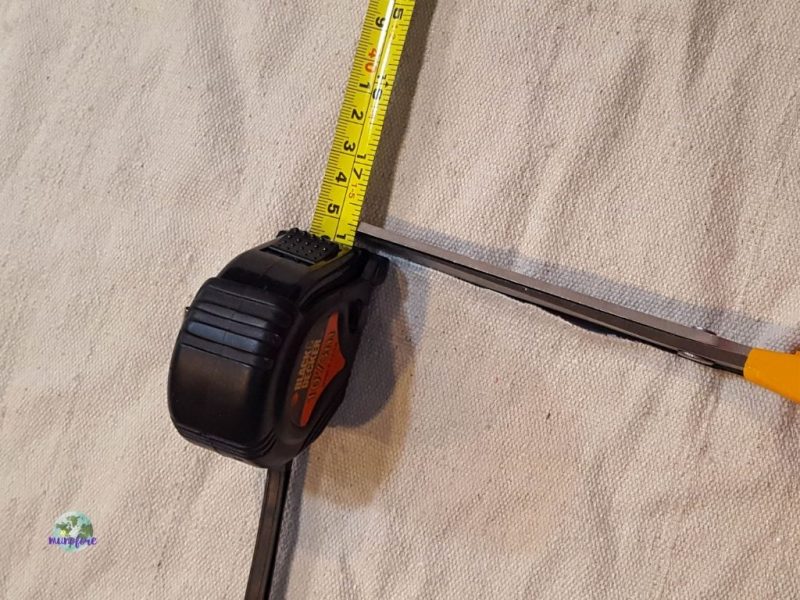
Measure your pillow forms along the seams if you don't know the size. Mine were 18 inch squares, but I wanted to squish the stuffing a little so I cut a length of drop cloth 18 x 36 inches for each pillow, with a ¼ inch seam that gave me 17.5 inch cases.
Step 2: sew the pillows
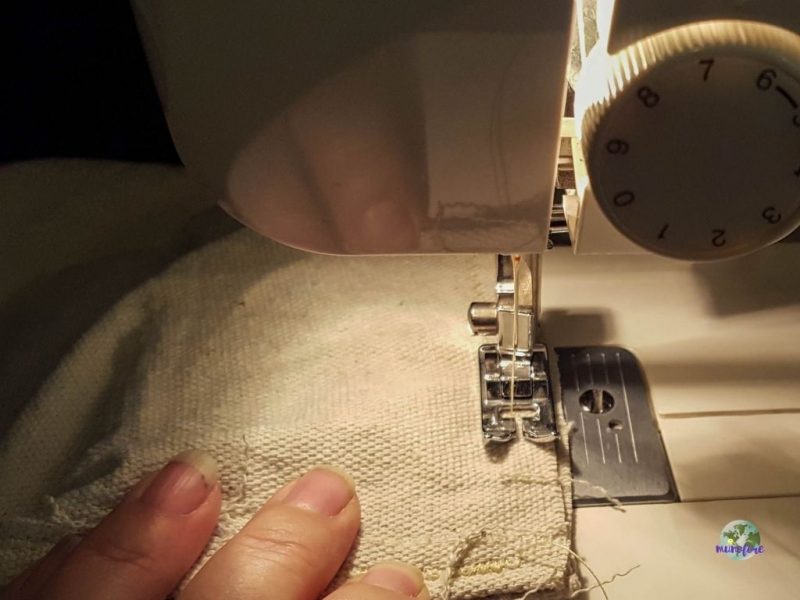
I folded the fabric over to make the top of the pillow case, sewed down the two sides and hemmed the bottom, but left it open. Basically just like a normal bed pillowcase. In hind sight, I would have made it a bit longer so I could fold and tuck the bottom better.
All of my seams were ¼ inch with a zig zag stitch.
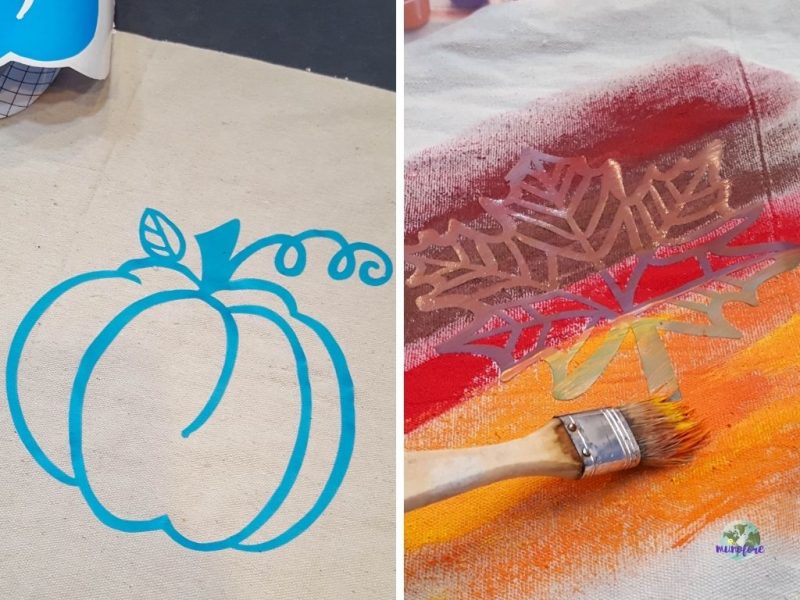
Step 3: Decorate the pillows on both sides
For the Halloween and Autumn pillows I used my Silhouette and cut out designs in stencil vinyl.
I am a huuuuuge fan of this stuff. It is strong enough to hold while you are painting, but peals off easily. It even has enough adhesive to reuse the stencil at least one time.
You can use the stencil as the outline and paint inside, layering as desired.
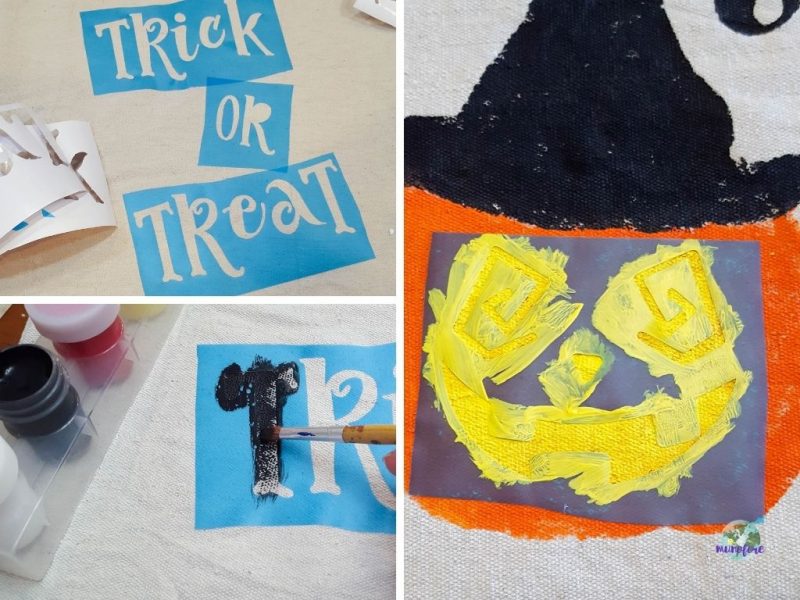
Or you can paint over the stencil and when you remove it the design will be in the fabric color.
Or you can cut the design in heat transfer vinyl and iron it on without messing with the painting. This is what I will be doing for Christmas and will add a photo here when I get them done.
As you can tell from the image below, I reused both pumpkin designs twice and might have been able to do it a third time. I wanted two leaves but it became a tangled mess when I tried to remove it.

I like how they came out and folding up the pillow cases takes up a lot less space than storing 6 pillows.
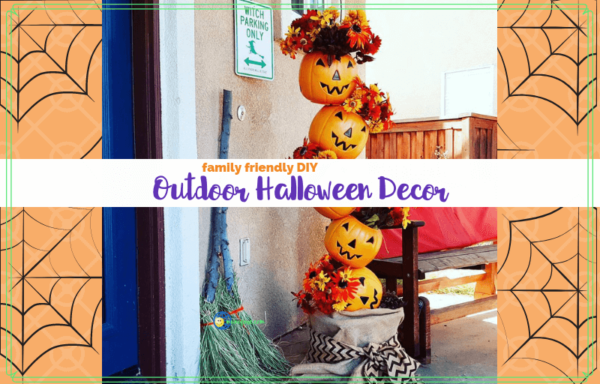
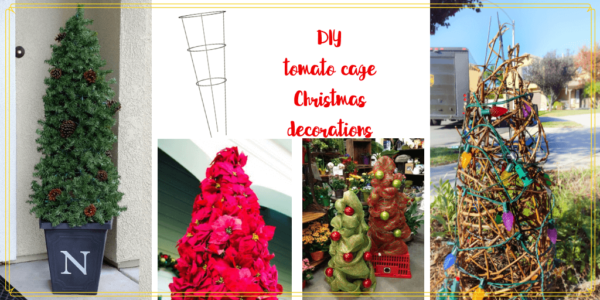
Other Outdoor Projects
Leave a Reply