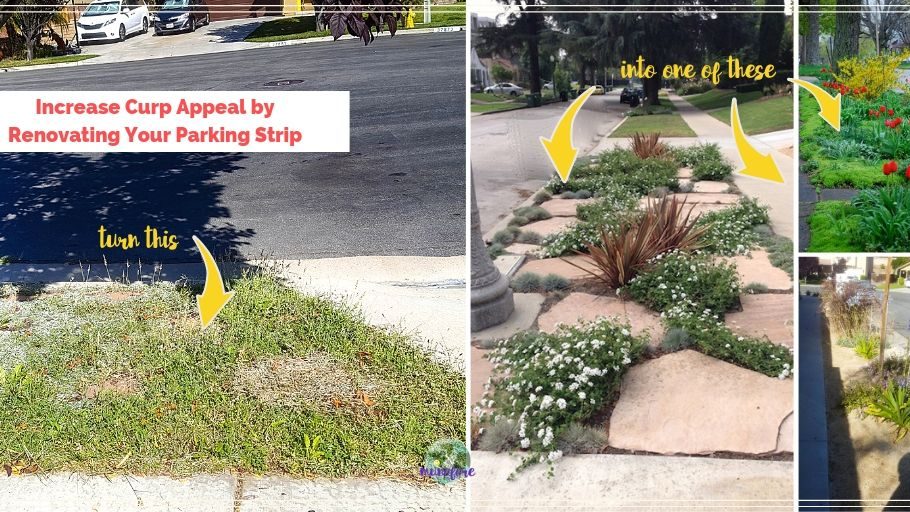
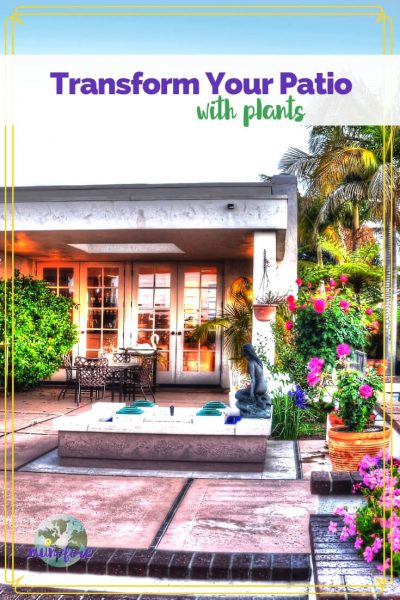
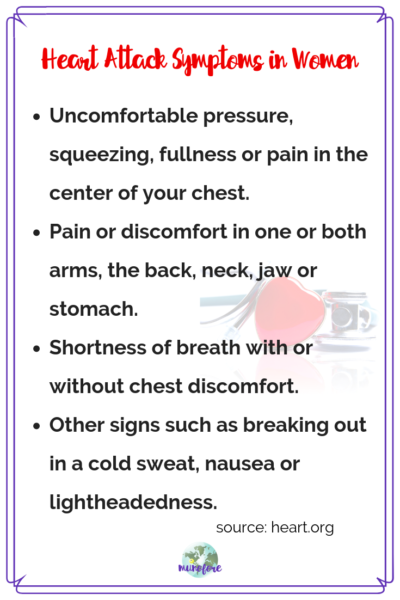
Learn how a kitchen garden differs from a traditional vegetable garden and why you want both types, if you have the space.
A kitchen garden also called a "potager" (pronounced puh-ta-zhay), is a special kind of edible garden with a rich history tracing back to old English and French culinary gardens.
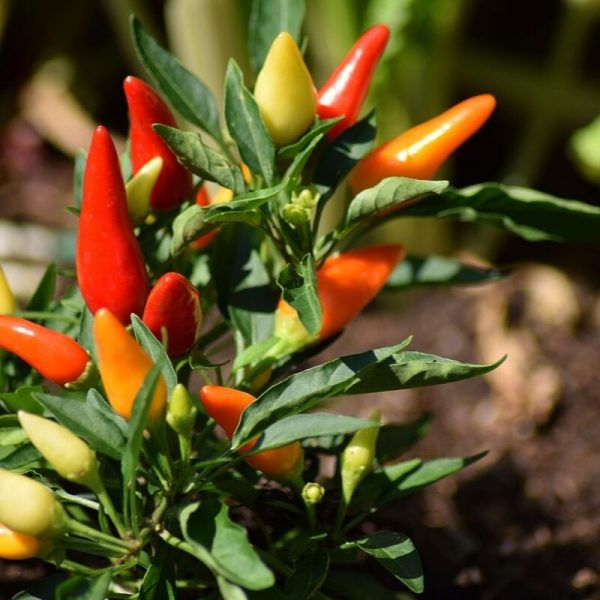
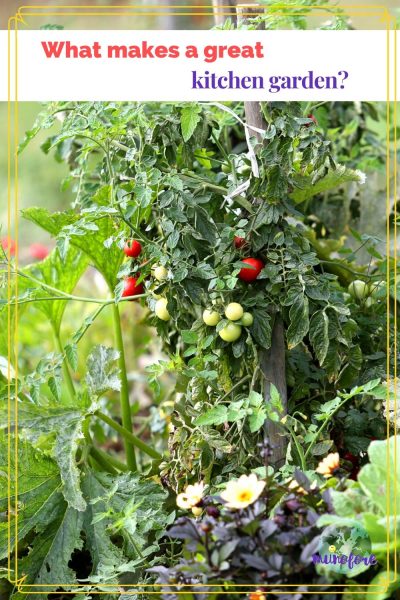
A kitchen garden is a chef’s delight filled with delicious fruits, vegetables, herbs and edible flowers. It is a celebration of fresh ingredients and delicious home cooked meals.
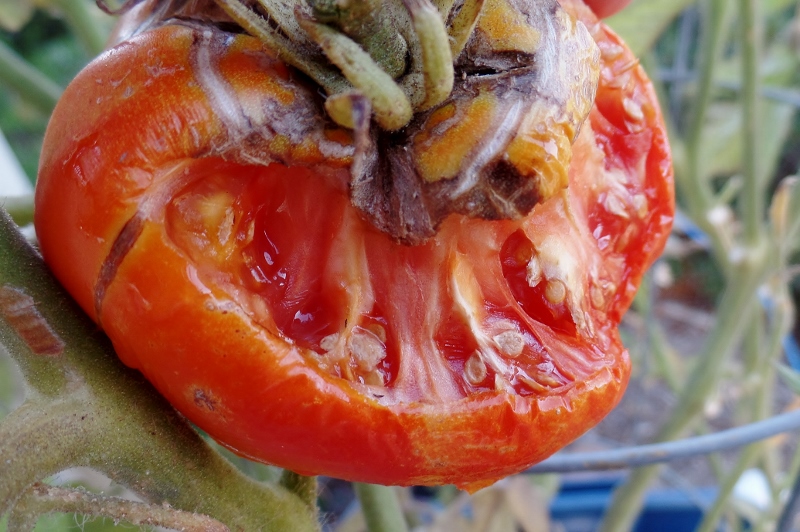
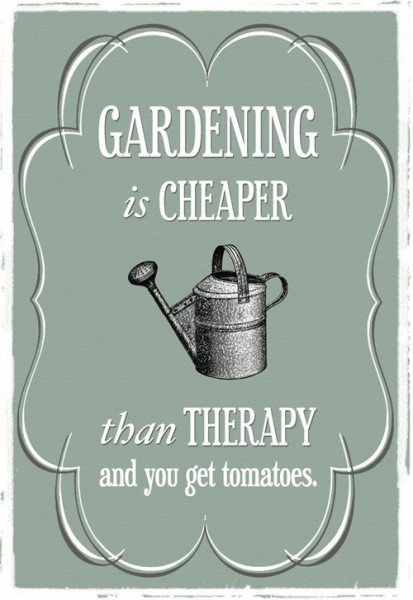
Both kitchen and traditional gardens offer a sense of satisfaction coupled with tangible rewards for a job well done ... and homegrown tomatoes.
So, what is the difference between the two? Convenience, size and beauty
Kitchen Gardens are Convenient
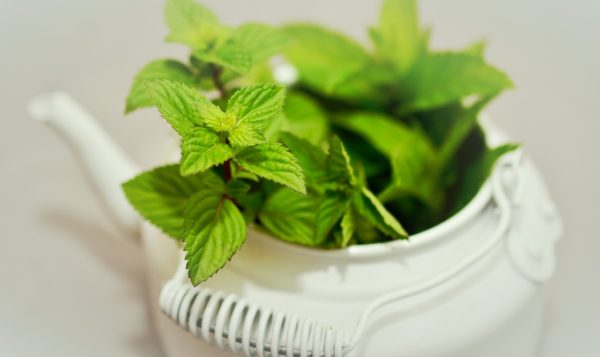
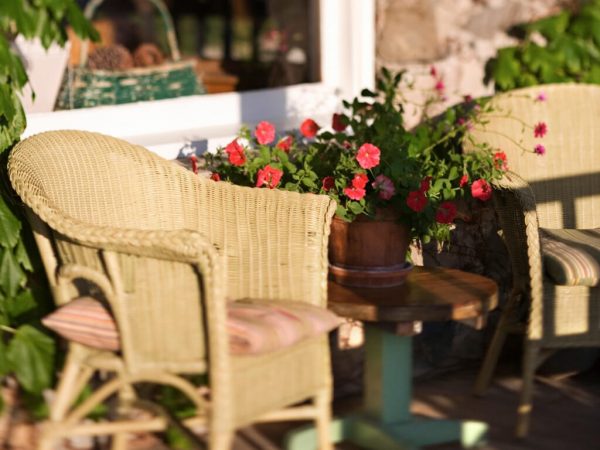
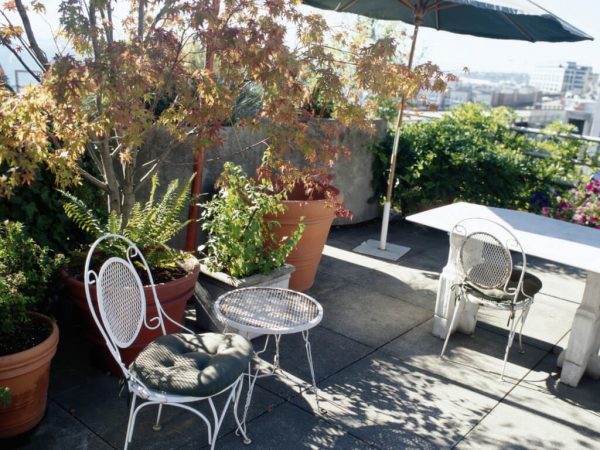
Kitchen gardens make it easy to grab the items you need to your prepare your daily meals. Therefore, a potager should be located as close to your food preparation area as possible.
Imagine you are in the middle of preparing dinner when you suddenly realize “this marinade could use a little more rosemary.” Rather than trek out to your main vegetable garden while you have pots simmering on the stove, wouldn’t you rather be able to reach right outside your door to snip a couple sprigs?
With a kitchen garden, the easier it is to grab what you need while you are cooking, the better.
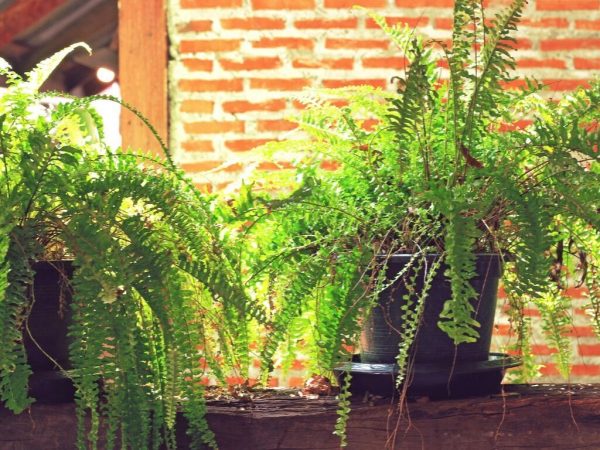
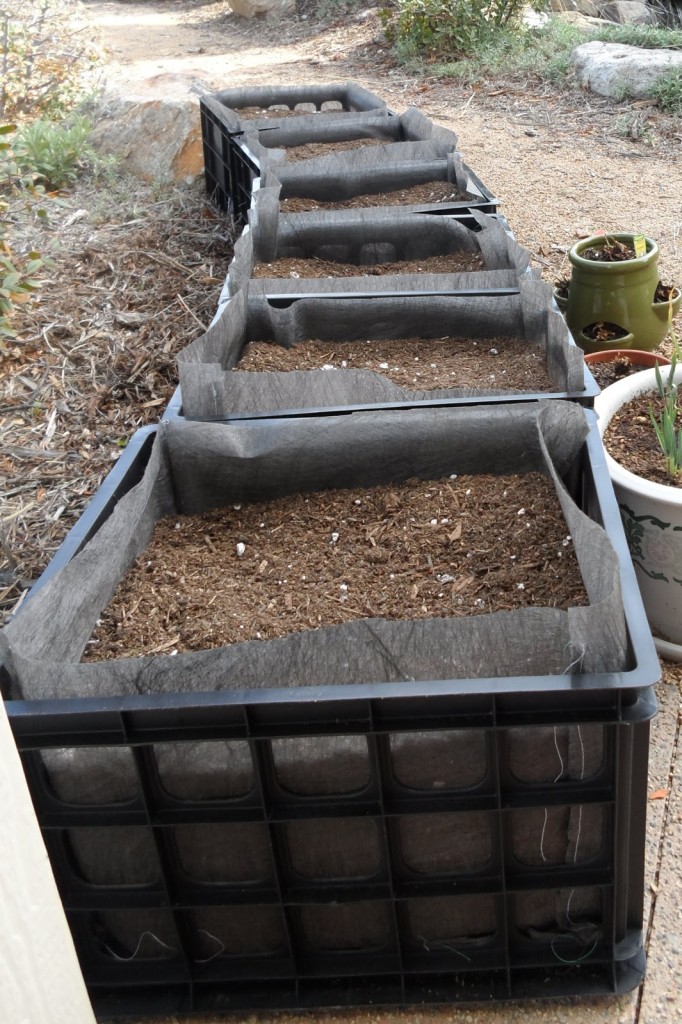
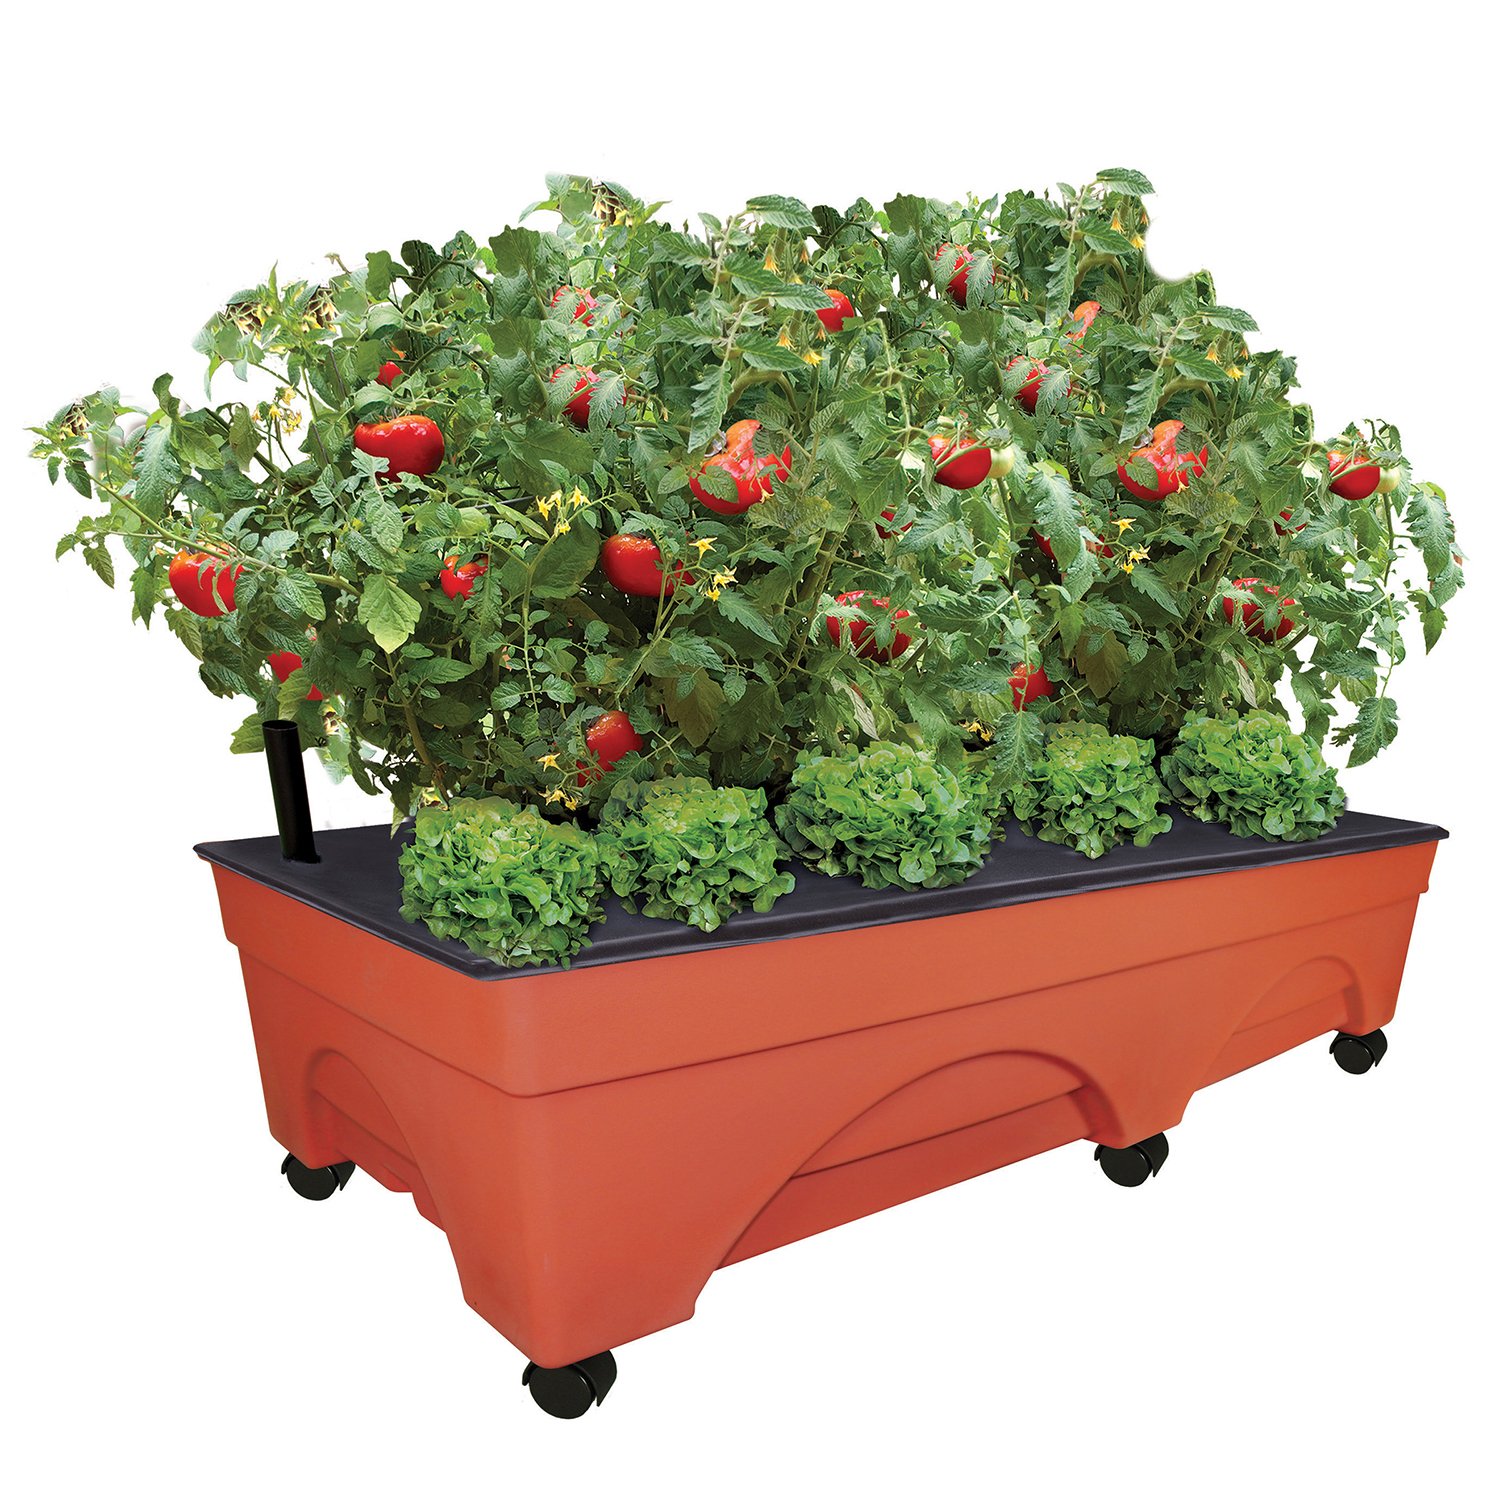
Kitchen Gardens are Small
Kitchen gardens are smaller than traditional gardens because they are situated close to the house.
Small is relative, of course. The Portager du Roi at Versailles Palace (below) is nine hectares. King Louis XIV had a few more people to feed than you probably do.

If you only have limited space available to plant a kitchen garden, think of it this way: a regular vegetable garden is about planning for the future, while a kitchen garden is about enjoying today.
The fruits and vegetables you plan to preserve for future use or crops such as corn, that take up a lot of space, are good choices for a traditional vegetable garden where space is at less of a premium.
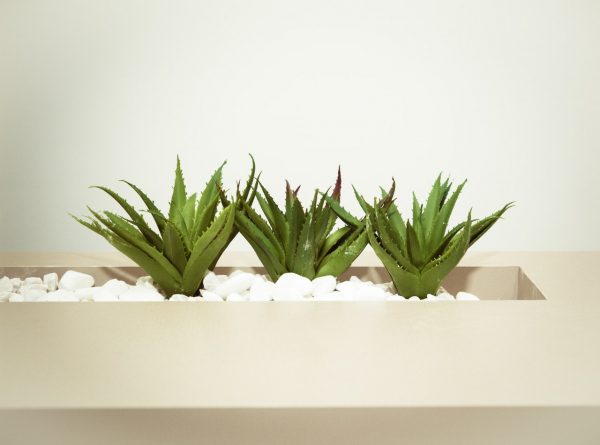
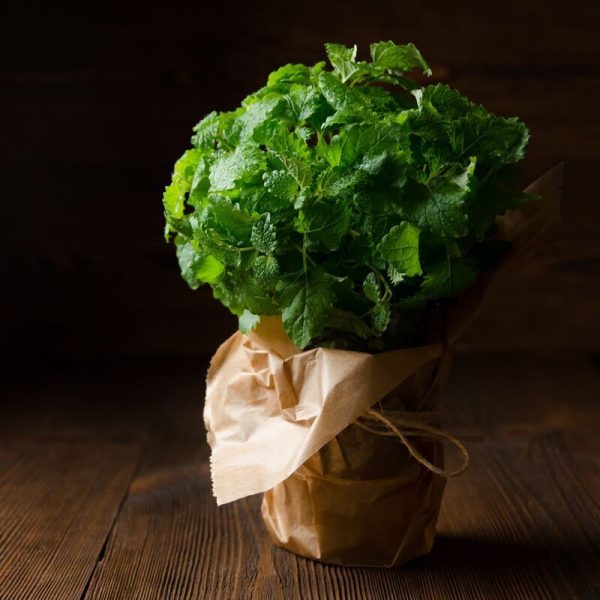
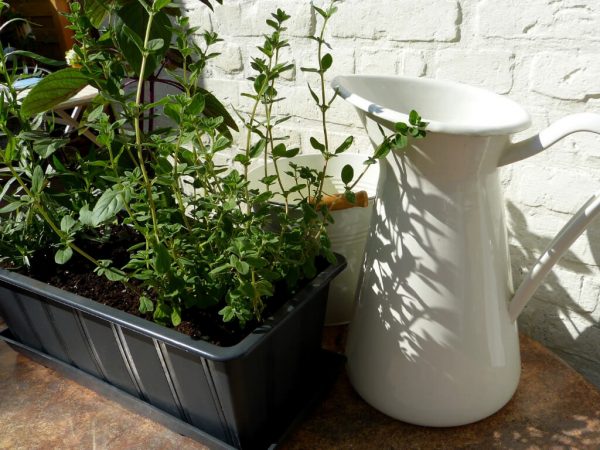
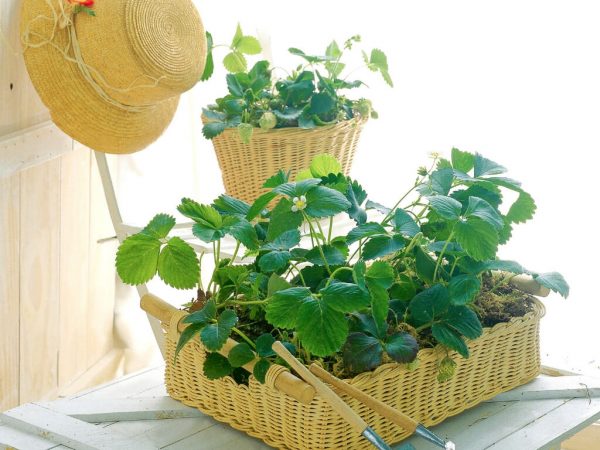
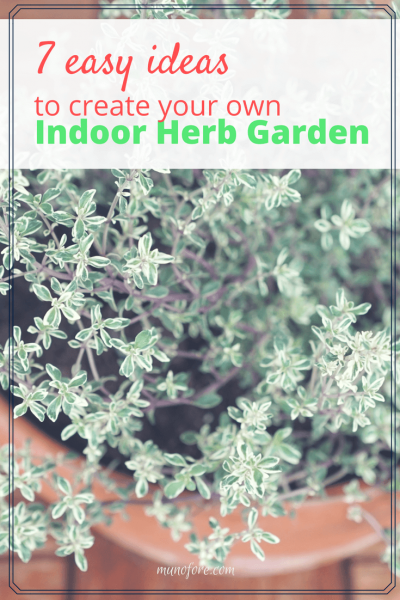
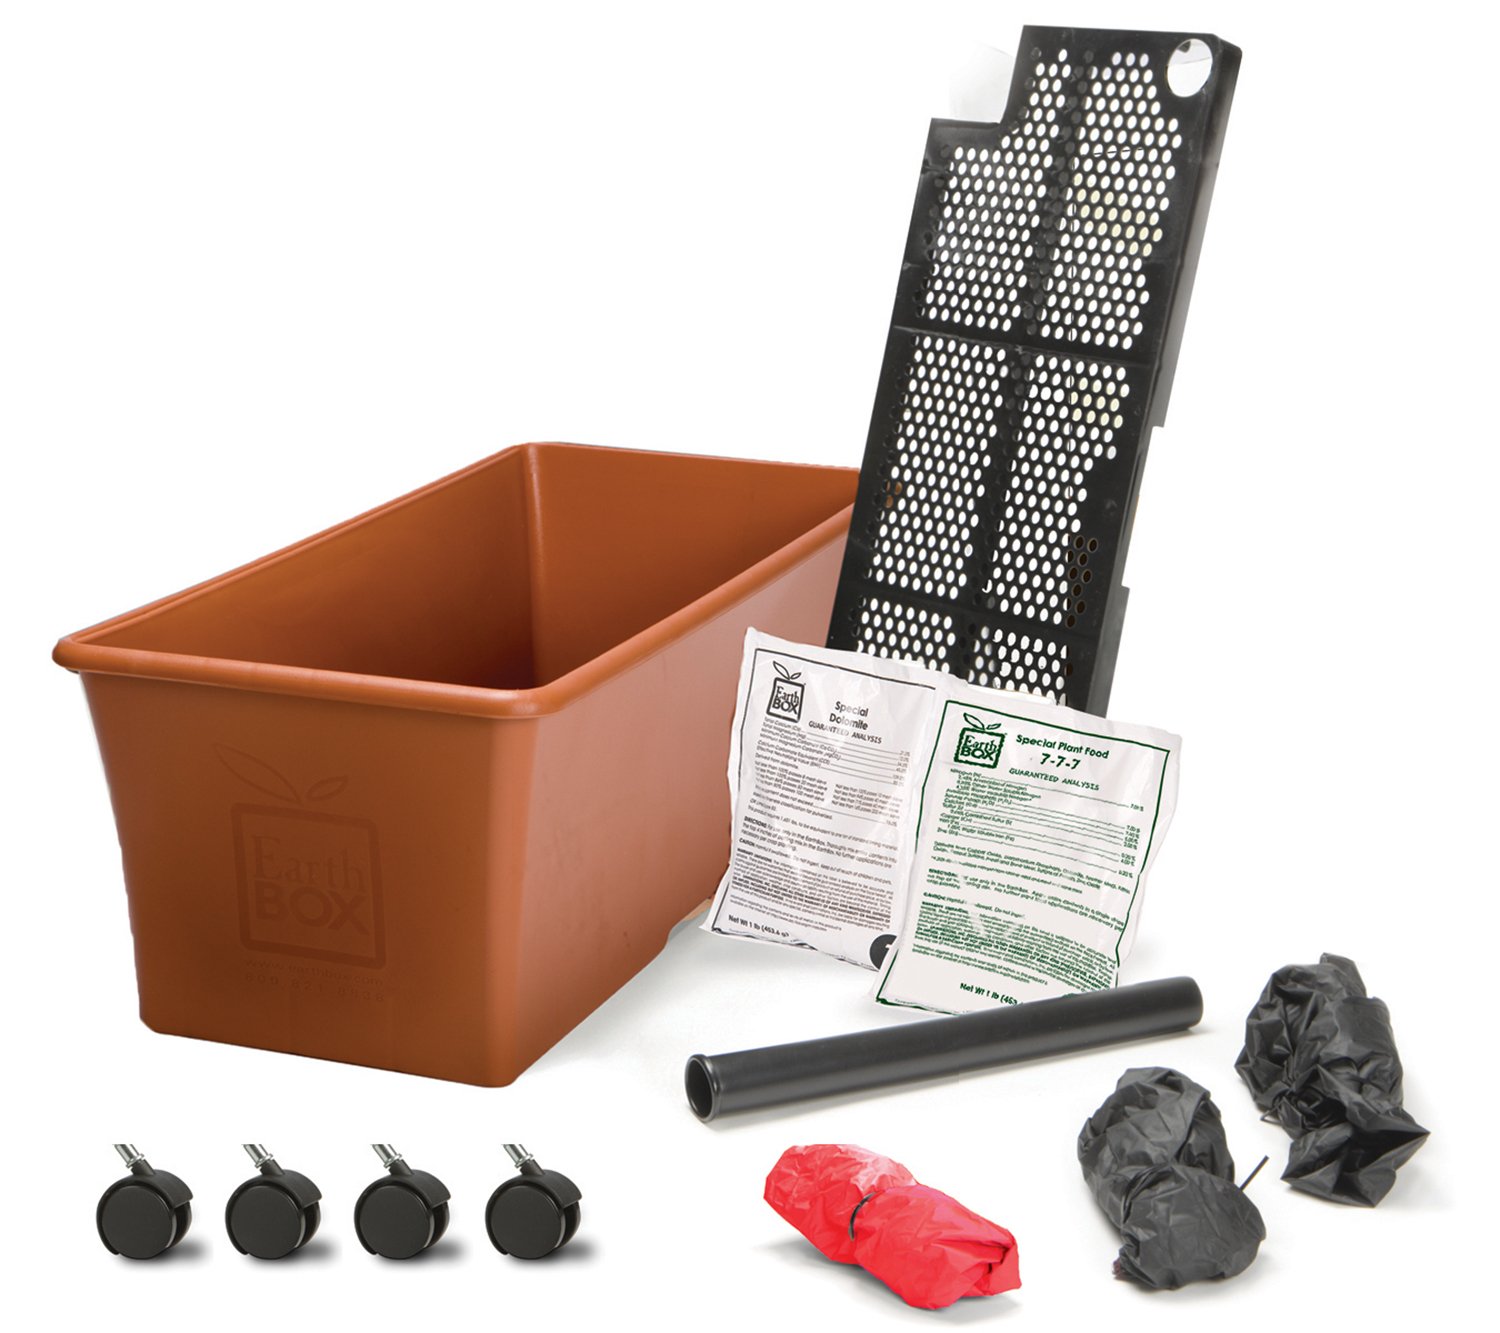
Instead, kitchen gardens are normally filled with the items you prepare and eat while immediately. Think containers of fresh herbs, compact cherry tomato plants and edible flowers for your potager. Kitchen gardens are a great option for those with limited space.
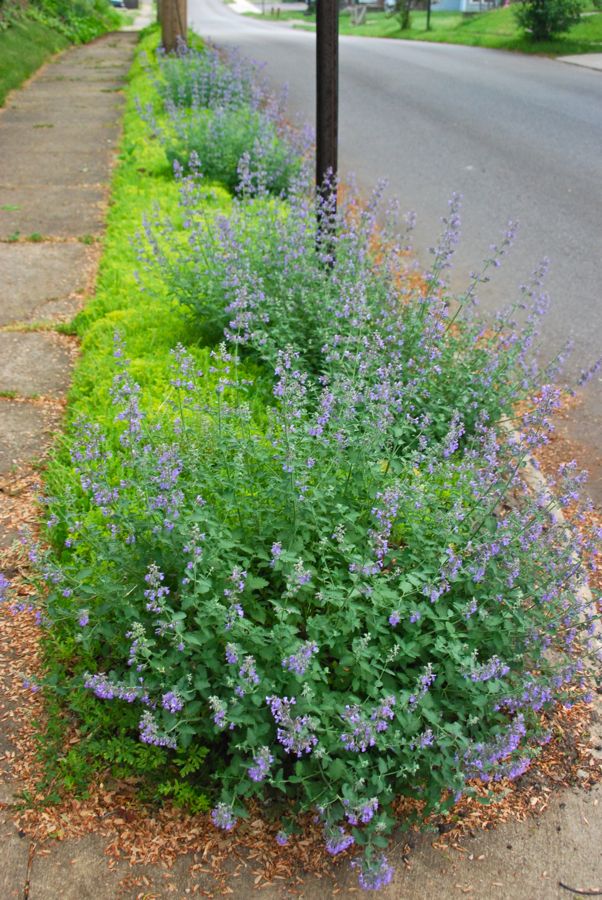
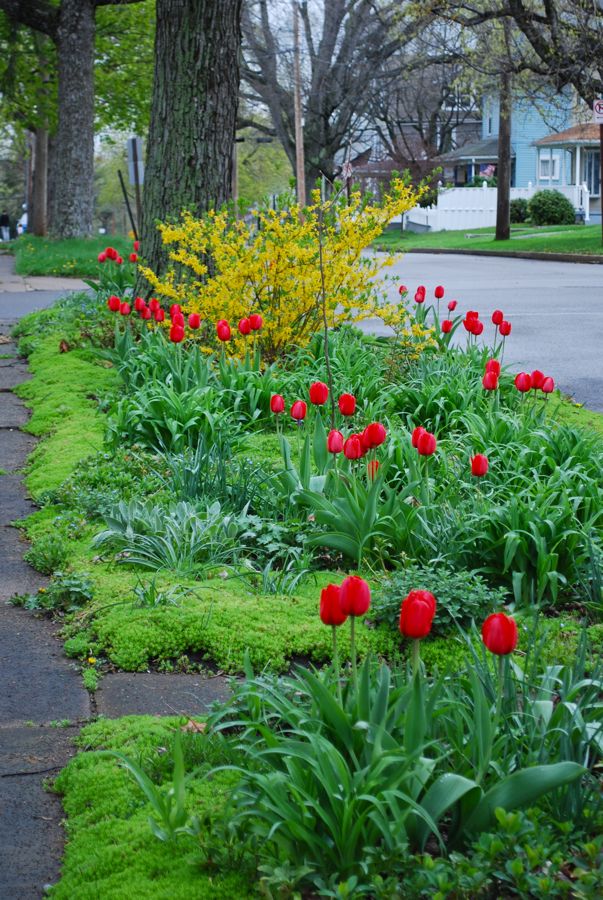
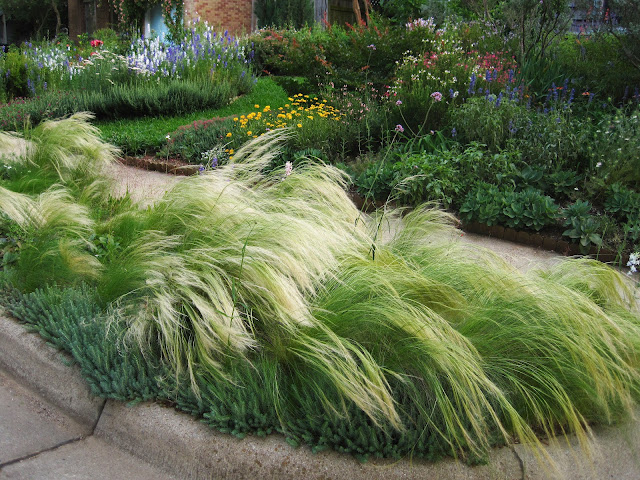
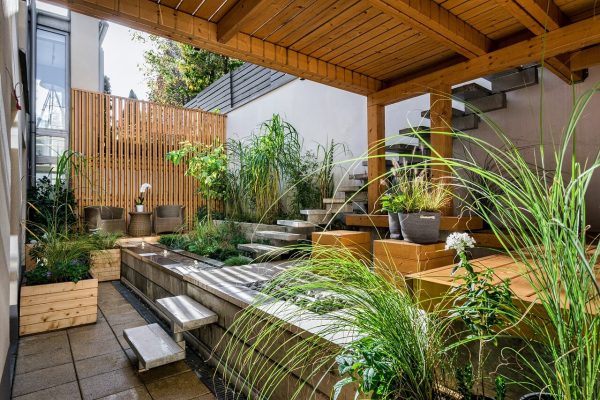
Kitchen Gardens are Beautiful
While a standard vegetable garden is all about utility and production, part of the charm of a kitchen garden comes from its ornamental aspect.

Due to its proximity to the house, a kitchen garden is harder to tuck out of sight than a traditional garden. Therefore, they are often designed to add a sense of beauty to your home, as well. Instead of rows of crops, kitchen gardens group several plants into attractive layouts.
Some herbs, such as lemon thyme, can be used to create a beautiful and fragrant border around plants and containers. Edible flowers, such as violas and nasturtium, can be incorporated to add a splash of color. Compact blueberry shrubs are also highly ornamental and make a wonderful, yet functional border.
Kitchen gardens offer both convenience and beauty in a compact space. The best part is it doesn’t take much to get started. All you need is a few pots, some fresh herbs, your favorite compact tomato plant and lettuce varieties and you’ll be on your way!