This is a sponsored post. I may earn a commission for this content. All opinions are my own.
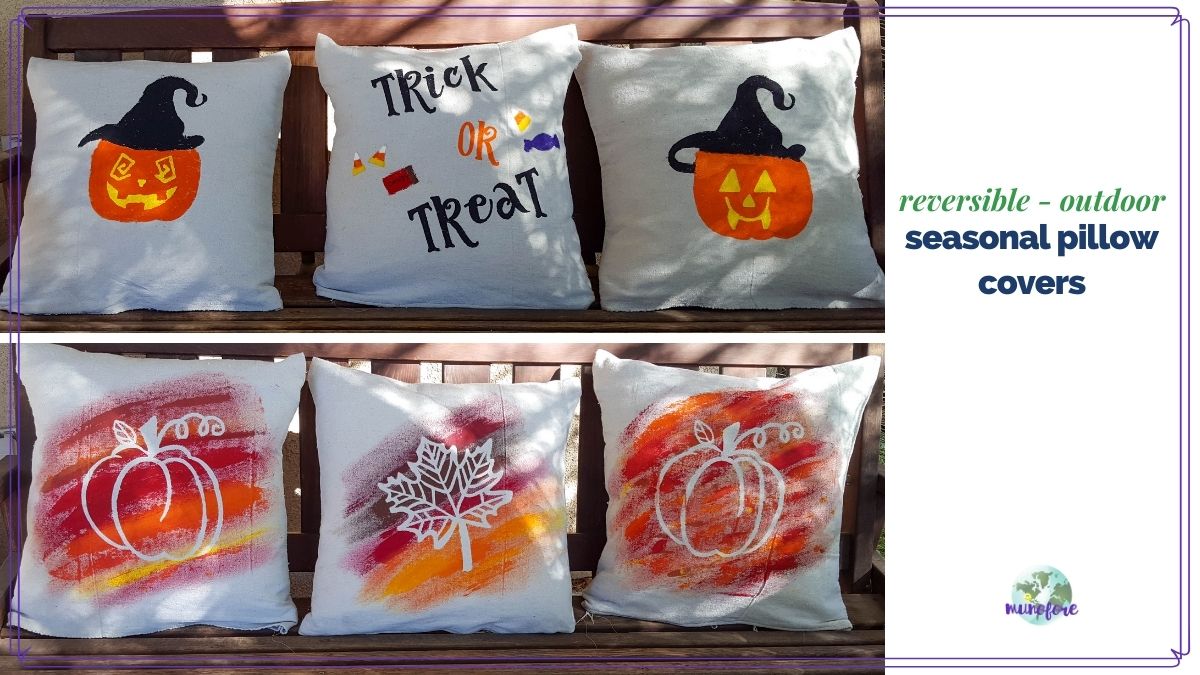
Learn how to leverage Hire Mia, the new AI tools, in Social Calendar by CoSchedule to boost your social media engagement.

After doing this blogging/influencer thing for awhile now I am ashamed to admit I still suck at Social Media. Part if it comes from hating to be sold to and never wanting to sound like those cheesy marketers that can solve all of your problems with one simple product.
I really need to hire a social media assistant, but these days I can't afford it. But, I also can't afford not to either.
Hire Mia from CoSchedule
Luckily the new AI tool built in to Social Calendar by CoSchedule is helping my social media posts gain traction and clicks which leads to more traffic to my sites and ultimately more profit.
The program, titled Hire Mia, offers assistance with all manners of writing including emails, blog posts, meeting agendas, sales pitches, social media posts, website text, business flyers and more. There are hundreds and hundreds of prompts. Far too many to detail here. Head over to Hire Mia for a comprehensive list.
How I Use Hire Mia
I have had an account with CoSchedule for a loooooooong time. It is the main way I keep all of my business activities coordinated and on schedule.
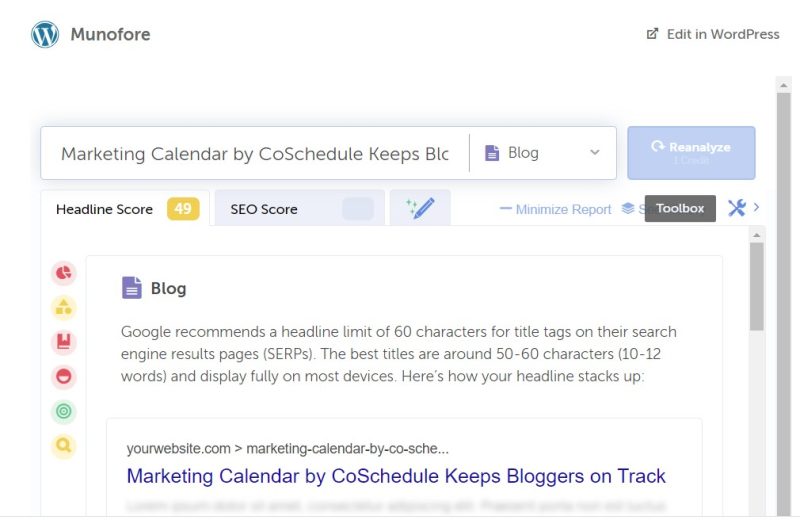
The examples below show how I use Hire Me through my CoSchedule plug-in on WordPress.
More ways I use CoSchedule:
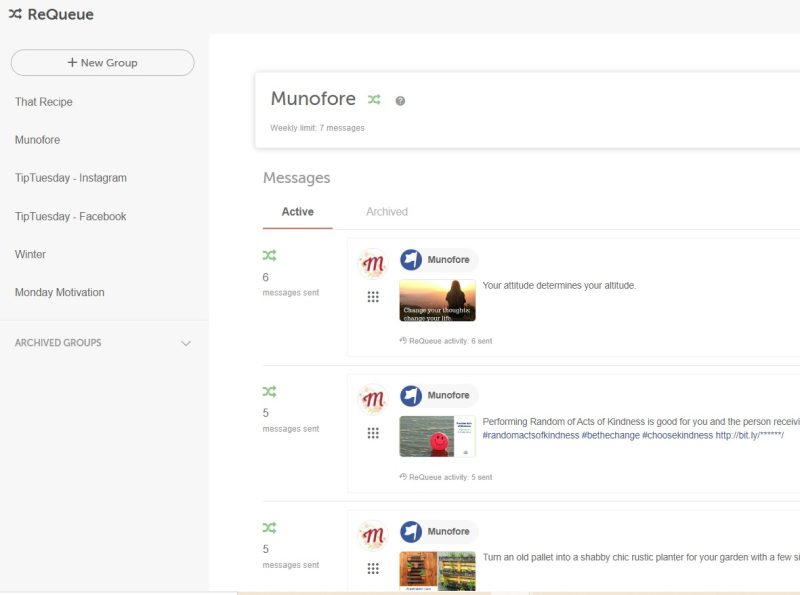
- ReQueue - social media scheduling
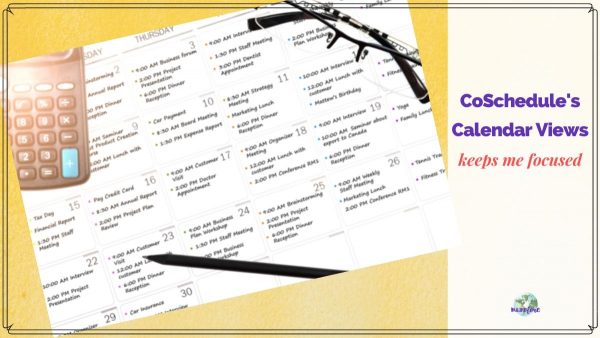
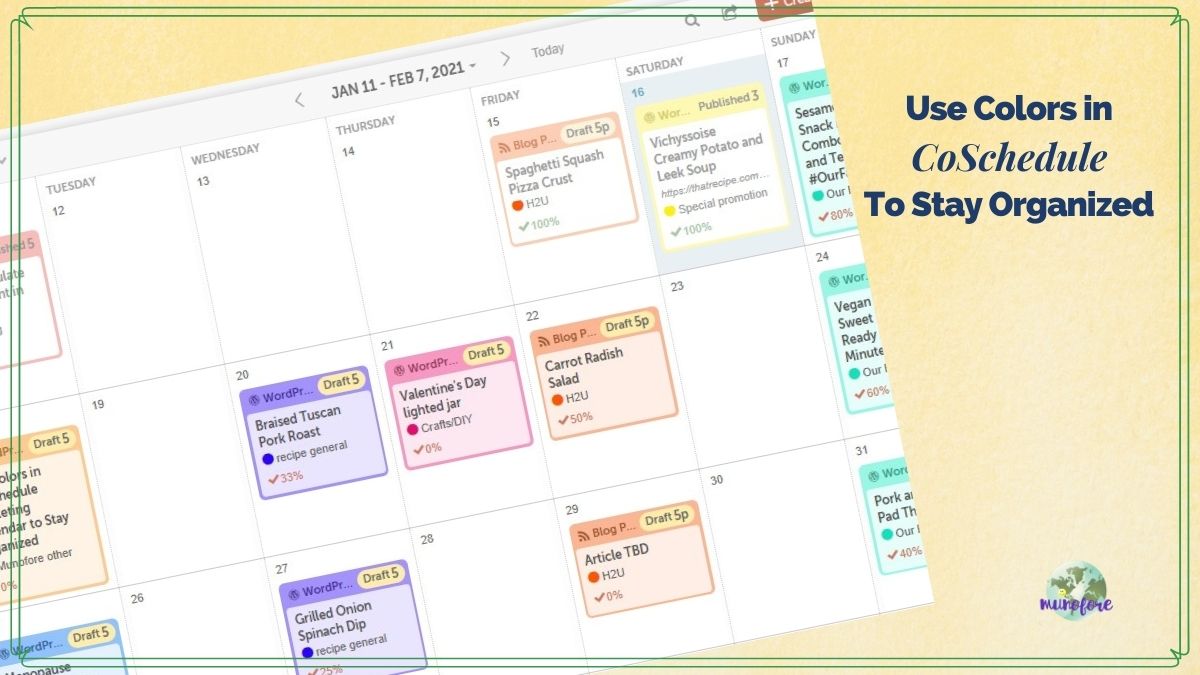
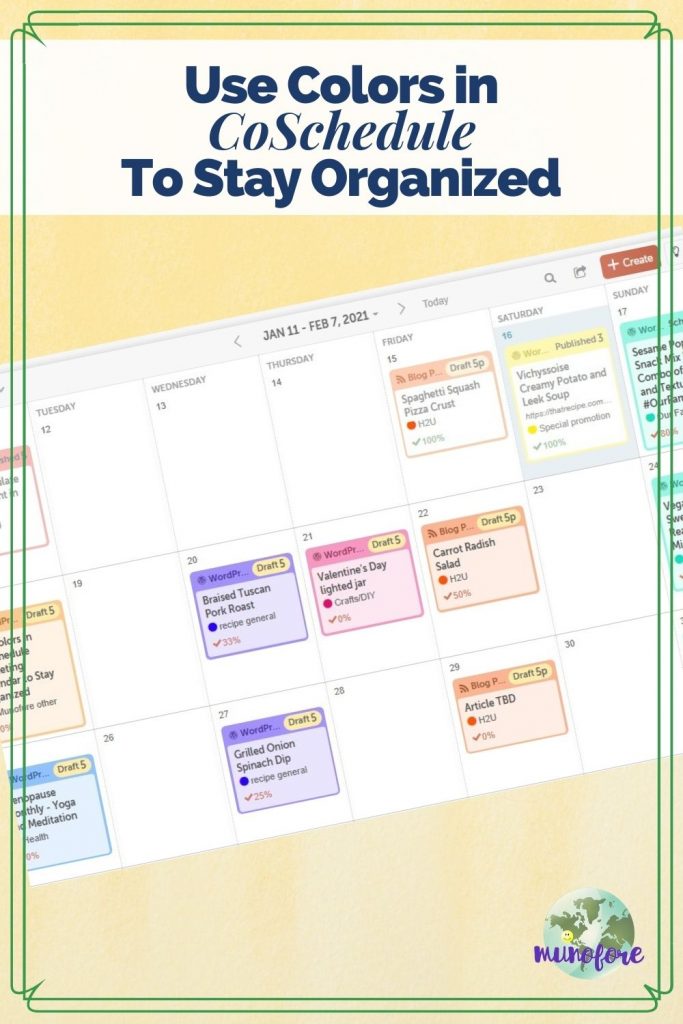
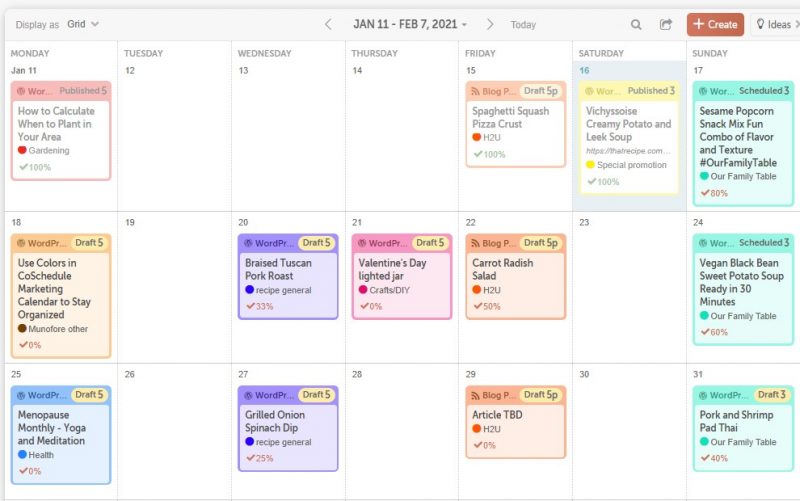
- Calendar View
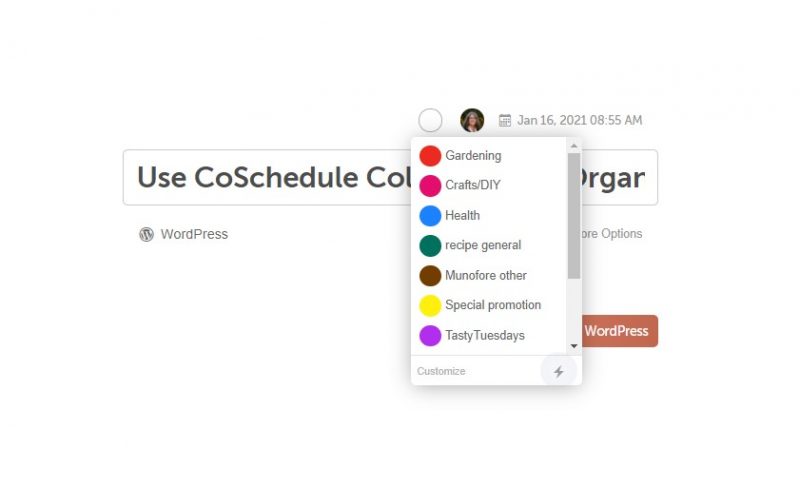
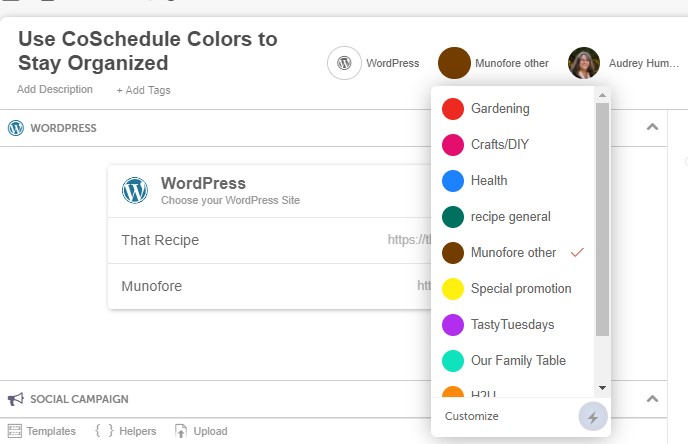
- Using Colors
- Social Calendar
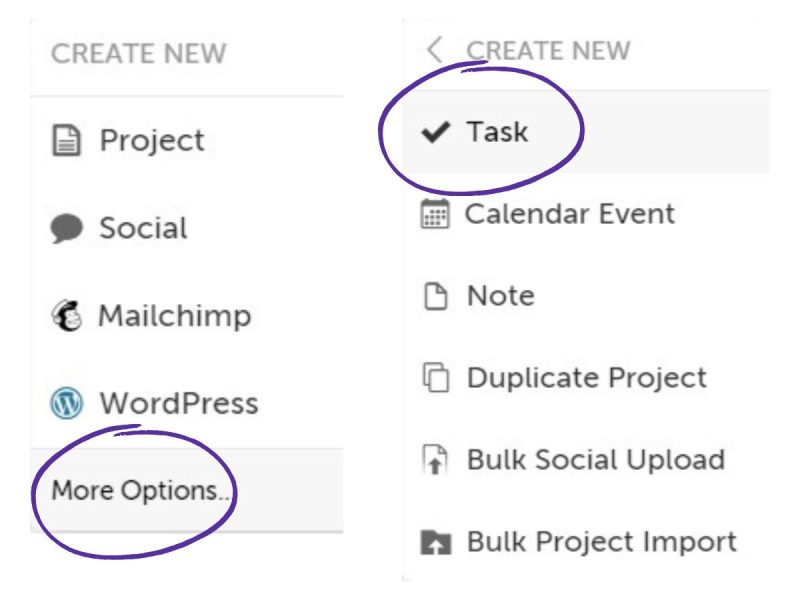
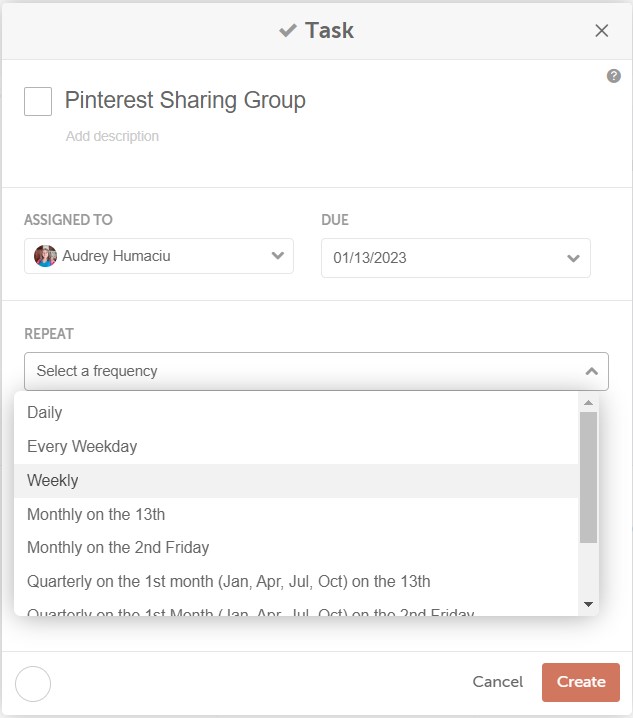
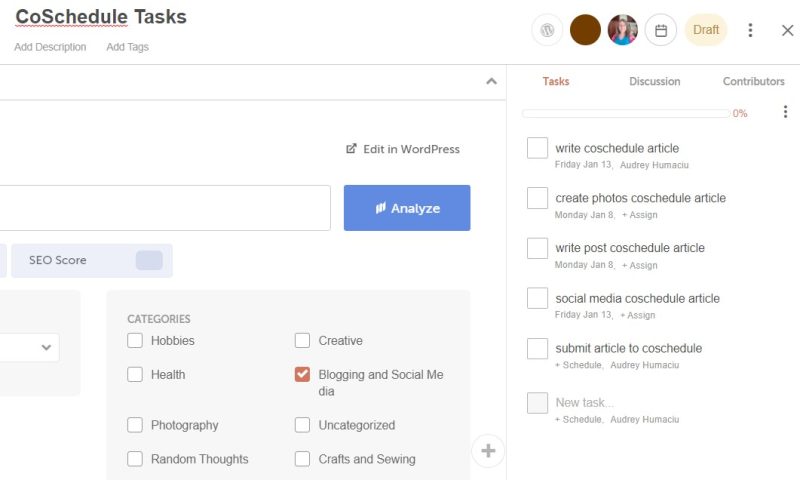
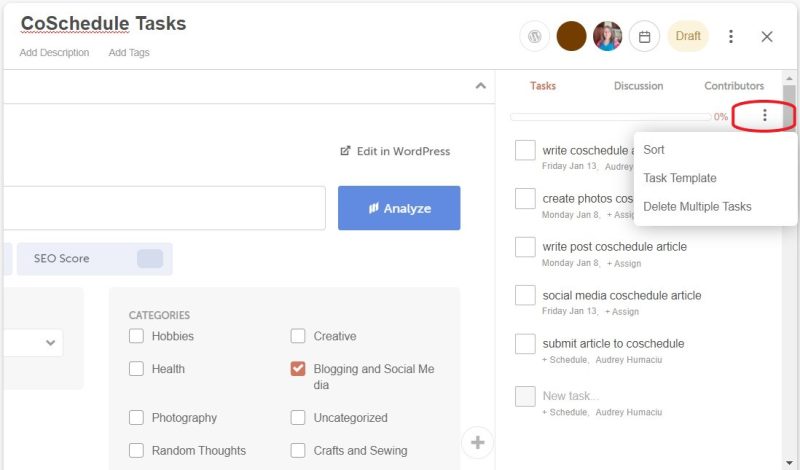
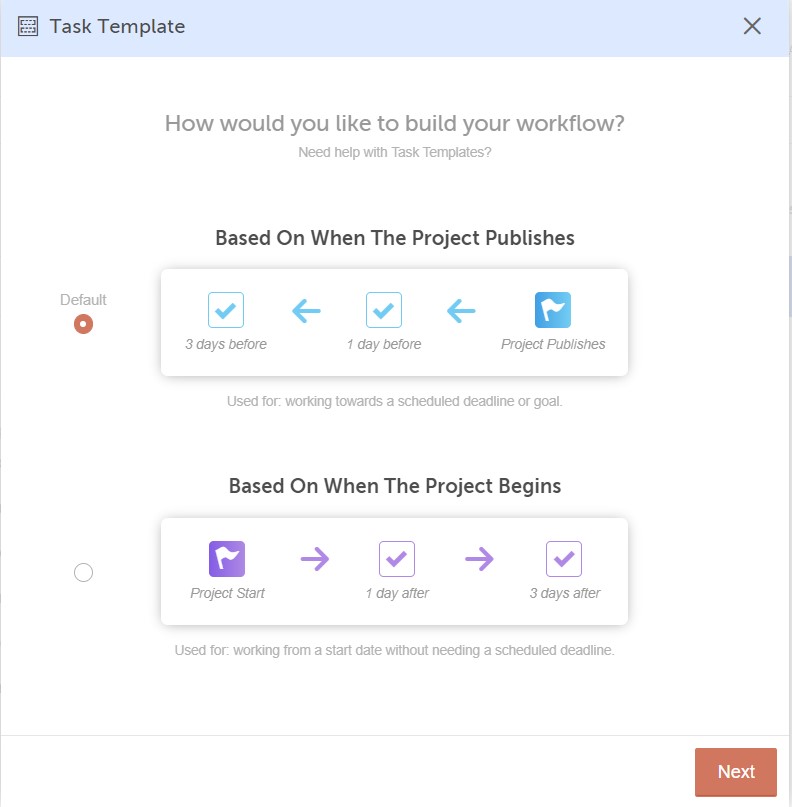
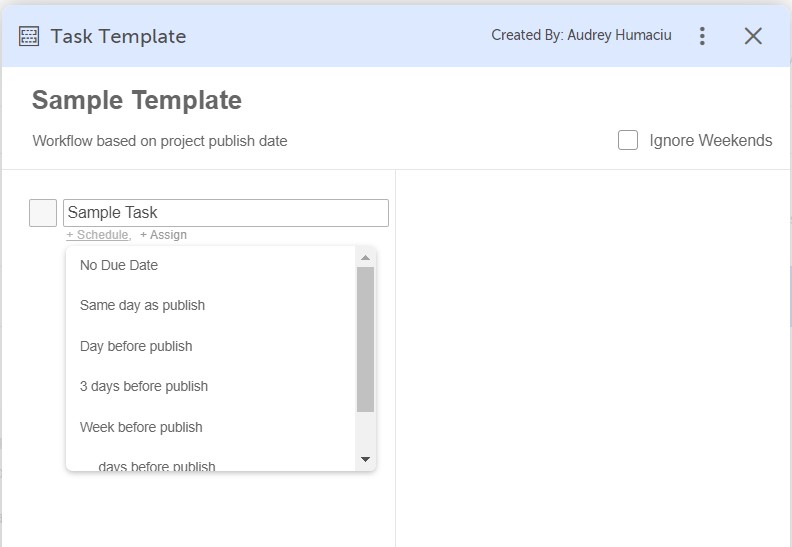
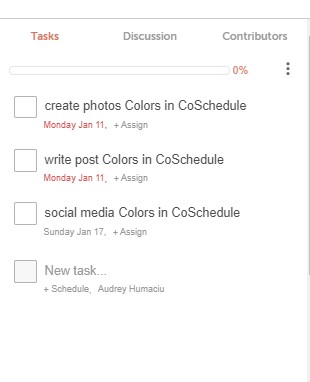
- Creating Tasks
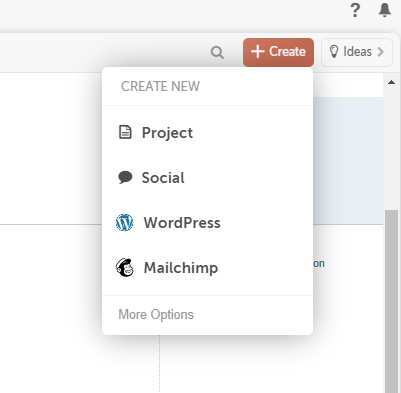
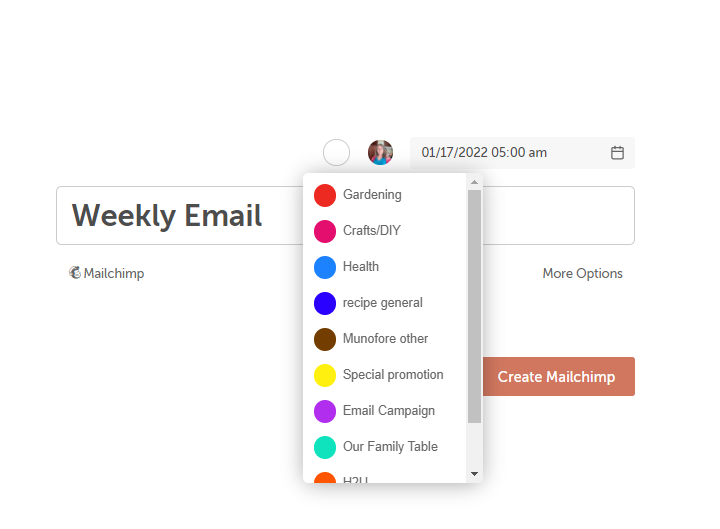
- Create Emails
Using Hire Mia for Social Media
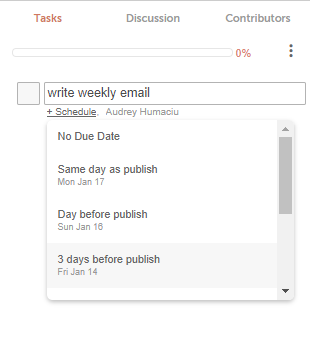
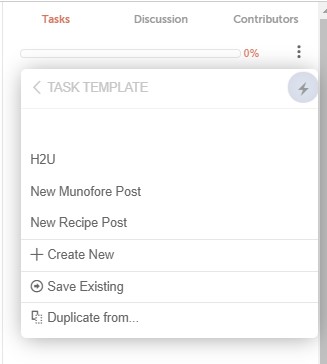
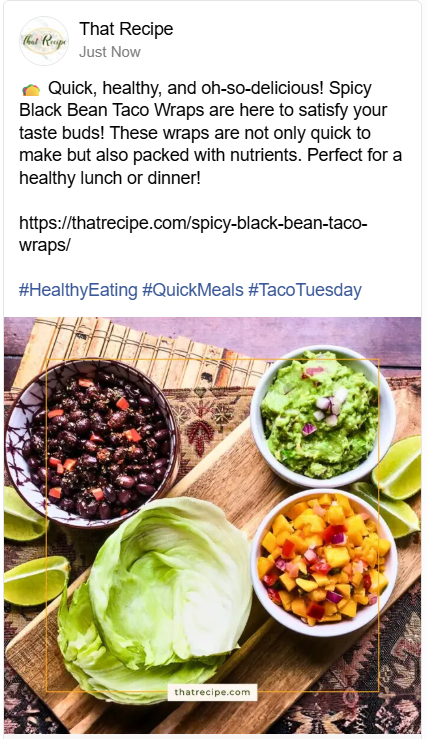
Let's use this Spicy Black Bean Taco Wraps as an example. First, I head down to the CoSchedule app at the end of my WordPress post and add a social media message.

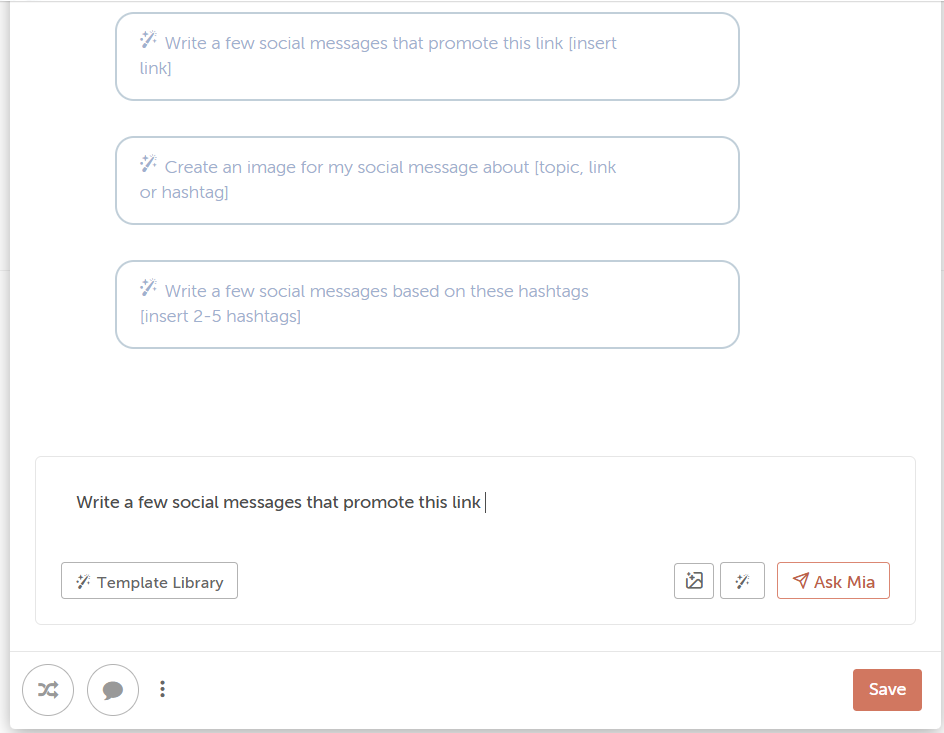
After I fill in all of the important information like where and when I want the post to run, and if I want ReQueue, then I click on "social assistant" to call Mia in to action.
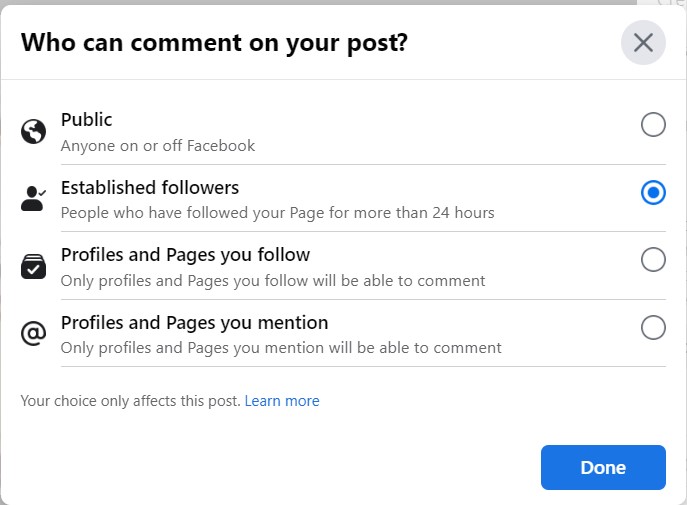
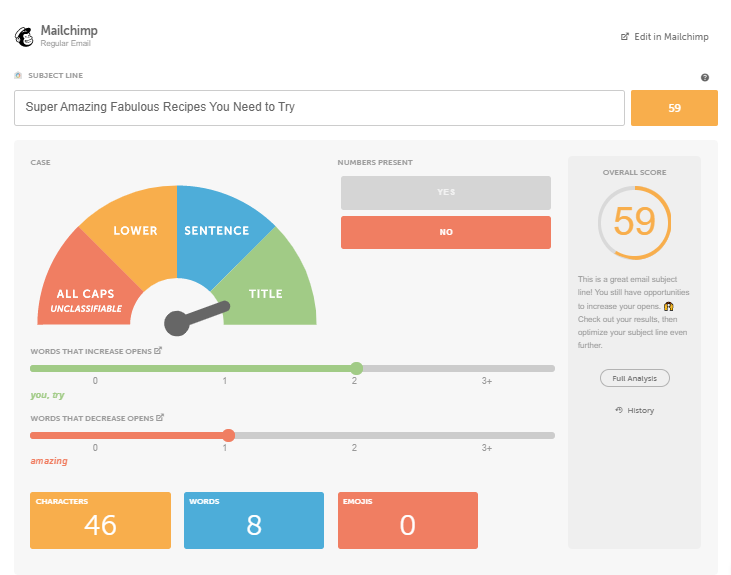
You can ask Mia to write a social media post based on the blog post, create an image, or write a post based on hashtags. Since I create my own images, and I often need help with hashtags, I have her write some social posts based on the blog post.
Next, I use the results as a starting point. I never blindly copy and paste any AI results. But, you do you.

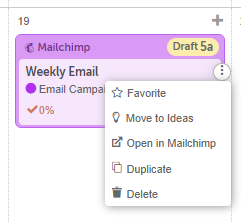
In this case, I mix and match between the three results and create my own social post. It is ready to schedule.
Using Hire Mia for NonProfit
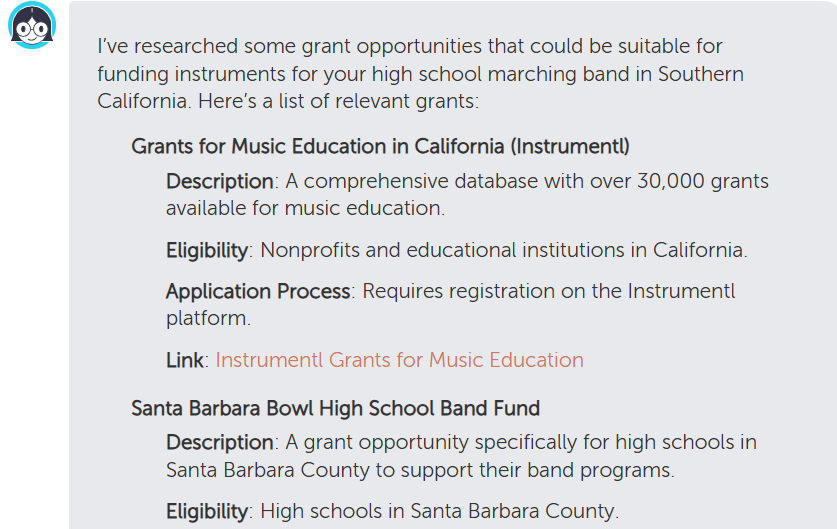
Today I discovered, Mia can help with non profit tasks too. Since I am the acting Ways and Means Coordinator for my son's high school band boosters I thought I'd give it a try to see if it could remove two of my pain points: grant research and writing emails for our annual email giving campaign.
Mia picked up some new grant opportunities I hadn't found in my own research.
The Fundraising Email Campaign was the real standout.
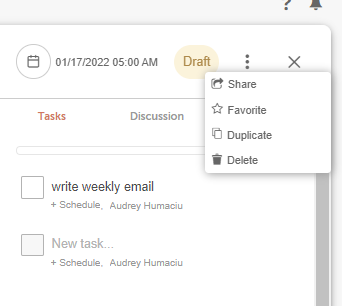
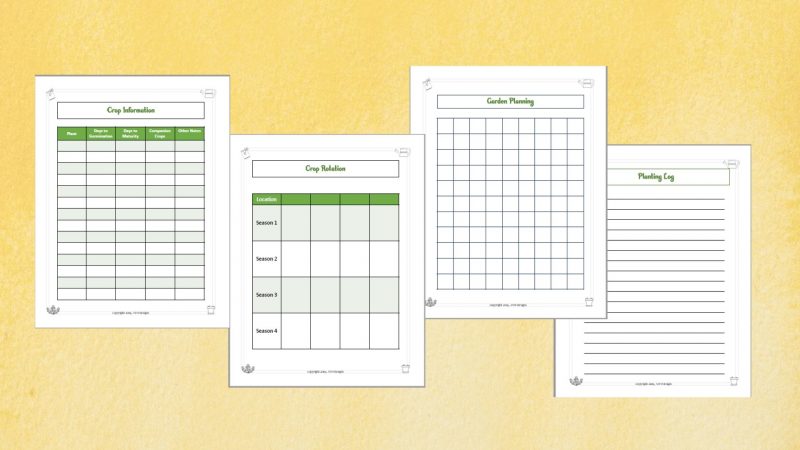
It created a series of four fill-in-the-blank emails from kick off to final thank you, including a recommended schedule, design recommendations and a compliance checklist.

What can Mia do for you?
Pop over to CoSchedule and test out Hire Mia.
As of January 2026, you get 25 writing credits a month for free and a limited number of prompts. For as little as $16 a month you get unlimited credits and over 1100 prompts.