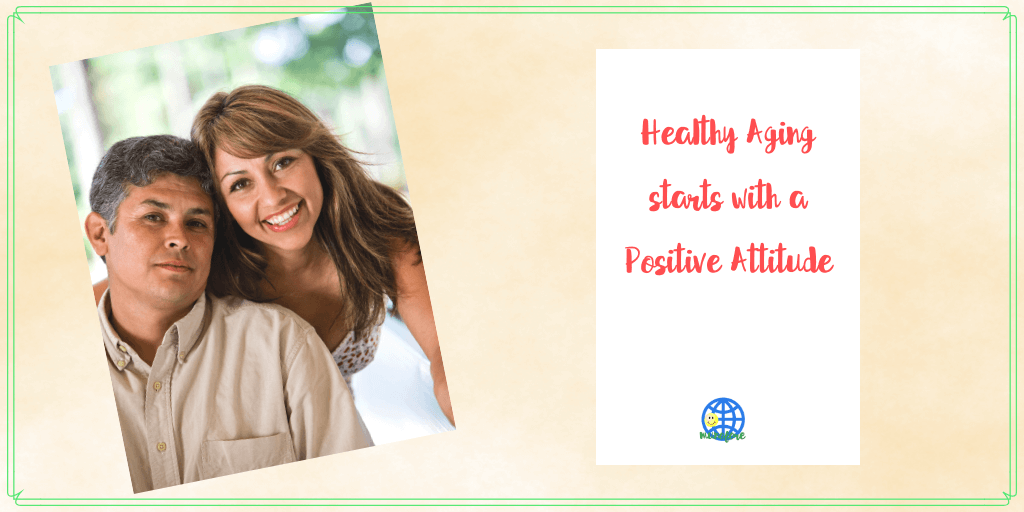
Aging is as natural a part of life as death. However, how you deal with it is another story. Healthy aging starts with the right attitude. Your brain has the power to make you ageless.
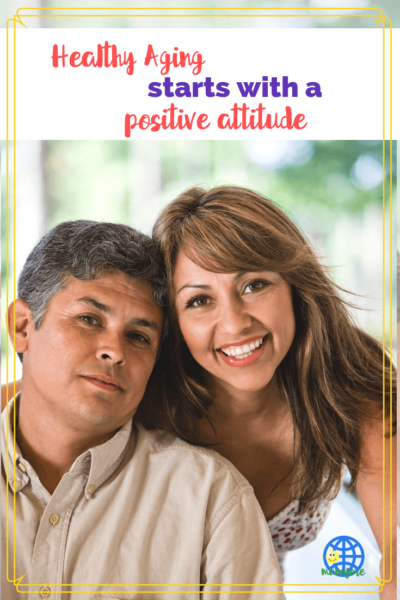
How Can a Positive Mindset Make You Ageless?
Of course, we don’t mean that a positive attitude can literally make you ageless, but it can certainly make you feel as if you are! One of the biggest complaints among those over the age of 50 is the feeling of physical deterioration, decline, and the feeling of being unwanted or not useful that so often comes along with aging. Understandable, but I personally don't even want to be around myself when I mope like that for too long.
Your mindset is a big part of how you cope with anything. If you keep your mind focused on the positive things your age has brought you (like wisdom, understanding, and the ability to better help others) and work to maintain good physical health, you won’t have time to be bothered about aging.
Plus, it will greatly improve your overall outlook on life, as well as your quality of life.
Ignore the Youth Culture Sold by the Media
Western Culture is obsessed with youth. Media and advertising push the concept that people are in their prime when they’re in their late teens and early twenties. Those who are older than 30 lie about their age, trying to make it seem like they’re part of the favored, younger group. Forever 29, right?
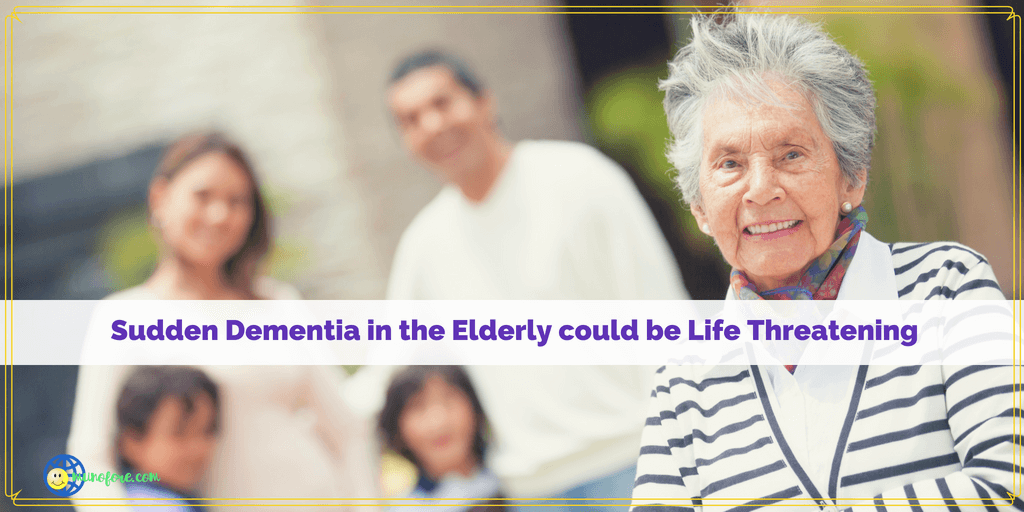
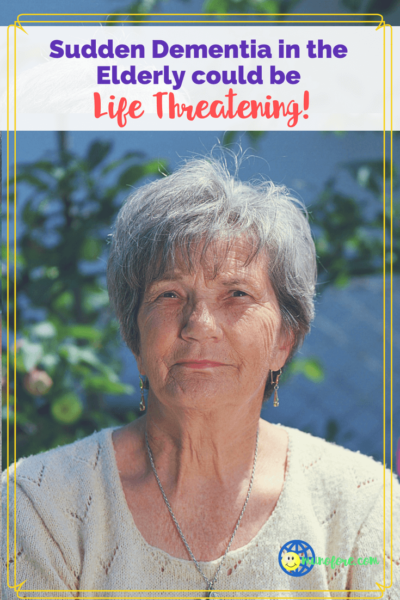
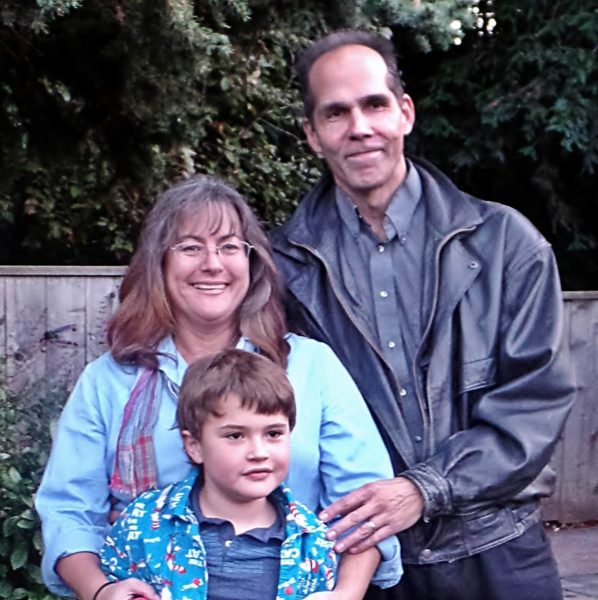
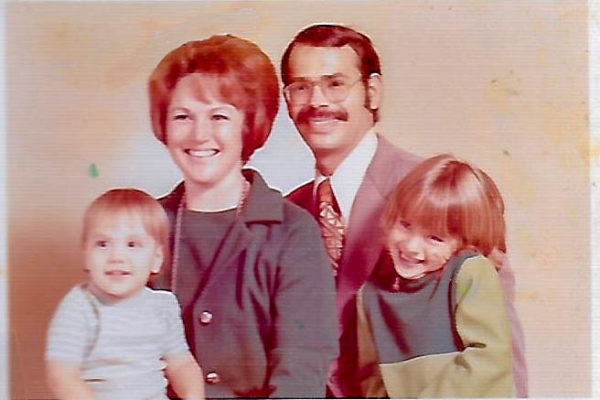
This mentality is so pervasive that I struggled to find images of people in their 40's through 60's for this post. Tons of twenty somethings, and some with people in their late 70's or 80's. And those of the older set were dreary.
Get past this ignorance forced upon us and start living with an ageless mindset. Do your best to tune it out or at least recognize it for what it is, a ploy to play on your fears and make you give them your money.
You have aged to the best state you’ve been yet. You’re wiser and seasoned. Stop denying your aging and own it; that’s what will truly make you ageless.
Love Your Body and Own Your Age
The only way to ensure you keep having the ageless mindset is to continue to love your body and remind yourself that you are getting better with age. There’s no such thing as perfection for humanity; we make mistakes, learn, and grow throughout our lives.
Appreciating your body for what it does for you and how far it has gotten you. If you know you should eat healthier and exercise more, then do it! Love your body for how far it has brought you, then make the changes so that it keeps bringing you forward.
Never Say ‘Never’
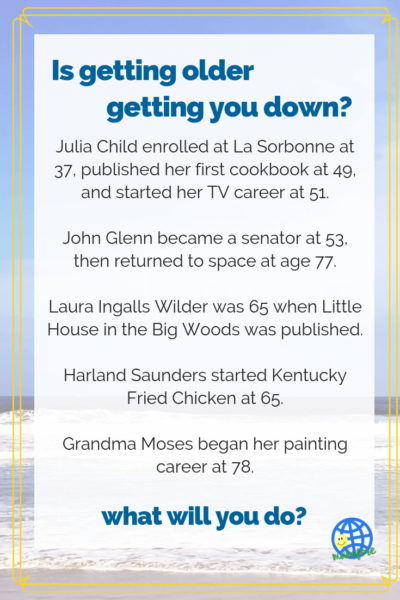
The number one thing that will knock you off your track towards an ageless mindset is negativity. We psych ourselves out by telling ourselves that we’re too old to do something, too set in our ways to learn something, and even that we’re simply too old to be of value.
Years ago I worked with a woman that often wished she had gotten her teaching credential. Her excuse for not doing it was she would be in her mid-40s when she finished her schooling. Her best friend simply asked her "How old will you be in 2 years if you don't get your degree?" Two years later she starting teaching at the school credential in hand.
Nostalgia is Fun, But Don't Live in The Past
Dana Carvey's Grumpy Old Man, Paul Lynde singing "What's the Matter with These Kids Today?", Ebenezer Scrooge bah humbing his way through life and more. The stereotypical grumpy old person bemoaning today's youth and insisting life was better when they were younger has been around quite a bit longer than you or me.
Sure life was better when you were a child because you had no real cares. No jobs, no bills to pay, good health, etc. You were also probably blissfully unaware of the social, political and economic situation of the times. We look back and see what we want to see.
When I wanted the quotes and facts for this post I didn't have to drive down to the library and search through the card catalog then hunt through the stacks of books. I opened another tab and used my favorite search engine. As much fun as roaming the library can be, the modern method is far more efficient and can be fun in its own way
Enjoy your memories, but embrace the now.
How Will You Choose to Age?
How you deal with aging is entirely up to you. If you want to dye your hair or go gray, do it. Want to learn to paint? Do it! If you want to wear comfortable shoes every day or rock some 3 inch stilettos, do it. Want to whine in misery that your body hurts and no one understands? You can do that too, but it sure doesn't sound like much fun to me.
Embrace your age for all the wonderful things it has brought you and move forward with a positive mindset and you will feel ageless.


:max_bytes(150000):strip_icc():format(webp)/pink-potted-flowers-101030023-8e9b50ba93f54cd8a5a4d8e2e026dd60.jpg)